- Joined
- Jul 18, 2006
- Messages
- 1,330
- Points
- 113
- First Name
- Charles
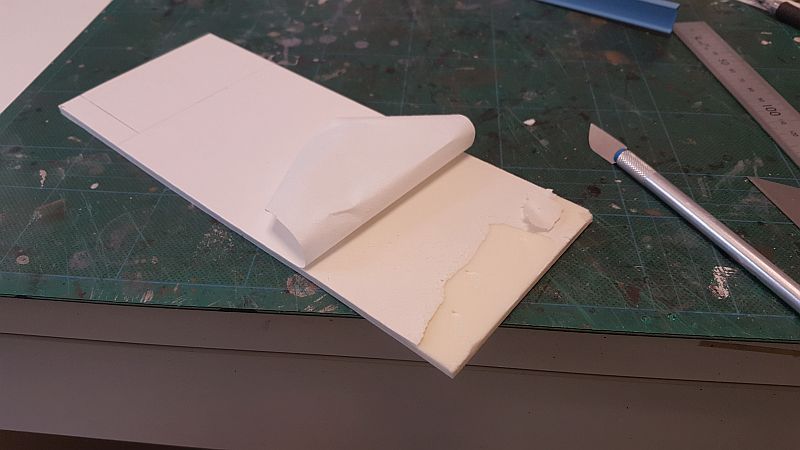
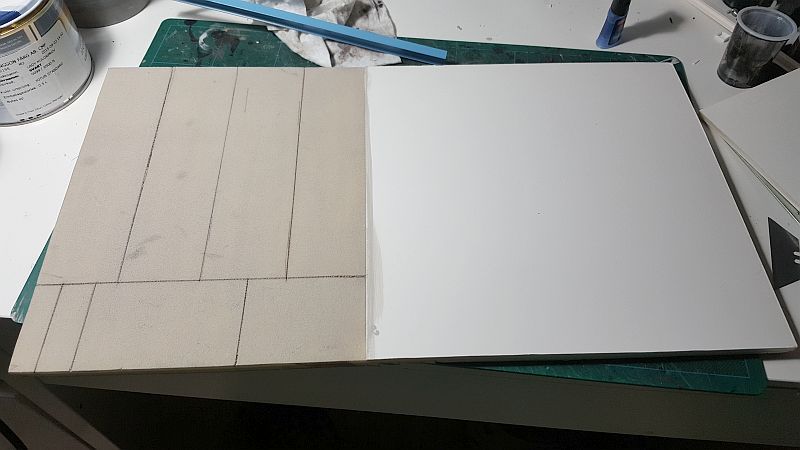
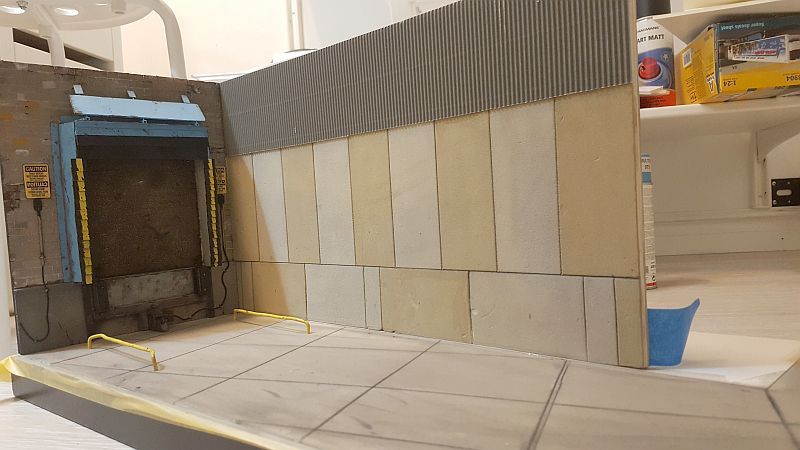
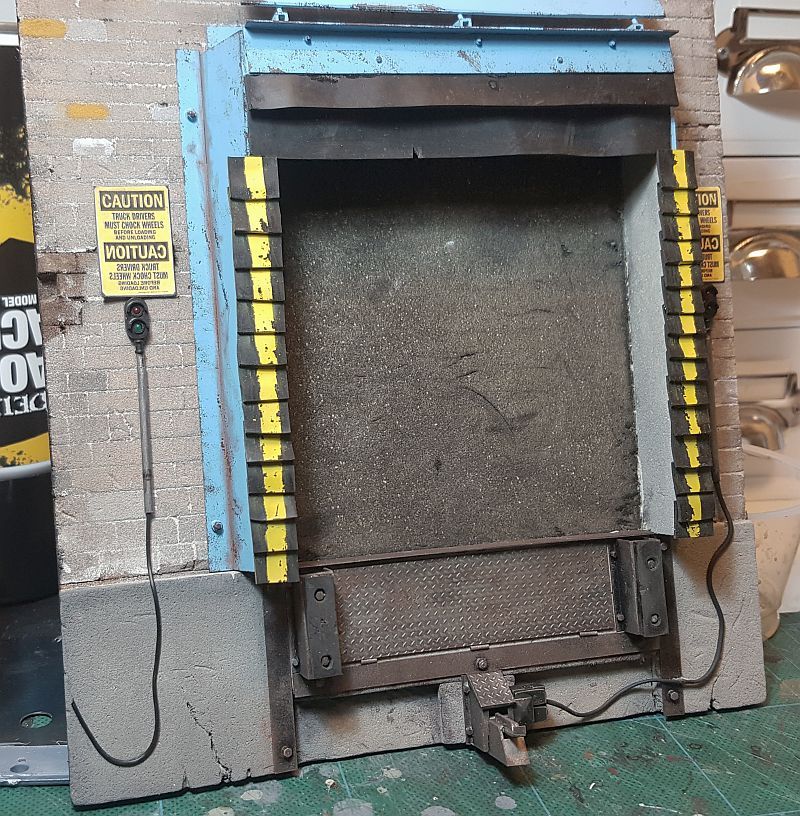
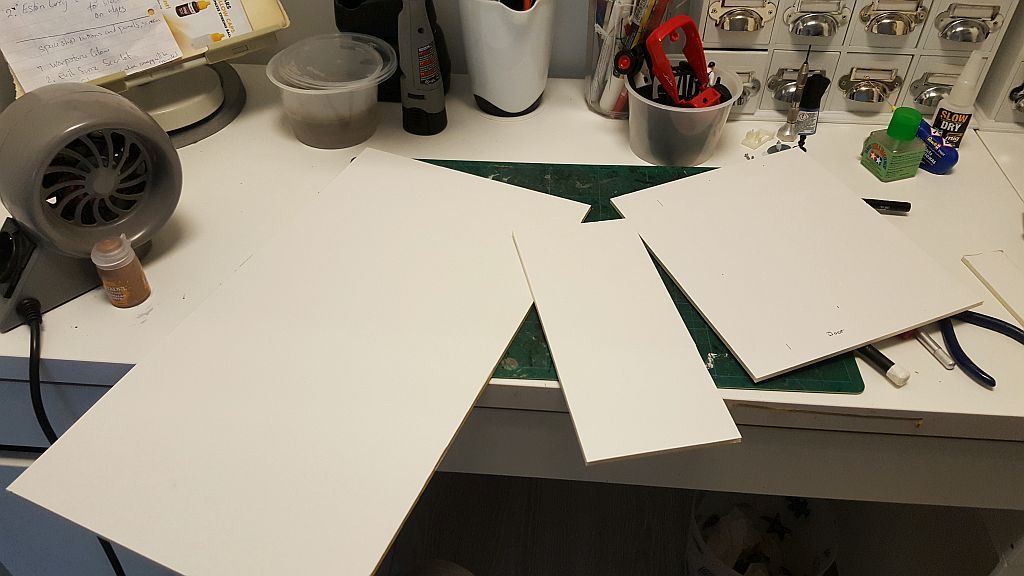
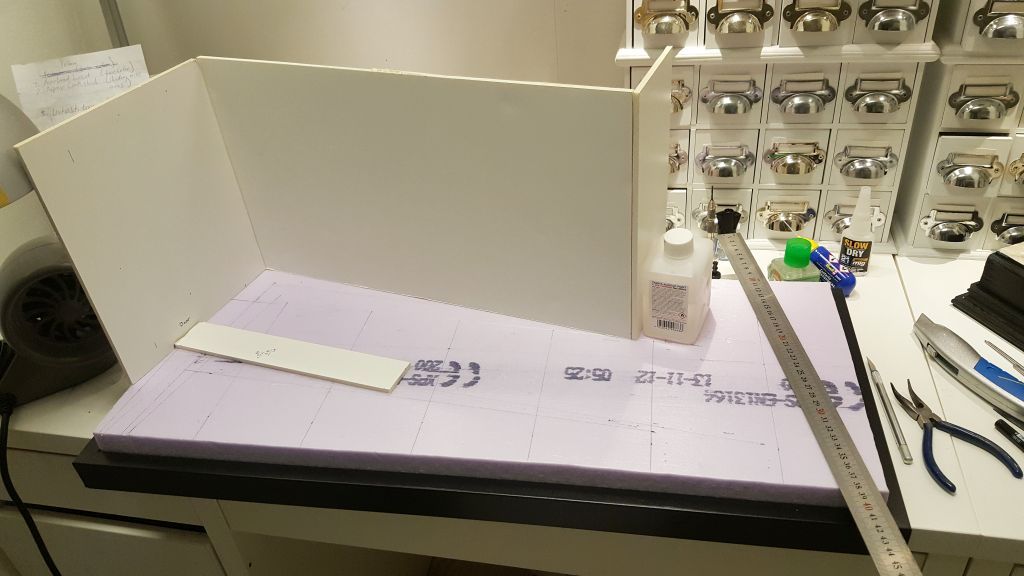
Well fellow modeling friends; it has certainly been a while since I posted my last truck build, especially longer if we mention a 1/24 scale diorama for that matter. Here is where I am with my latest project, representing a Truck 'on/off' loading bay. Now, let me apologies for not posting pics from the very beginning stages of this build. Unfortunately I lost pics from that time period. I was doing a transfer from my phone to the computer and erasing the originals at the same time. So, these are the ones that I have available for you all to see. But, I still have a bit to go before this is finish. So hopefully, I will be able to take some photos of the process from here on out. Hope you enjoy the photos. I wanted something different to work on and I thought this theme would provide some interest. It will incorporate a trailer, docked, and an open cargo bay next to the one you see in the diorama already. I will also add a forklift and some workers inside one of the bays. I am, trying to keep things simple, yet interesting for the eye to gaze upon. so we will see, if I can achieve the look I am going for. As always, things might change along the way or not, but regardless of how it turns out, I will try and make it an interesting diorama.The base for the diorama is made out of foam board or poster board and placed on a picture frame.
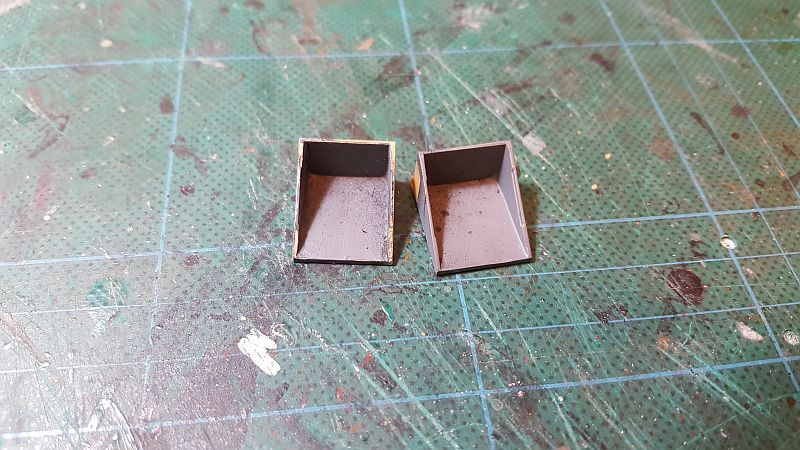
The Bay parts were made scratch built from plastic styrene and rubber materials, cut to fit. The signs were made from photos of the real thing scale down in Photoshop.The big opening which is painted a dark brown will remain as is. I decided it will not be seen, so there would be no point in detailing something that on one will see. As the reefer trailer is going to be docked right up to it, it will block out whatever view there is.
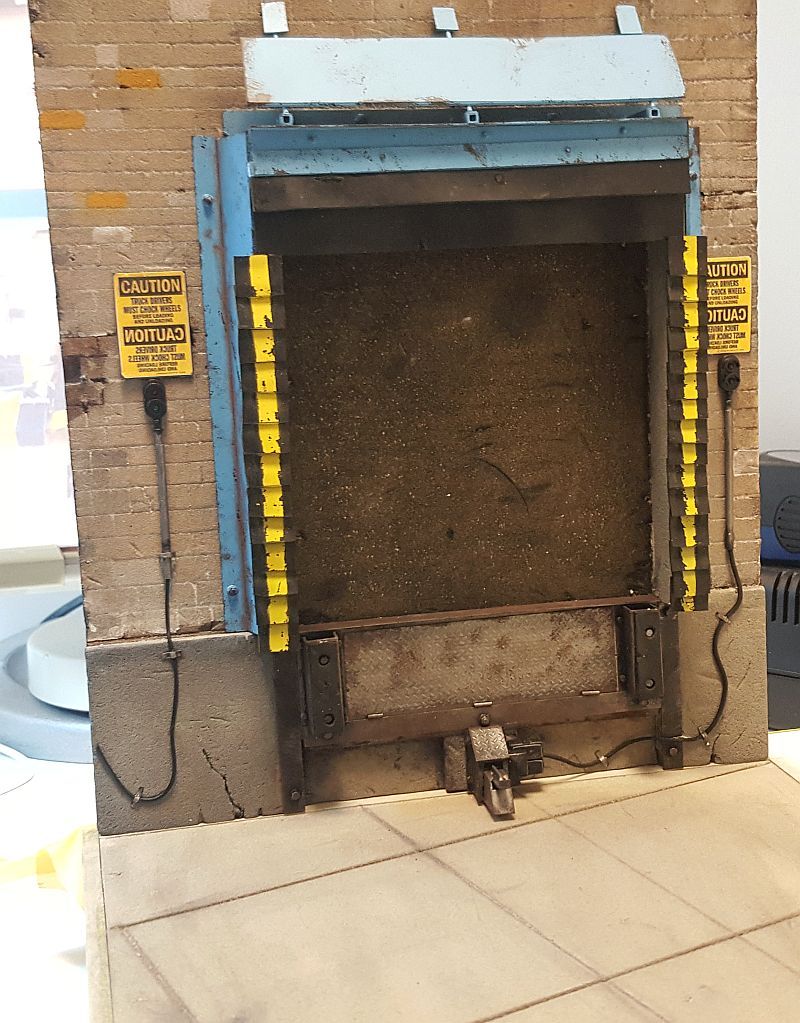
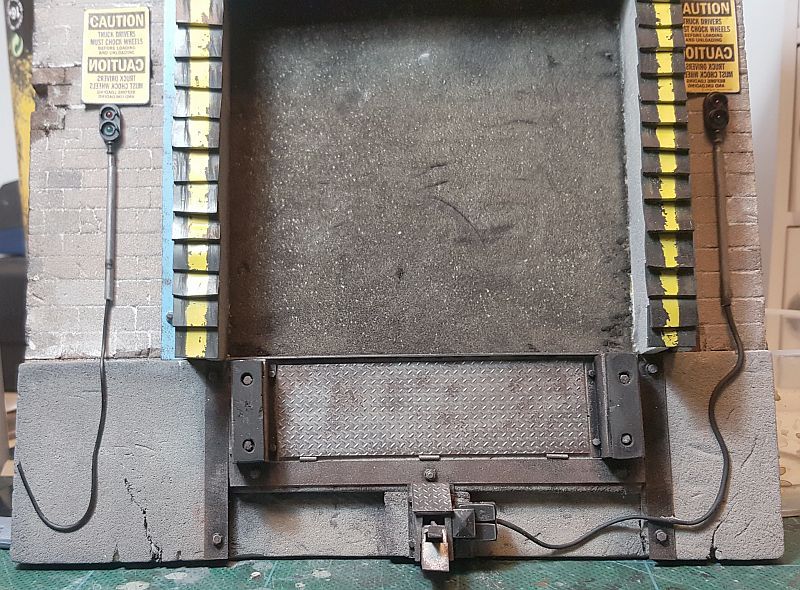
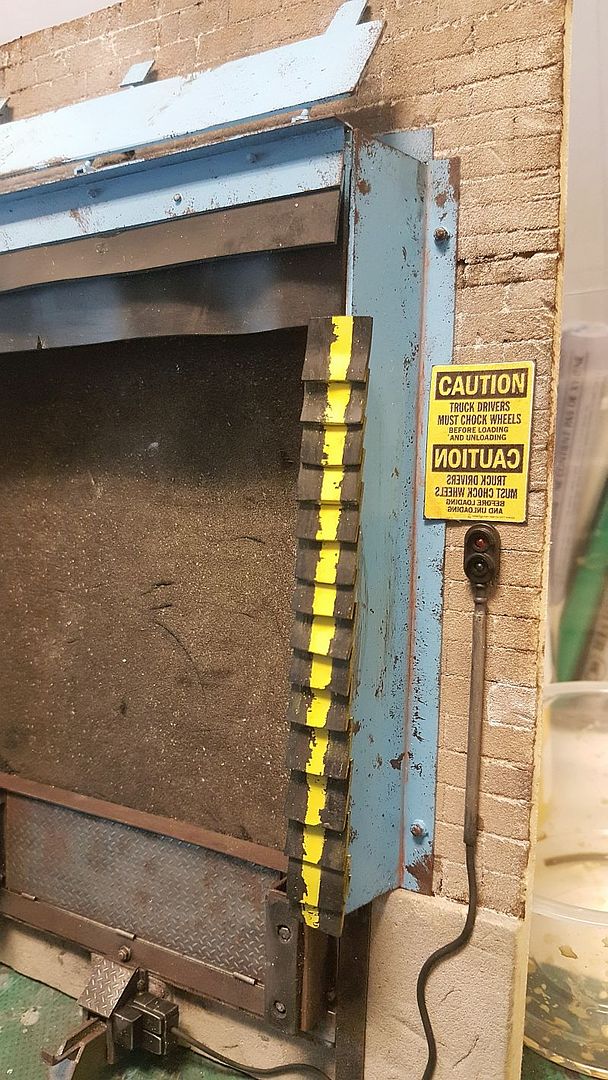
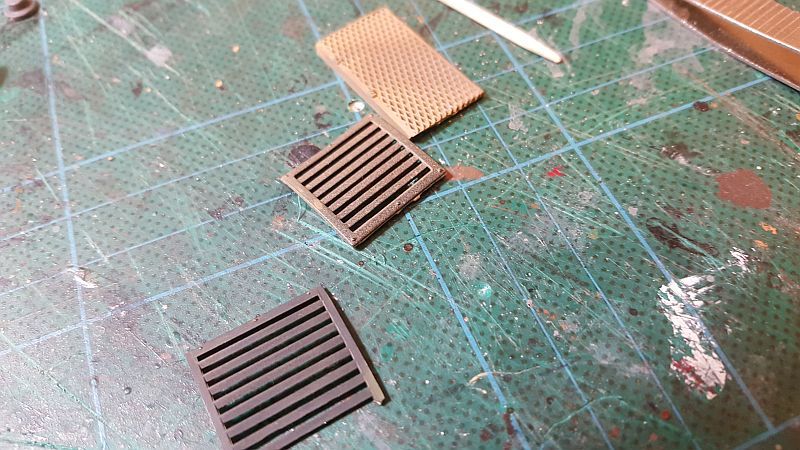
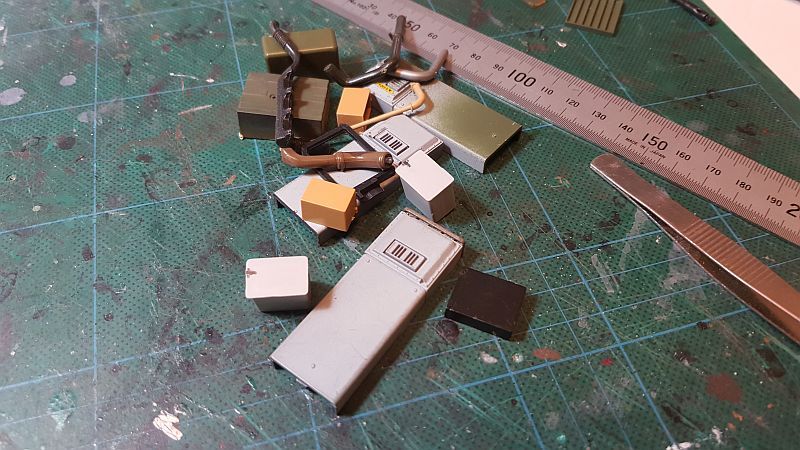
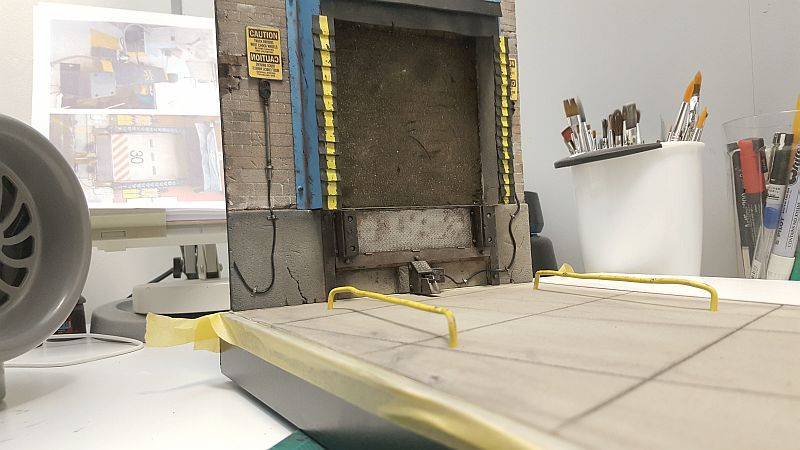
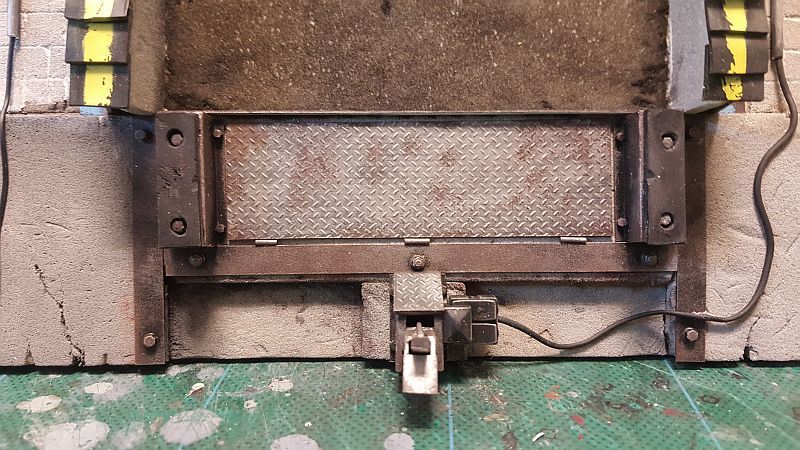
The truck restraint mechanism was also built from small part as well as scratch built parts:

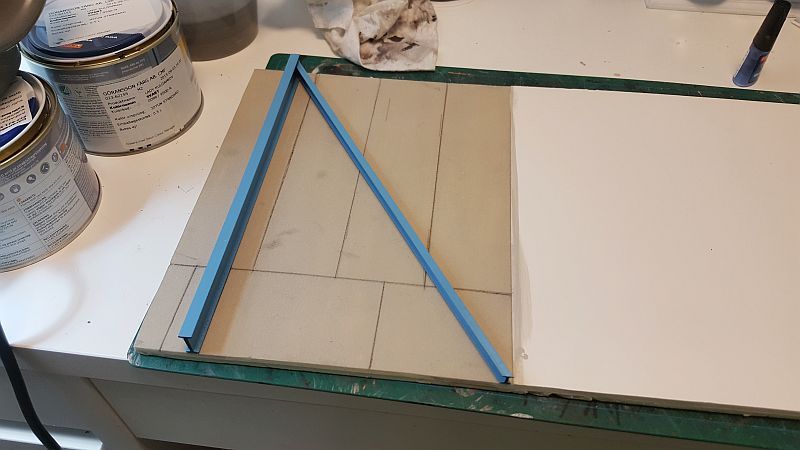
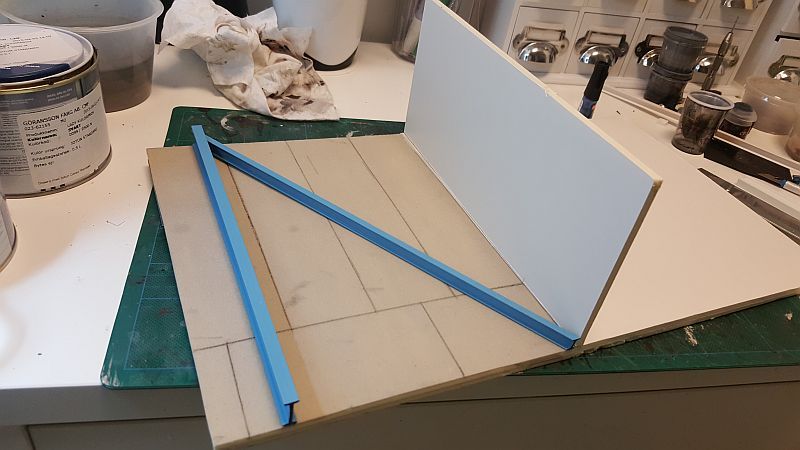
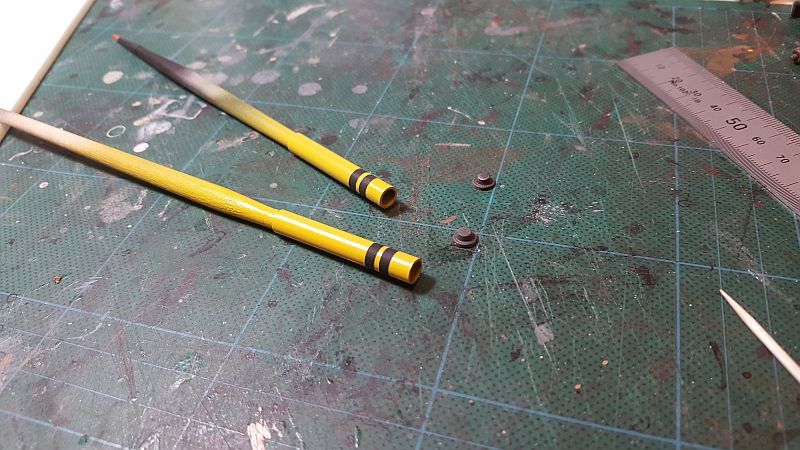
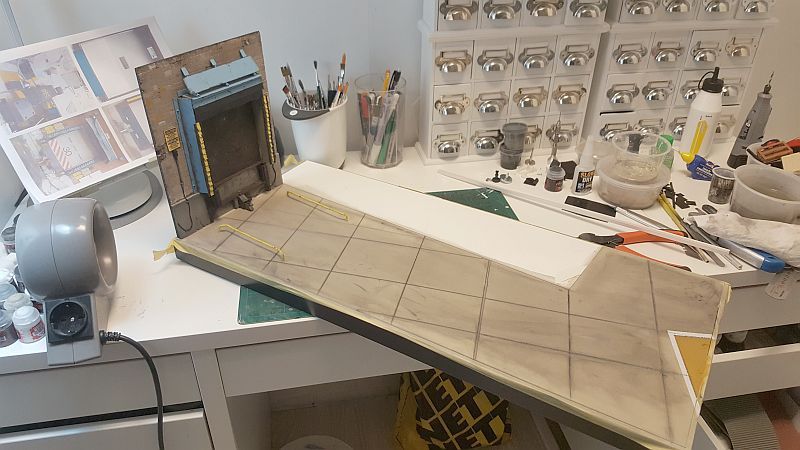
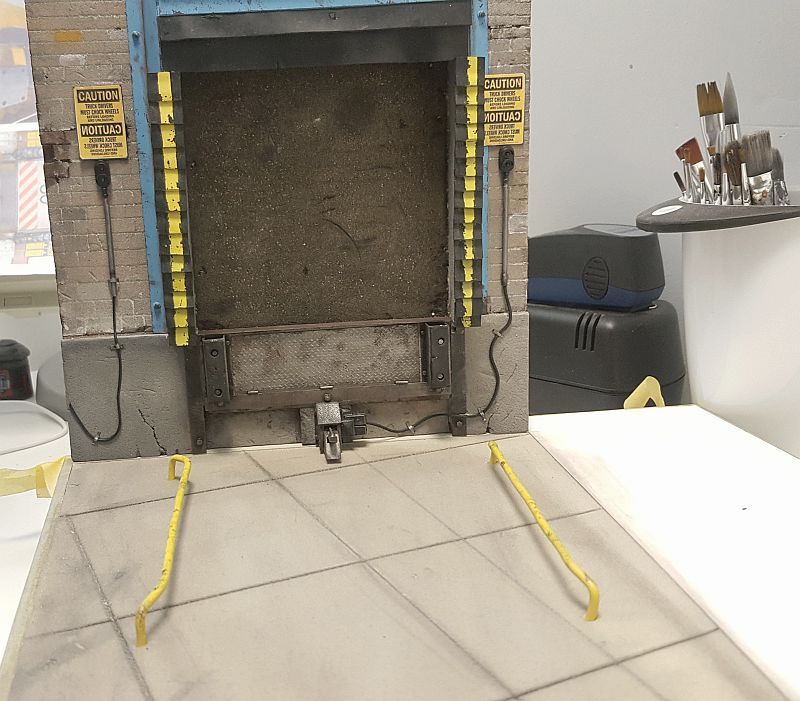
I added parallel guides for the truck on both sides of the bay door. They are made from thick and harden electrical wiring material. I picked this out of a container
which had been discarded. I thought, it would come in handy one day.
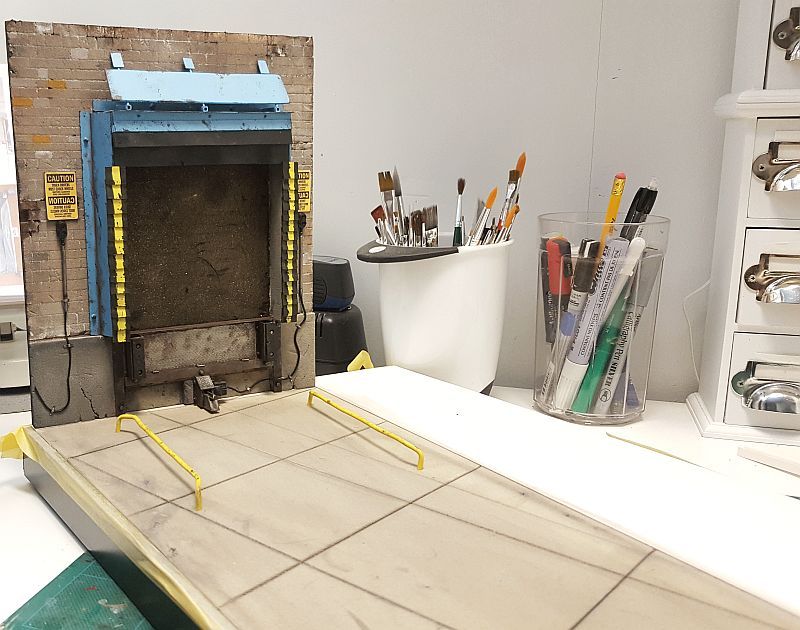
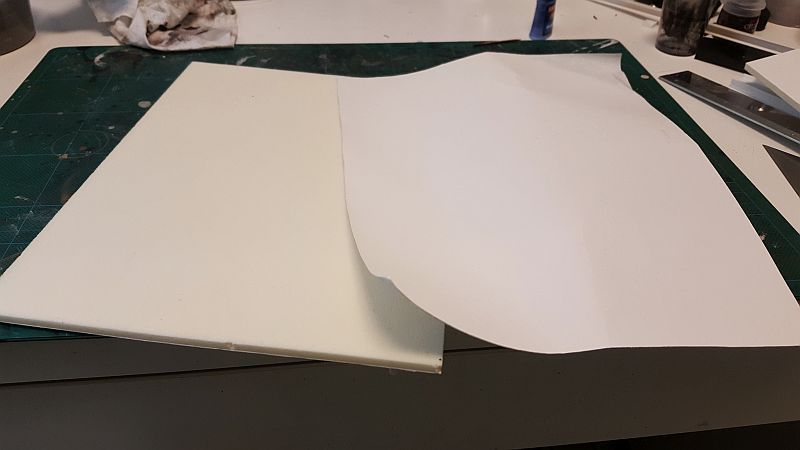
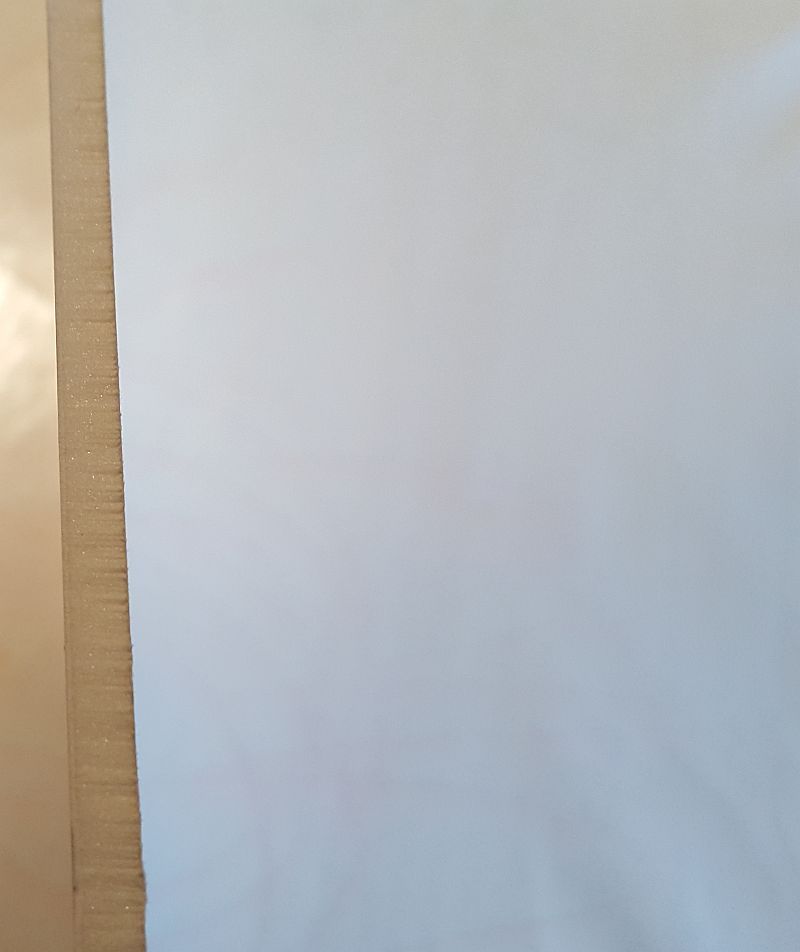
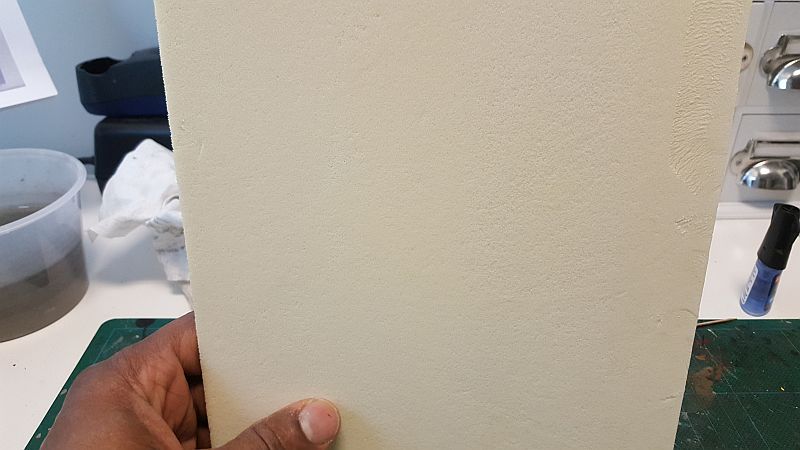
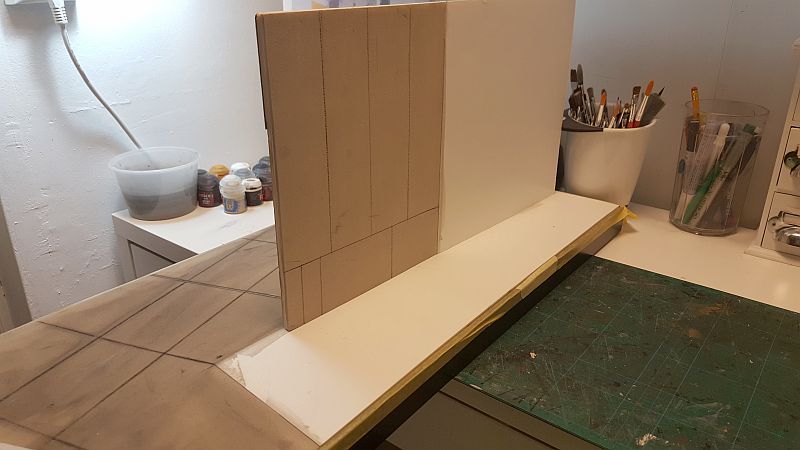
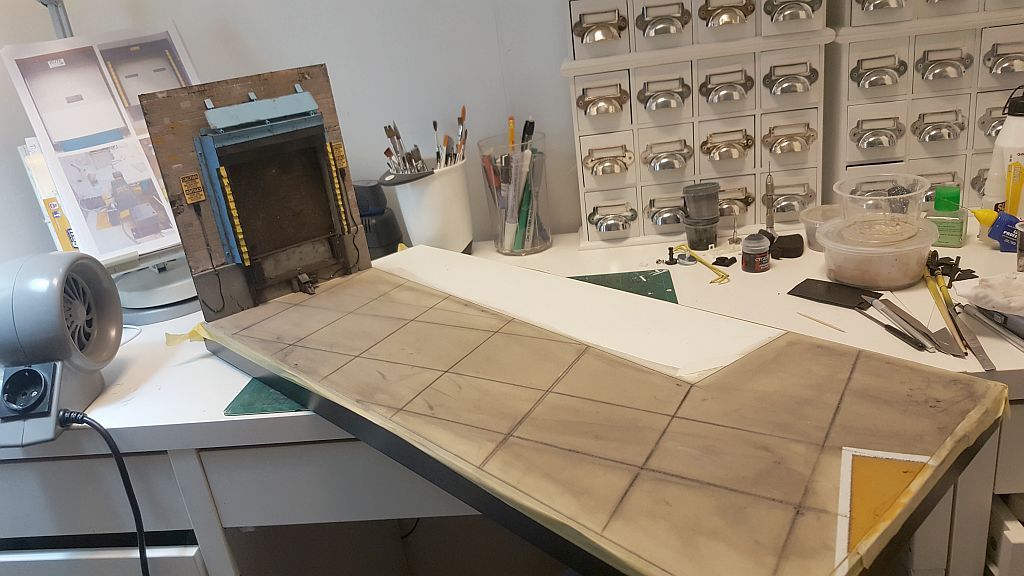
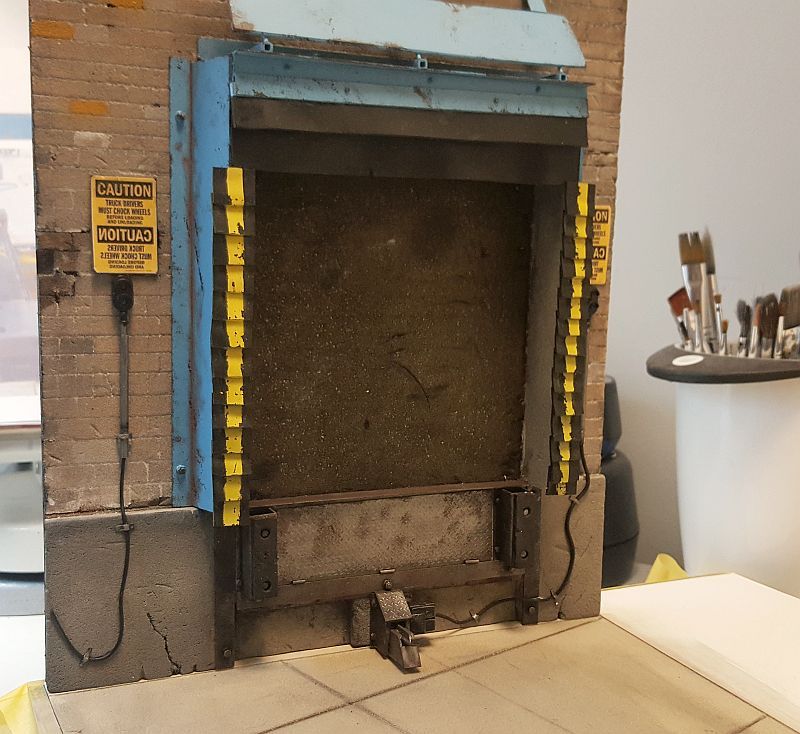
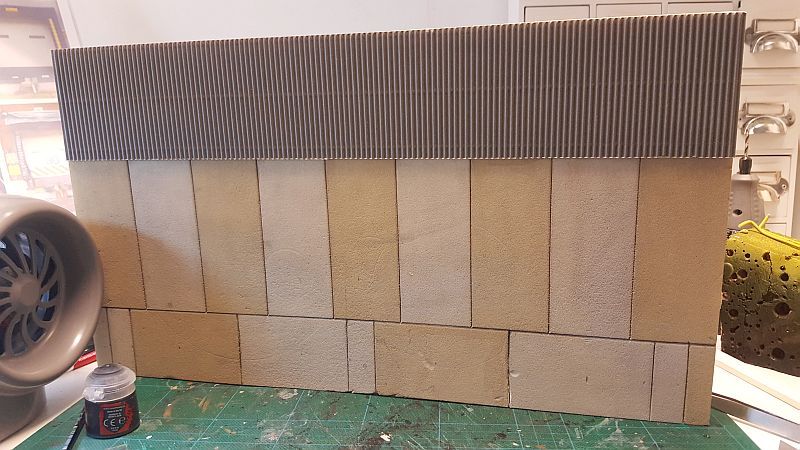
This pic shows the almost finished facade of the adjacent building. that will be place on the long side of the diorama.
The Bay parts were made scratch built from plastic styrene and rubber materials, cut to fit. The signs were made from photos of the real thing scale down in Photoshop.The big opening which is painted a dark brown will remain as is. I decided it will not be seen, so there would be no point in detailing something that on one will see. As the reefer trailer is going to be docked right up to it, it will block out whatever view there is.
The truck restraint mechanism was also built from small part as well as scratch built parts:
I added parallel guides for the truck on both sides of the bay door. They are made from thick and harden electrical wiring material. I picked this out of a container
which had been discarded. I thought, it would come in handy one day.
This pic shows the almost finished facade of the adjacent building. that will be place on the long side of the diorama.
Last edited by a moderator:
 :D
:D Thank you kindly.
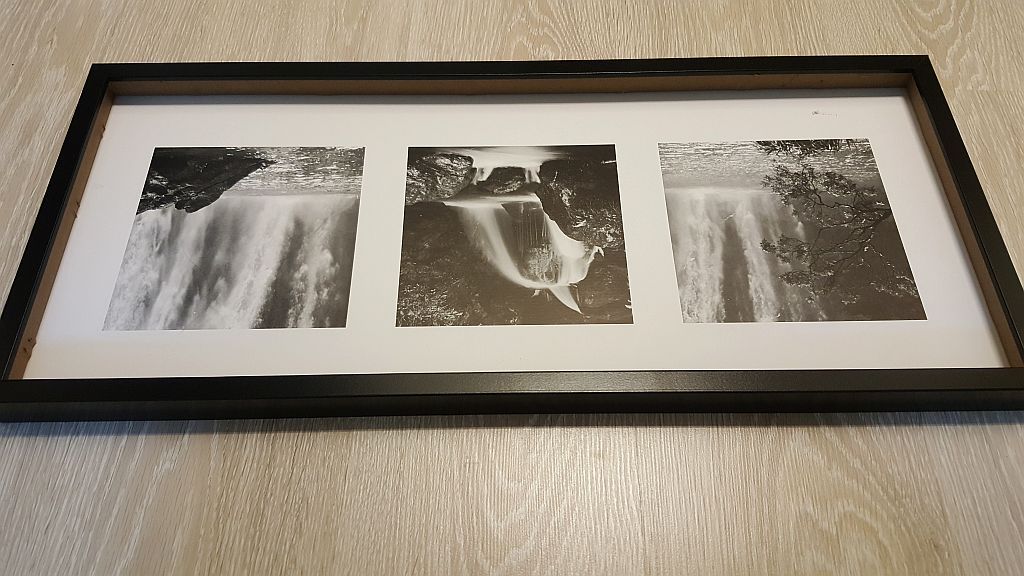
") Detail is amazing as is your eye for realism, you take notice of the un-noticed and are doing a superb job of it so far..........Jim
Detail is amazing as is your eye for realism, you take notice of the un-noticed and are doing a superb job of it so far..........Jim