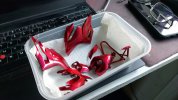
Looking great Gavin. Bike kits always seem like you are building a real one 
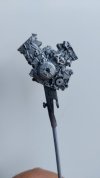
For the fairing screws, would something like Peco track pins (used in model railways) work? They are very fine, made of blackened steel, and are readily available. Failing that, lace making pins would be useful. They are available in a wide range of head and shank sizes, though being brass they’d need to be blackened. I used to use them for all sorts of jobs on 1/76.2 scale model railways.
For the fairing screws, would something like Peco track pins (used in model railways) work? They are very fine, made of blackened steel, and are readily available. Failing that, lace making pins would be useful. They are available in a wide range of head and shank sizes, though being brass they’d need to be blackened. I used to use them for all sorts of jobs on 1/76.2 scale model railways.
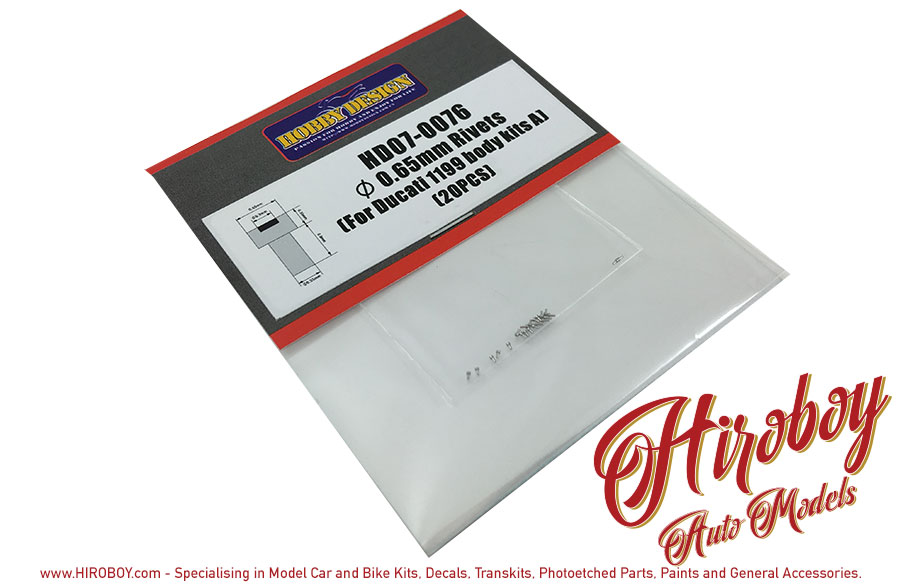


")


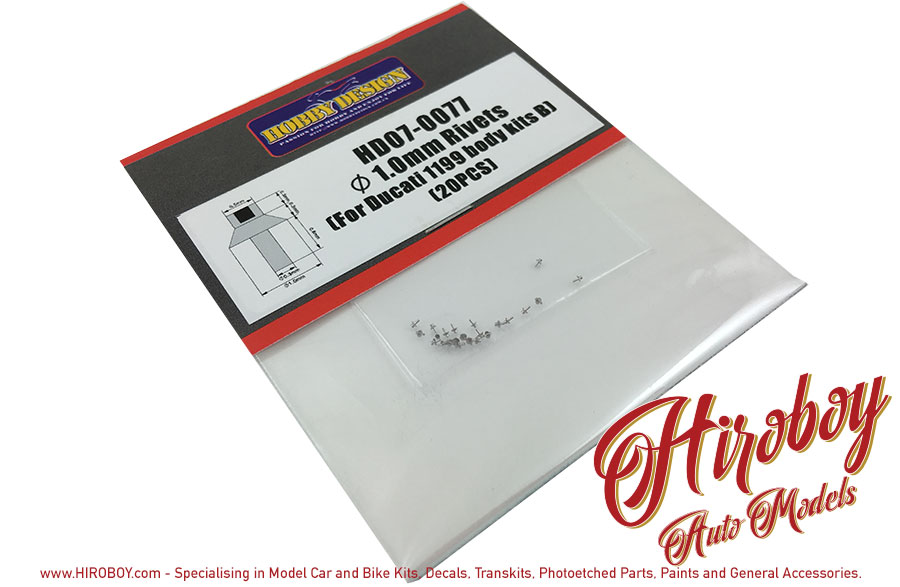
")