What’s try e best method of trimming small bits of sprue of tiny parts. (Inside of the two circles) I’ve managed to break these sort of parts before trying to file or trim with knife. Any other good tips please.

You can buy thin strips of plsticard which comes in useful, Evergreen Styrene in the site sponsors shop.Cheers all, the good thing is the back of the cockpit glass is painted so no fear of fogging. When you refer to shimming what do you use, a slither of plastic spruce cut to fit?
 www.scalemodelshop.co.uk
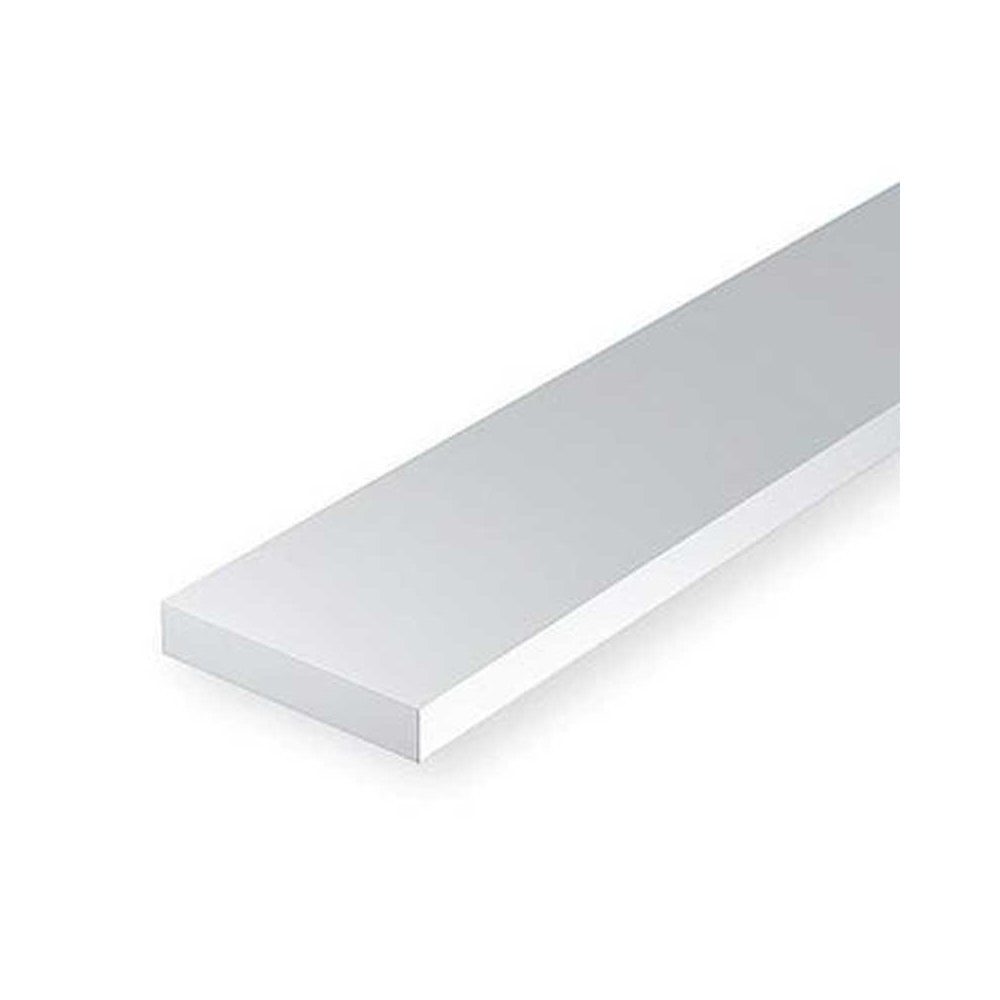
Thanks for that link and explanation Dave, I was struggling to find it in the shop. I’ve ordered some so will give this a go. Sounds useful stuff to have in the kit anyway. CarlHere you go Carl:
John does a range of sizes so you can measure the gap and pick the one you need. I'd fix a strip of this to the back of the clear part rather than to the aircraft body - that way you haven't got to worry about the corrugations. The guys have suggested the front of the glass but that seems more difficult as you have multiple curves to negotiate. At least at the back you're only dealing with curves in one direction.
If you fix just one straight side flush to the outside of the window frame with a small amount of extra thin and wait for it to dry - about 20 mins should be enough - you can bend the strip to match any curves and glue it in small sections. You need to be careful and hold it in place until the glue starts to harden - only a minute - then move on to the next bit. You can pre-bend the strip with your fingers to get it to the approximate shape you need before you start. Leave an overhang at each end so you don't have to worry about precisely matching the length. Once you're done, just cut them flush with the frame.
With a suitable bit of painting, the extra strip becomes part of the window frame.
Thanks for that link and explanation Dave, I was struggling to find it in the shop. I’ve ordered some so will give this a go. Sounds useful stuff to have in the kit anyway. Carl
Your not related to our Simon are you Karl, there was a time when "clarett" was a familiar mention on his posts.Fresh blade and carefully, best I can offer.
I usually position such a thing so I am carving torwards my thumb so my thumb supports it, means the odd bit of blood on the bench though.
 .
.There is usually blood in my builds, but I don’t think I’m related....Your not related to our Simon are you Karl, there was a time when "clarett" was a familiar mention on his posts.
For FULL Forum access you can upgrade your account here UPGRADE