- Joined
- Aug 3, 2007
- Messages
- 197
- Points
- 28
- First Name
- Peter
Hello!
Let me introduce myself, as I am new here. My name is Peter and I live in the UK. English is not my native language so please forgive me my errors.
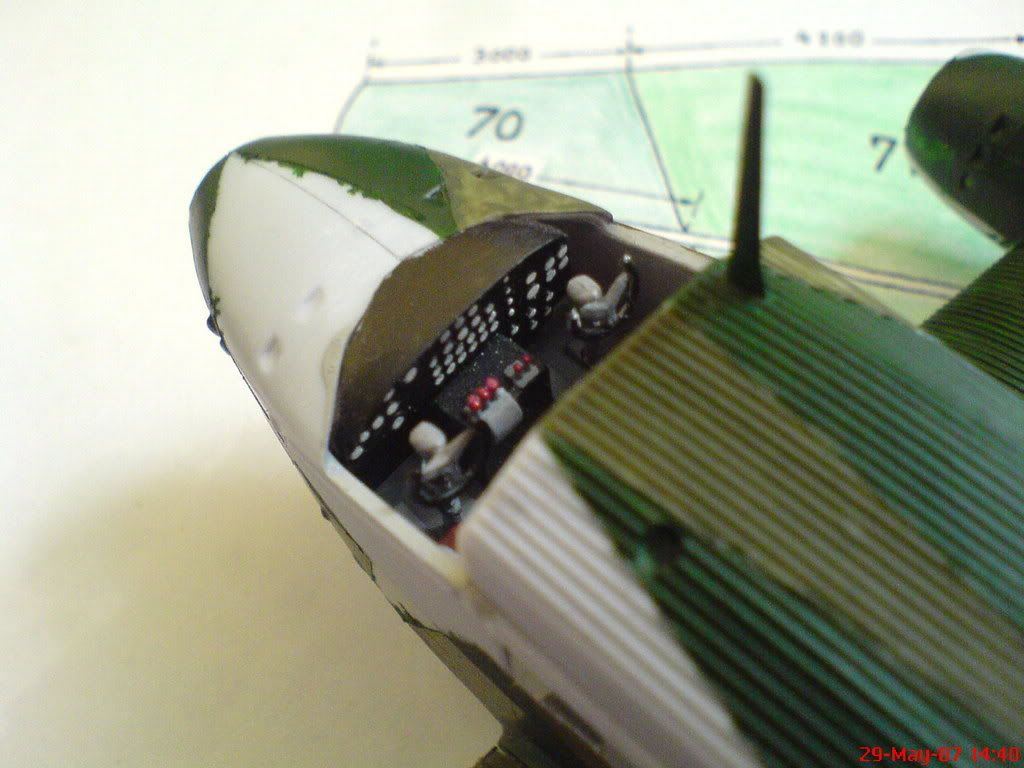
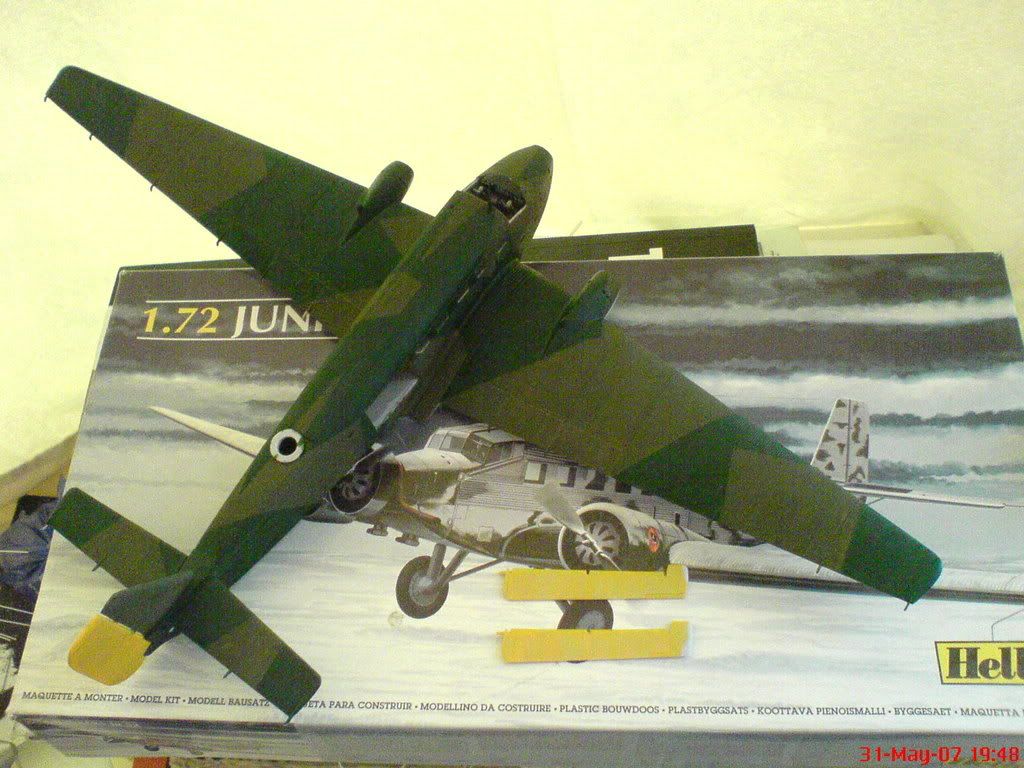
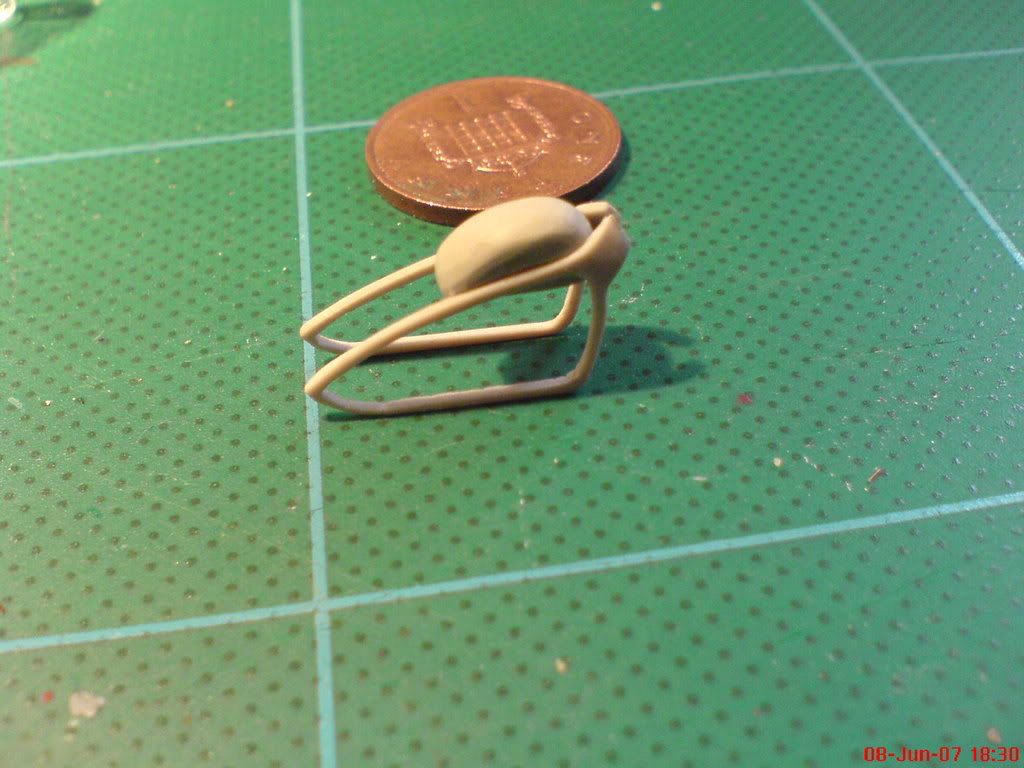
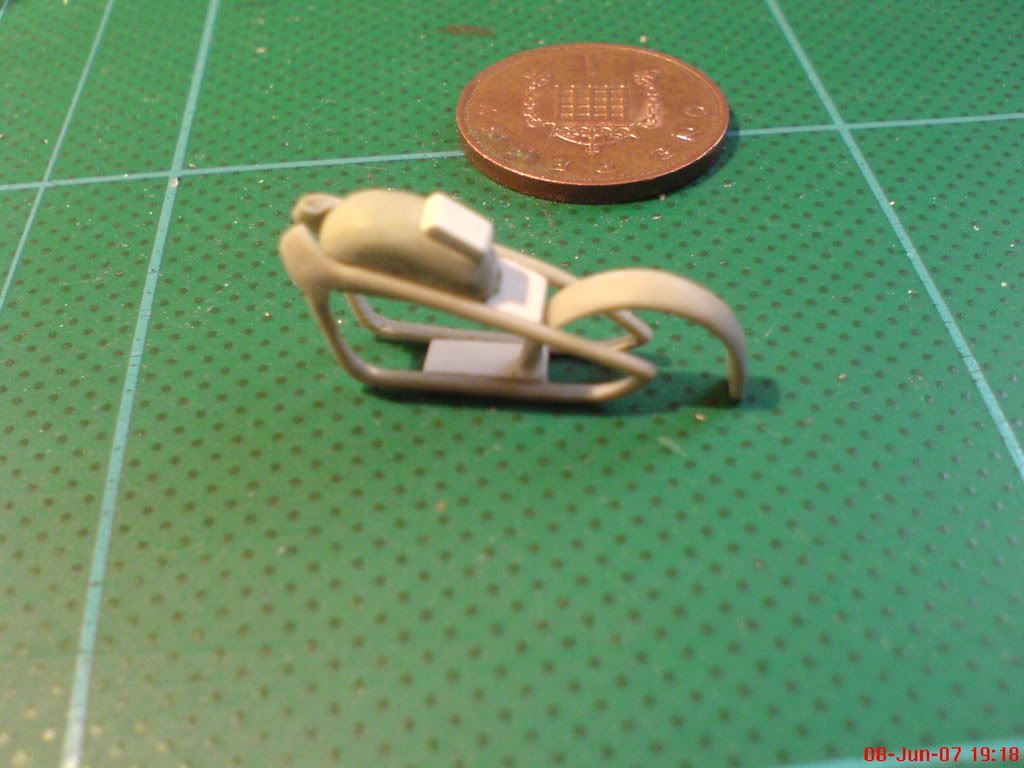
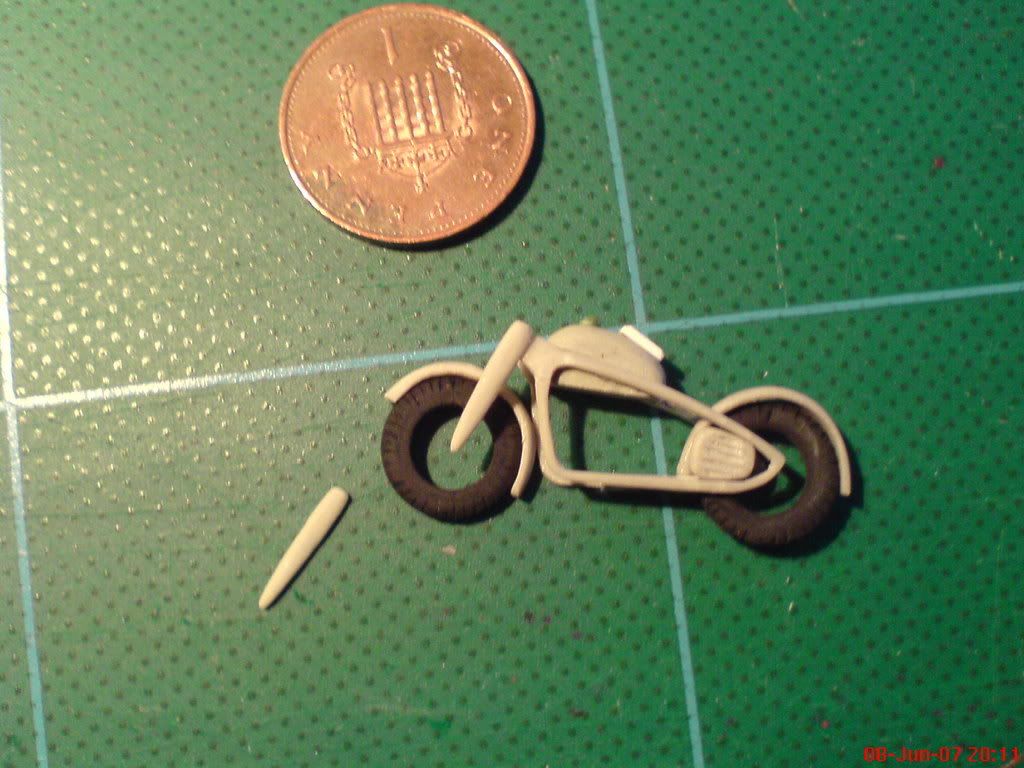
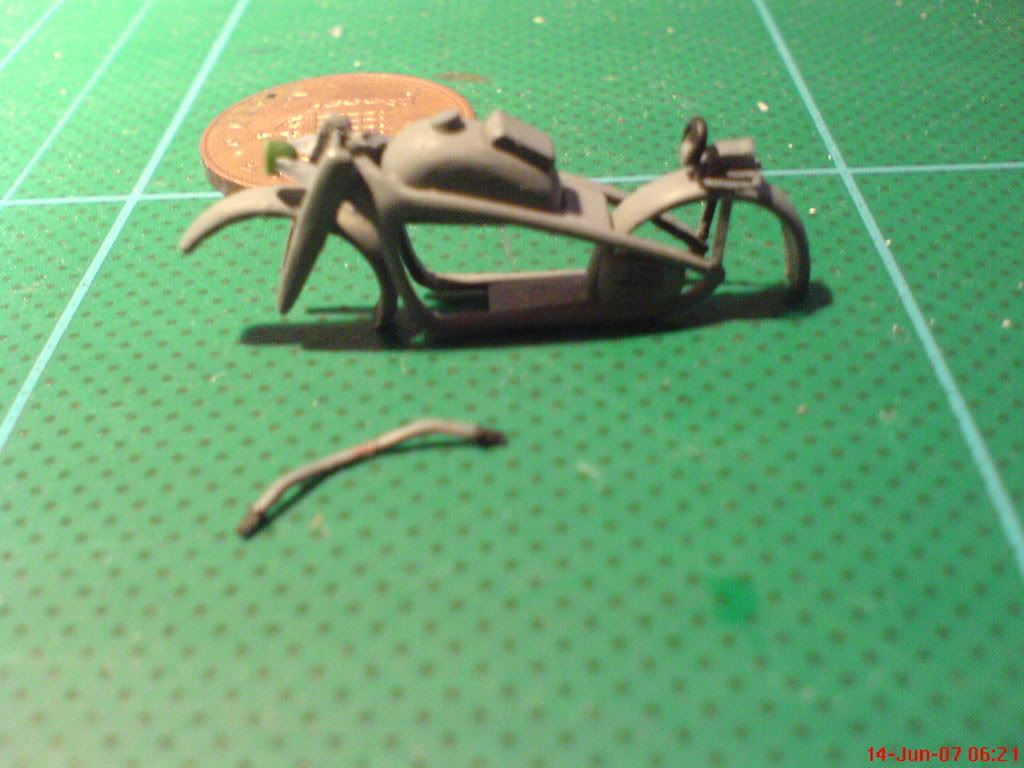
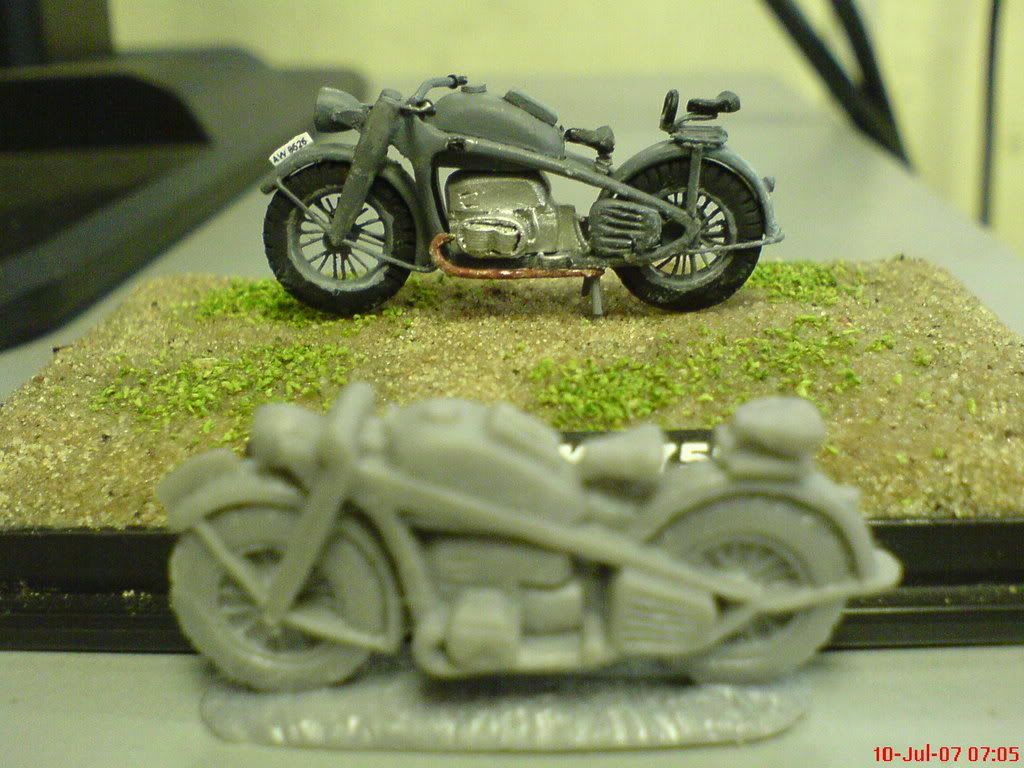
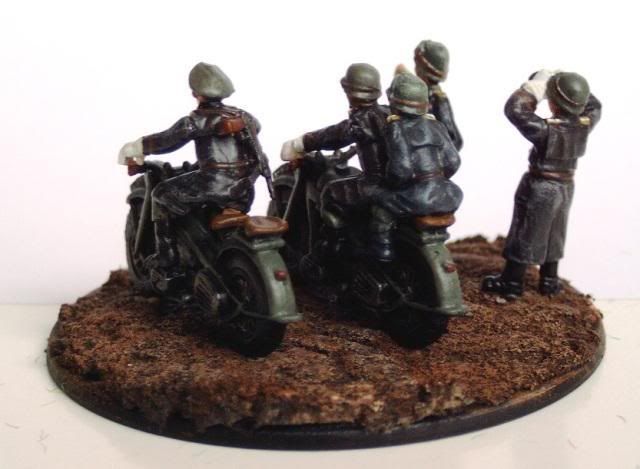
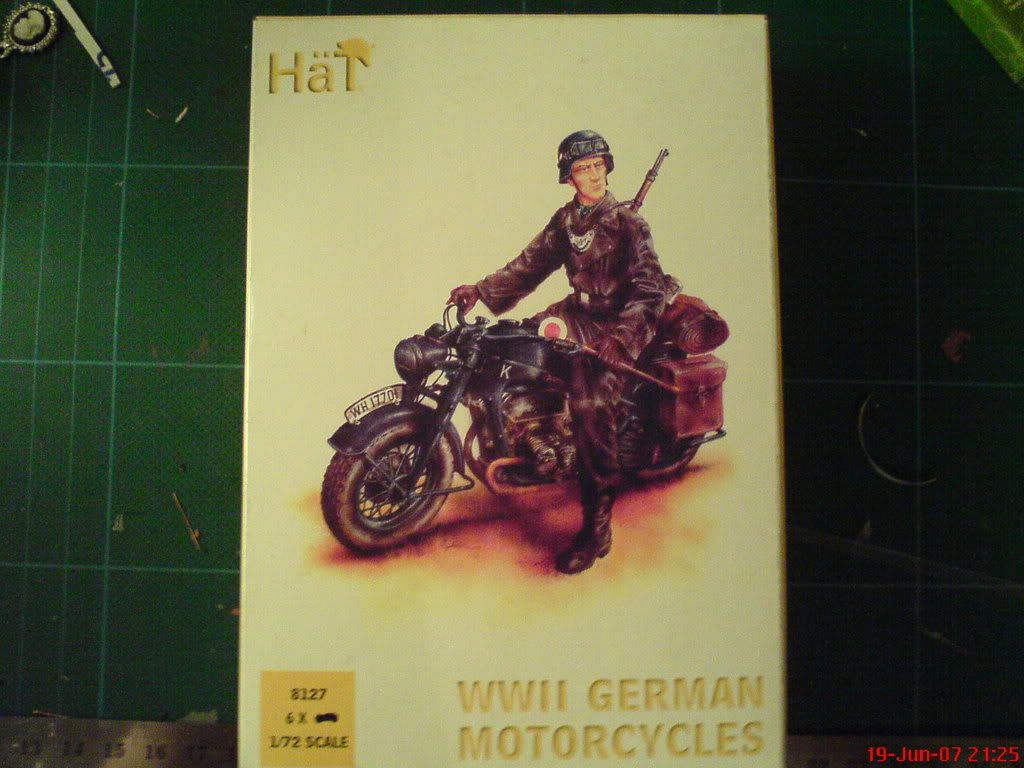
I would like to show you the way I built 1:72 scale motorcycle. Where's the idea from - you might ask. Well, I needed cargo for my Ju 52/3m and bought Hat’s kit. The picture on the box shows one motorcycle and one rider. I wasn't expecting miracles, but I thought it would consist of at least few parts. To my great disappointment motorbike comes with one mould x6 plus several figures. Here are the pictures.

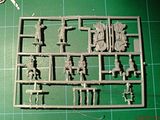
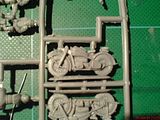
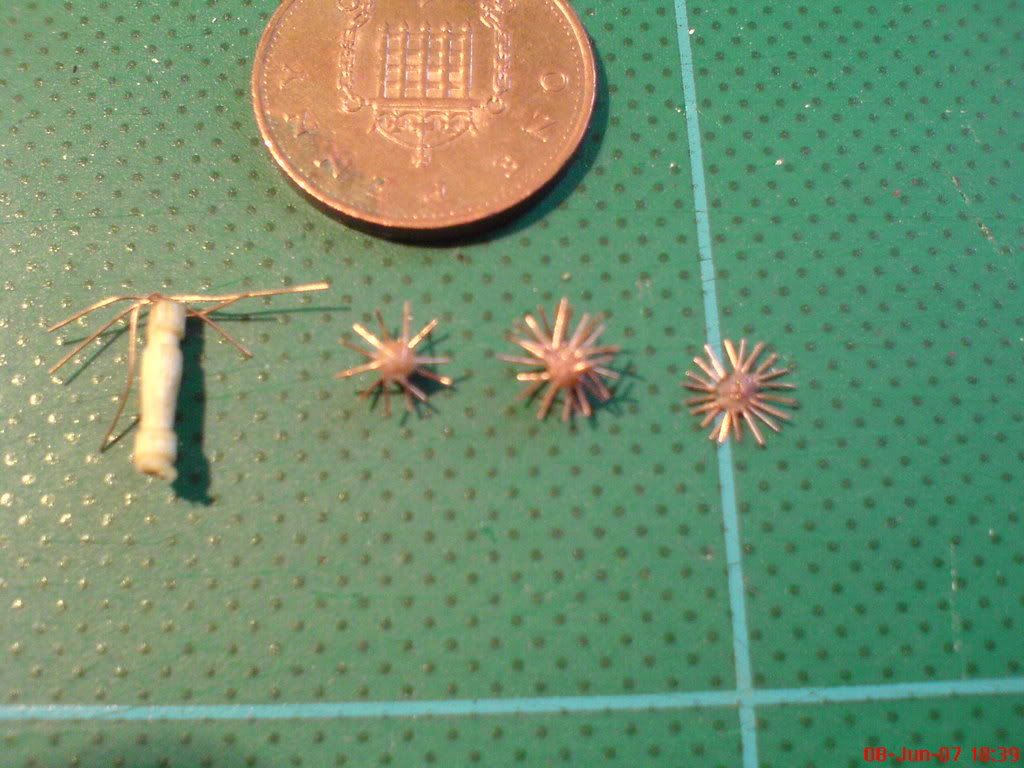
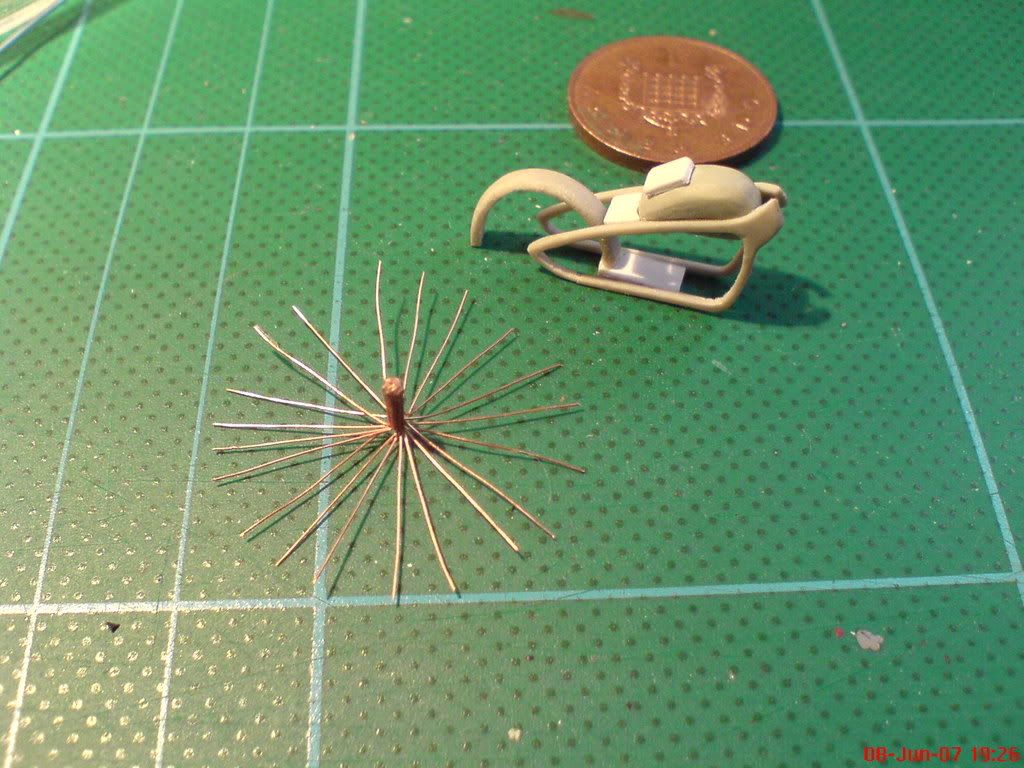
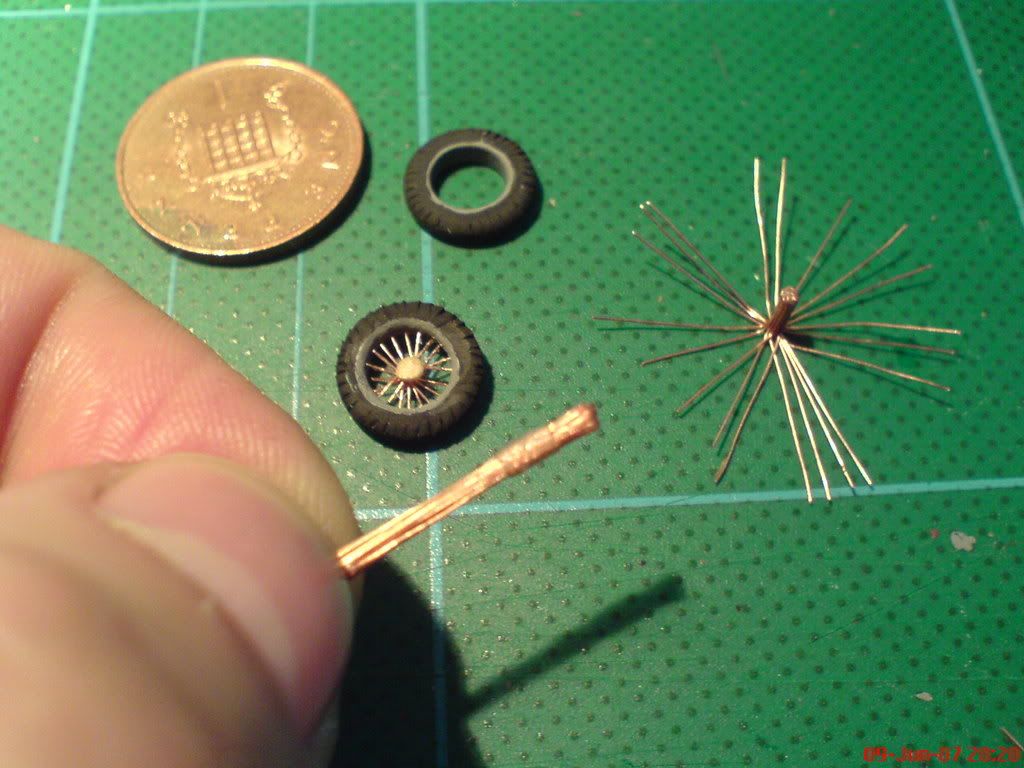
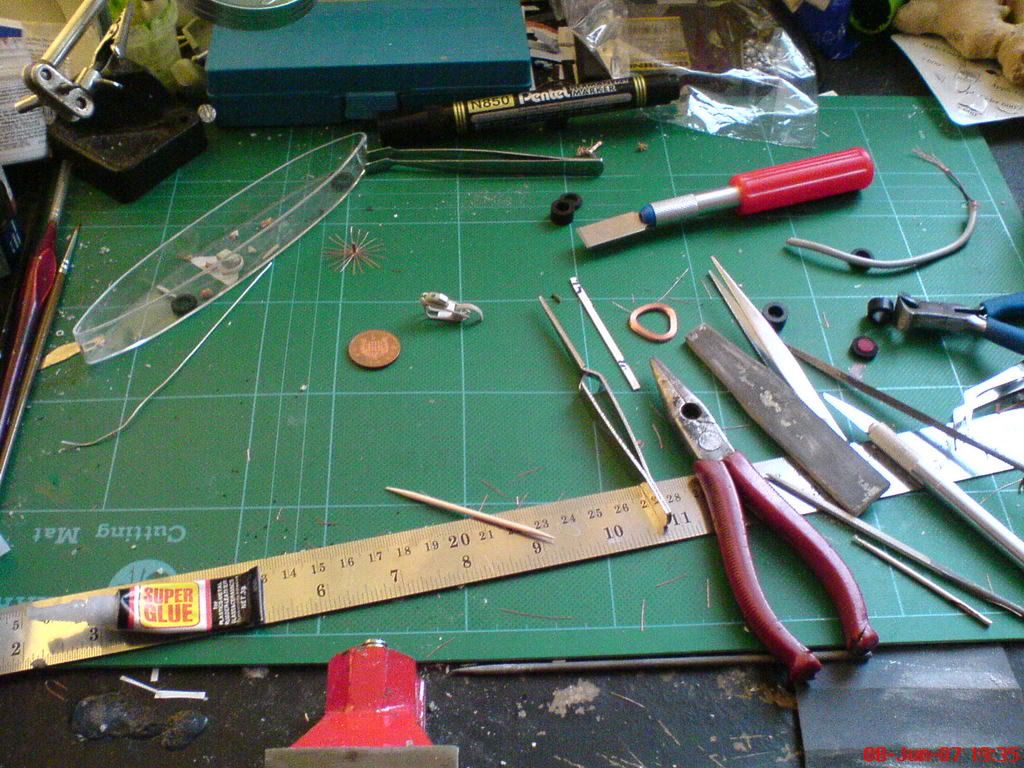
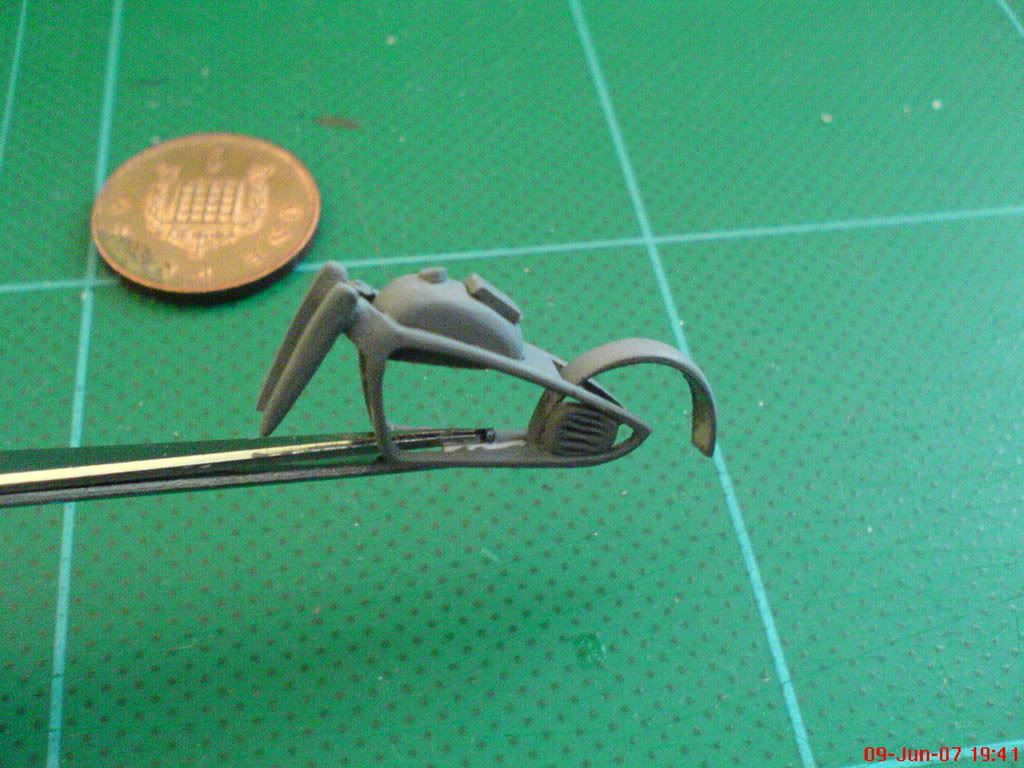
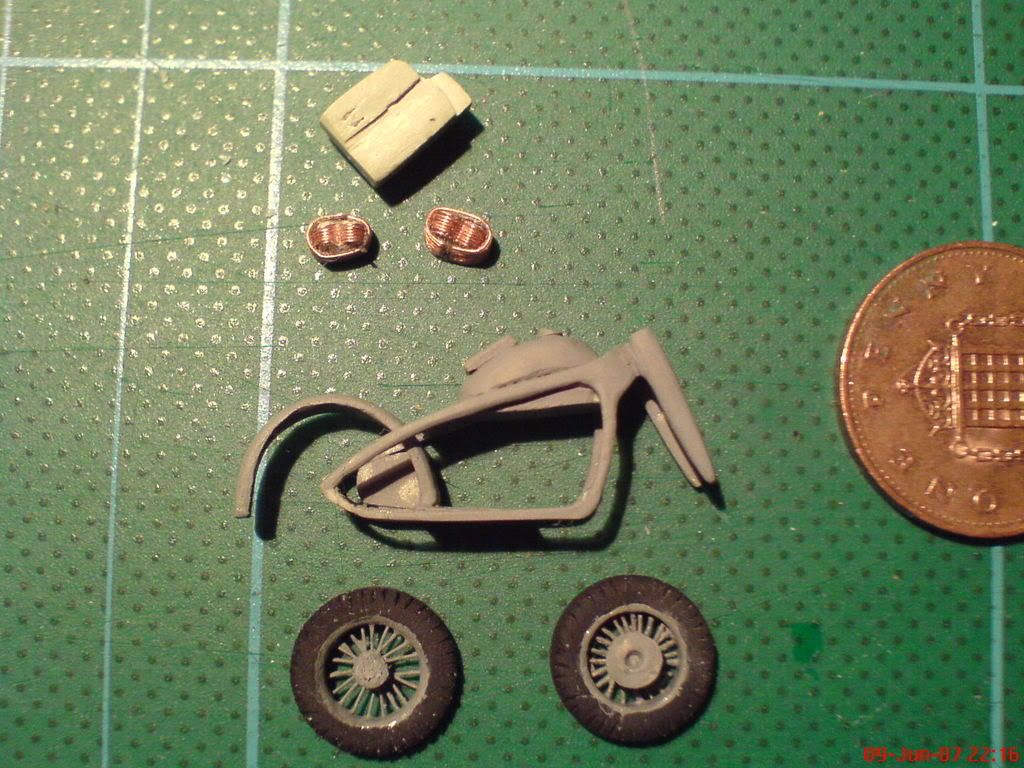
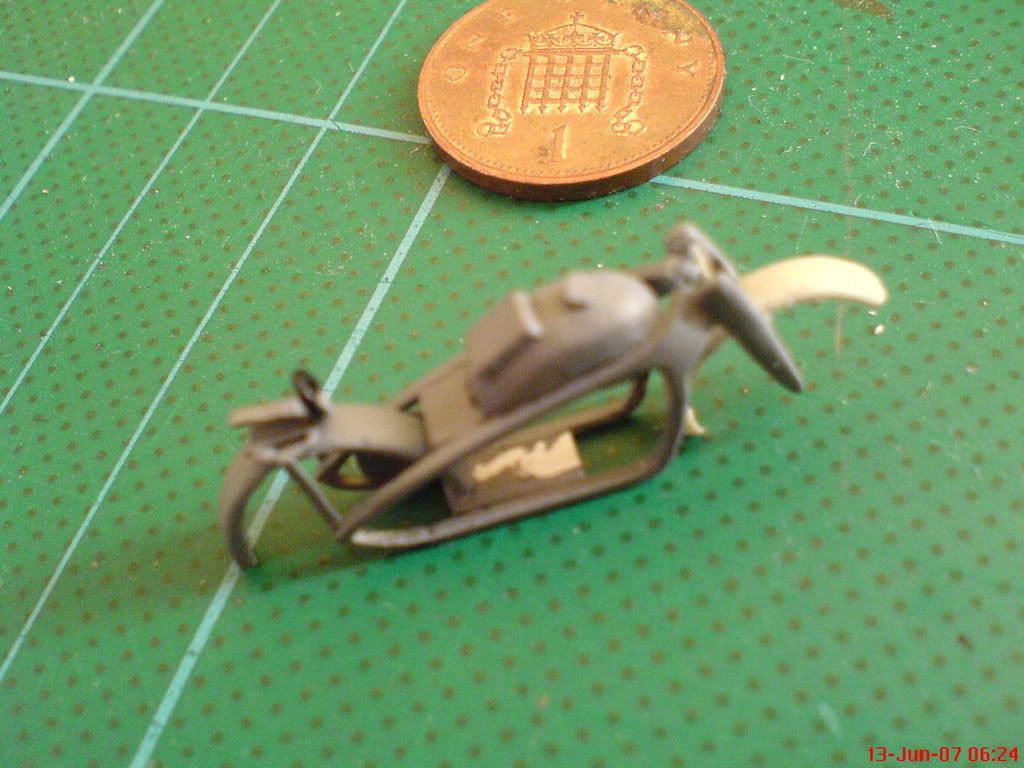
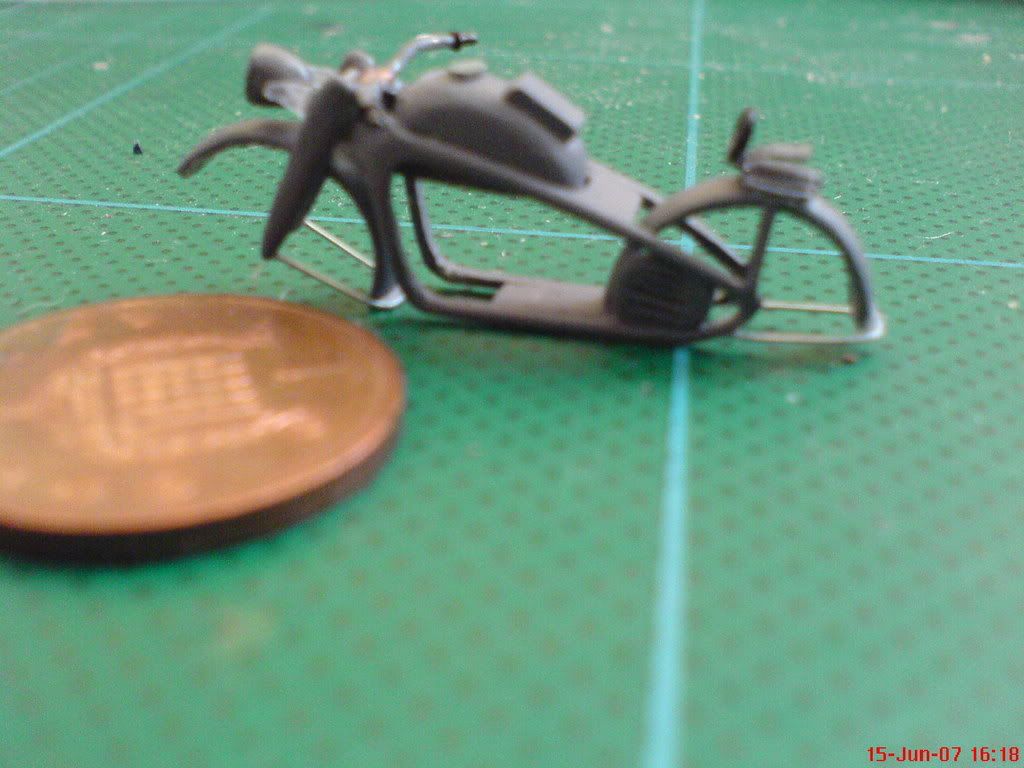
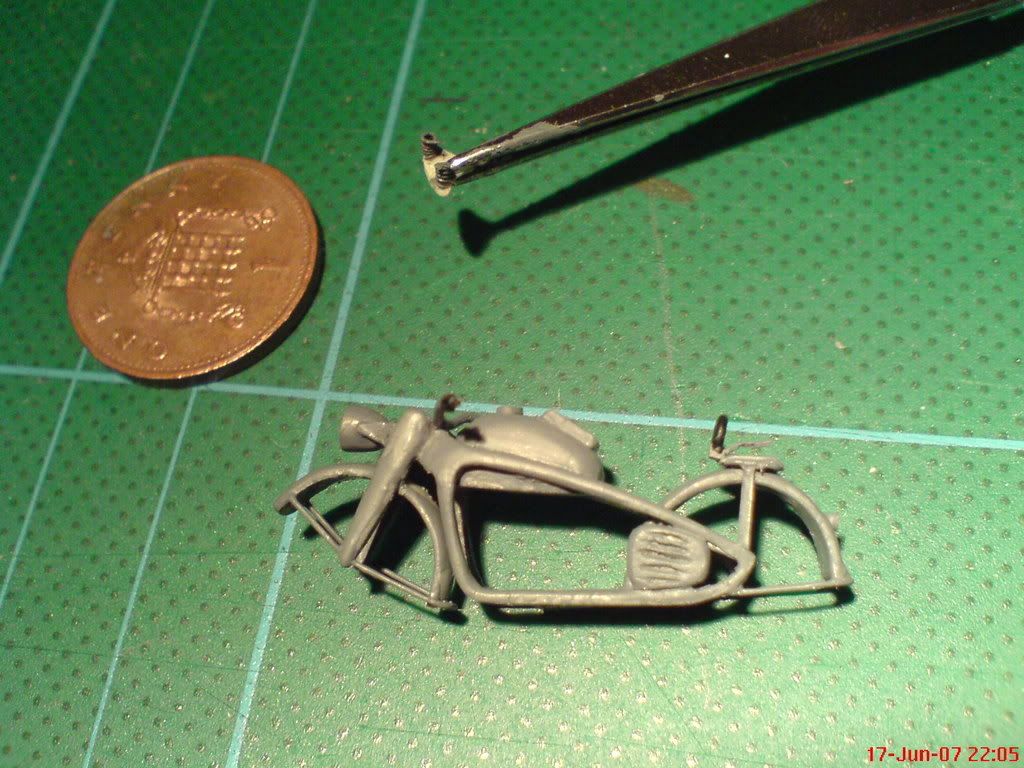
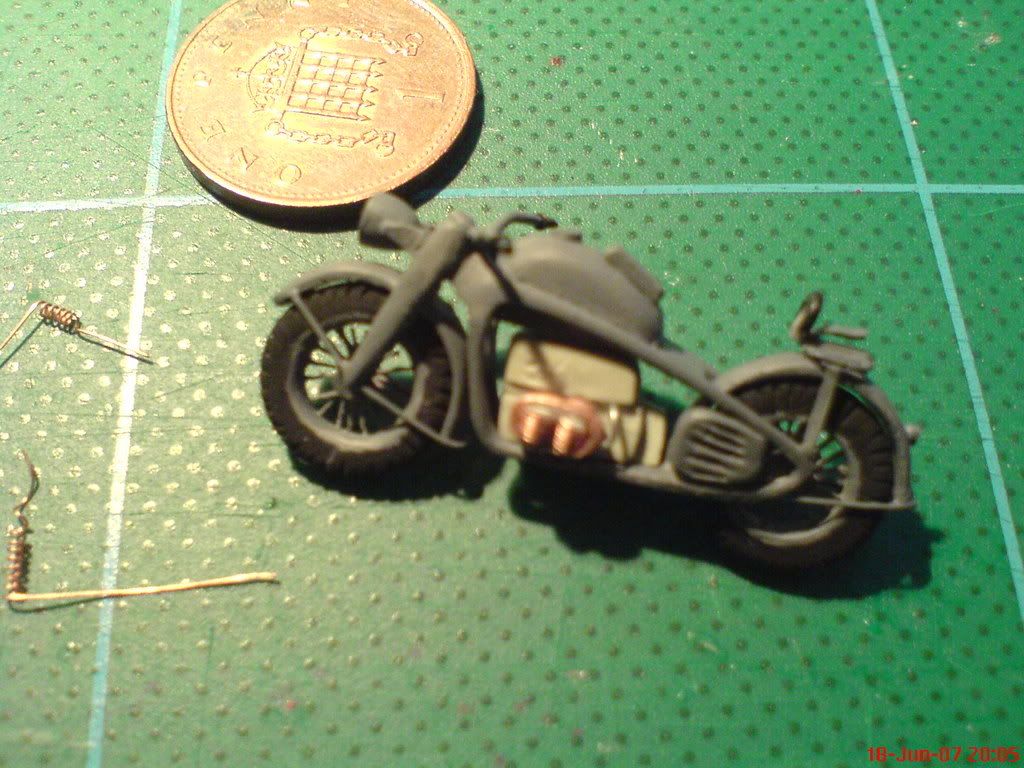
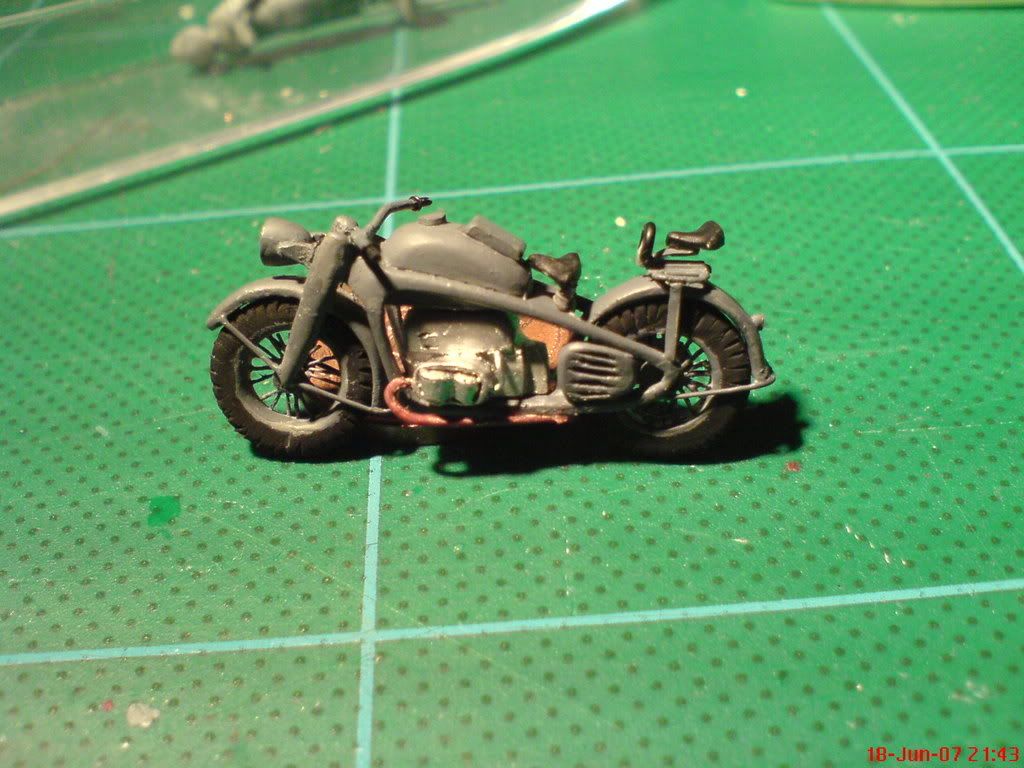
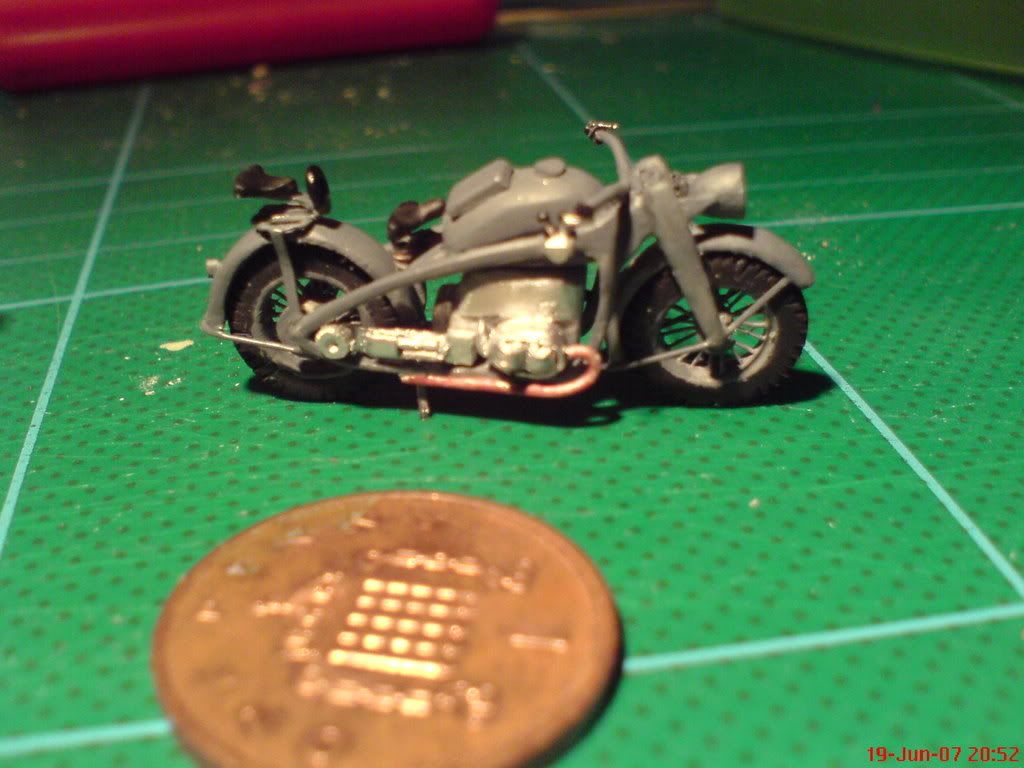
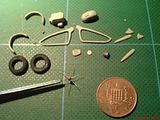
As you see the kit is not very detailed. But I did not give up and decided to scratch build it myself. You will see the construction step by step. I will use broken floppy disc plastic, Milliput, leftovers from PE frame, and different diameter brass wire. These are the parts I have prepared so far:
I hope you'll enjoy watching the progress and give me some feedback.:waiter:
Regards,
Marudek
Let me introduce myself, as I am new here. My name is Peter and I live in the UK. English is not my native language so please forgive me my errors.
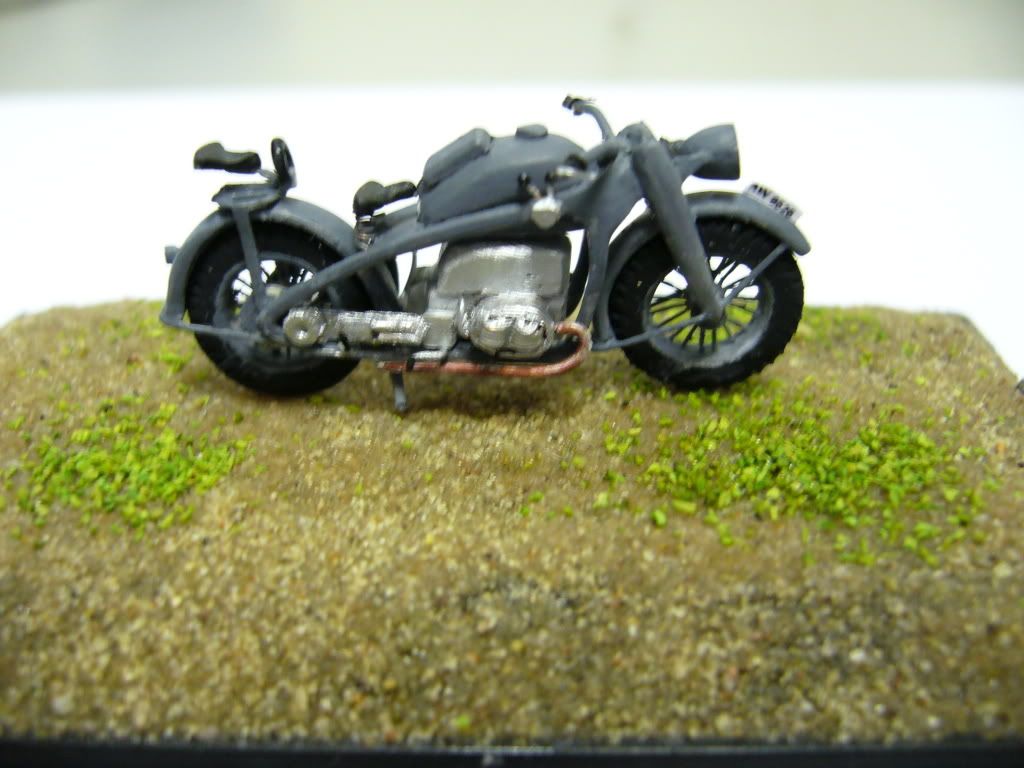
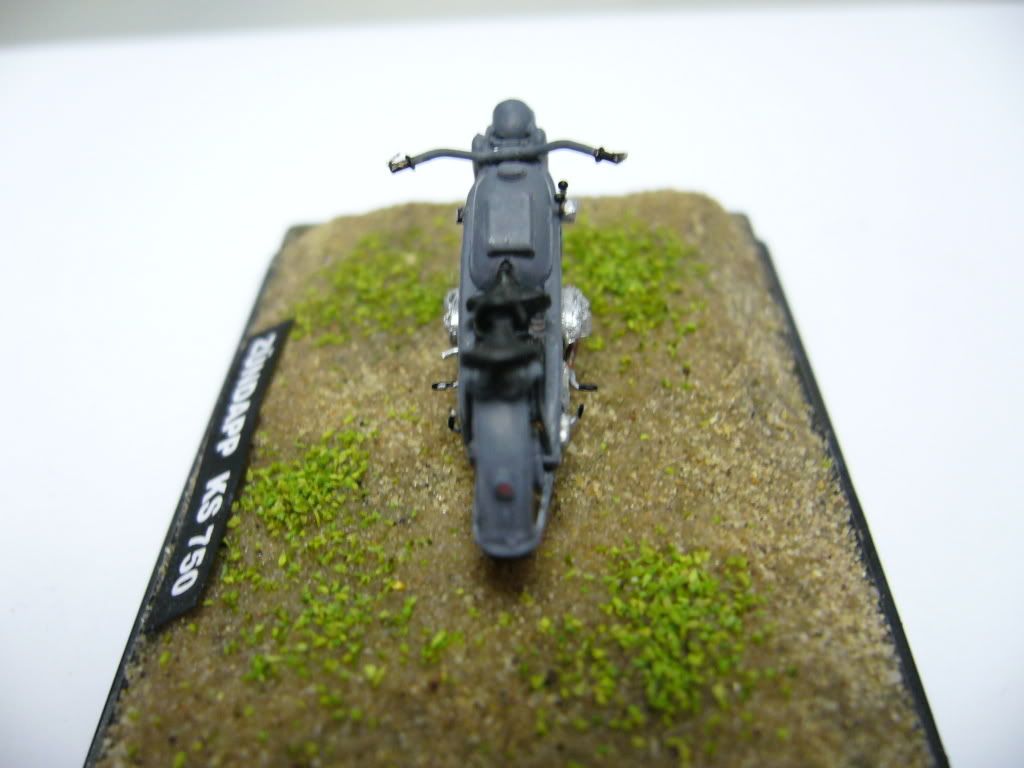
I would like to show you the way I built 1:72 scale motorcycle. Where's the idea from - you might ask. Well, I needed cargo for my Ju 52/3m and bought Hat’s kit. The picture on the box shows one motorcycle and one rider. I wasn't expecting miracles, but I thought it would consist of at least few parts. To my great disappointment motorbike comes with one mould x6 plus several figures. Here are the pictures.
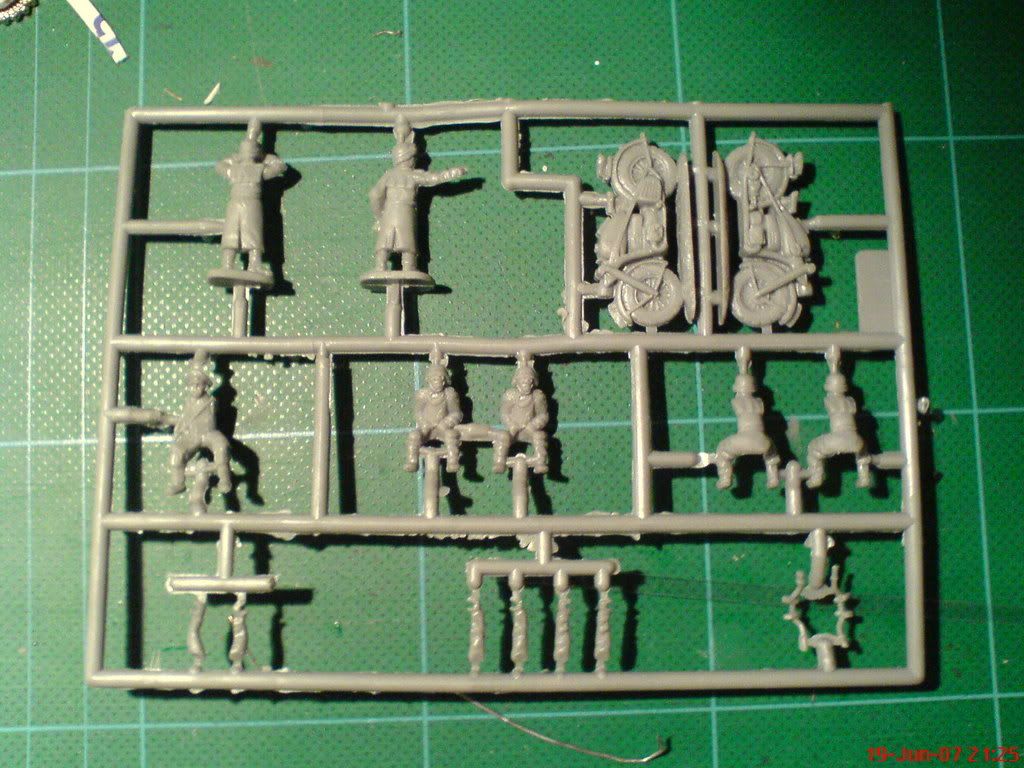
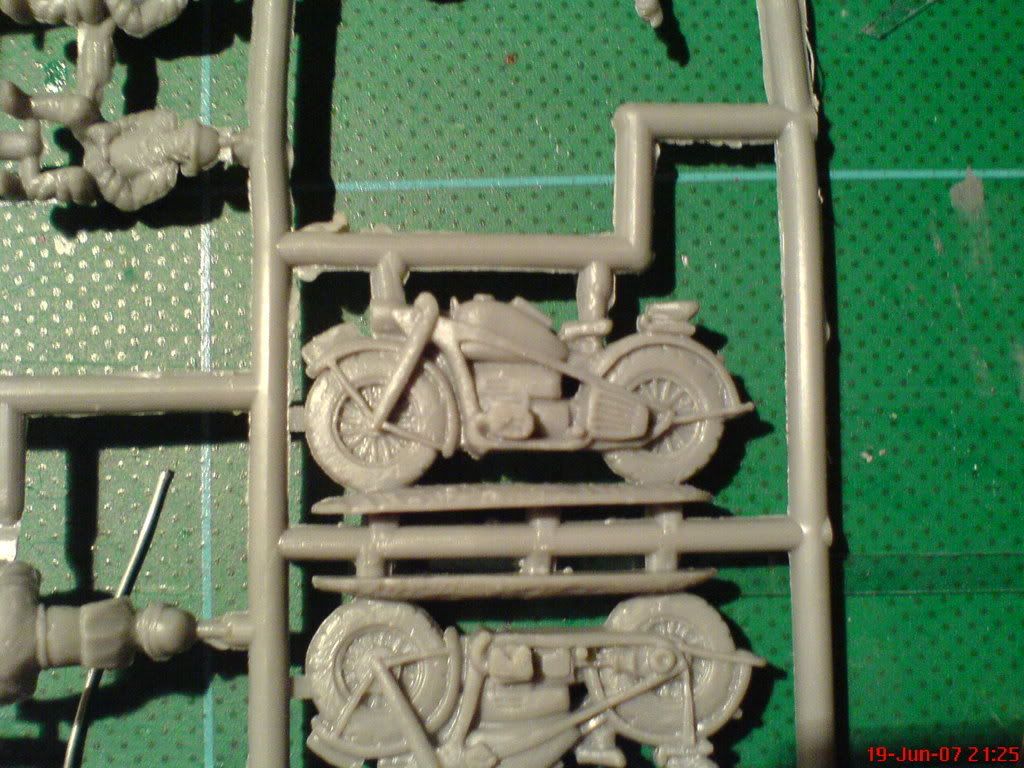
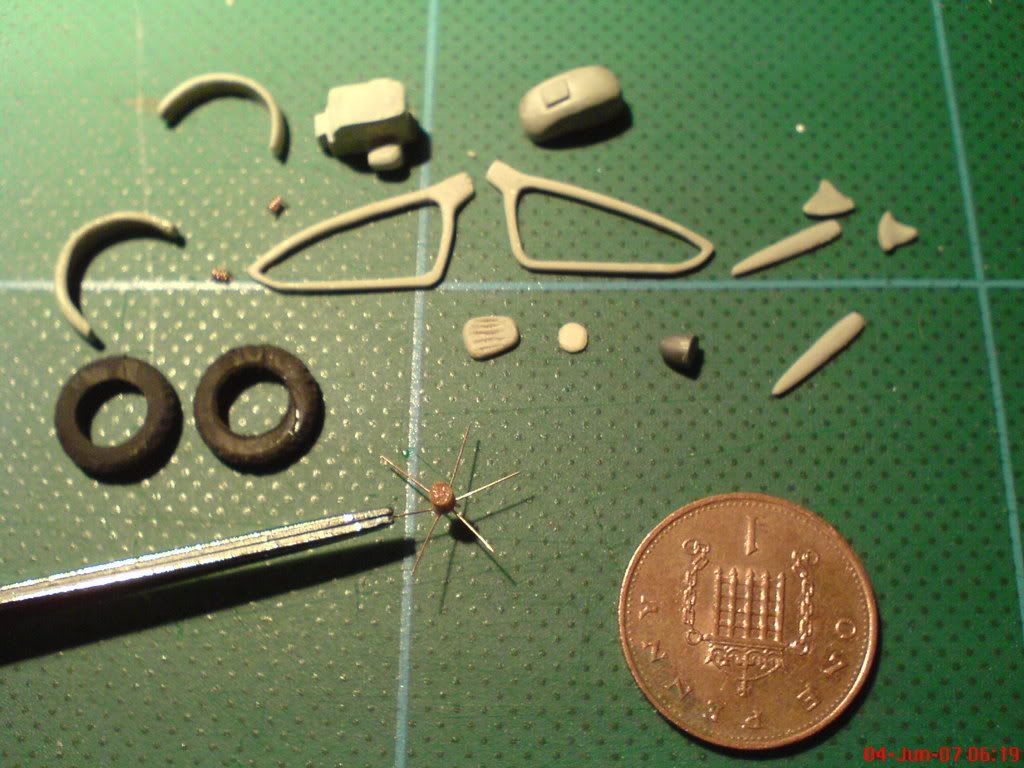
As you see the kit is not very detailed. But I did not give up and decided to scratch build it myself. You will see the construction step by step. I will use broken floppy disc plastic, Milliput, leftovers from PE frame, and different diameter brass wire. These are the parts I have prepared so far:
I hope you'll enjoy watching the progress and give me some feedback.:waiter:
Regards,
Marudek