davecov
SMF Supporter
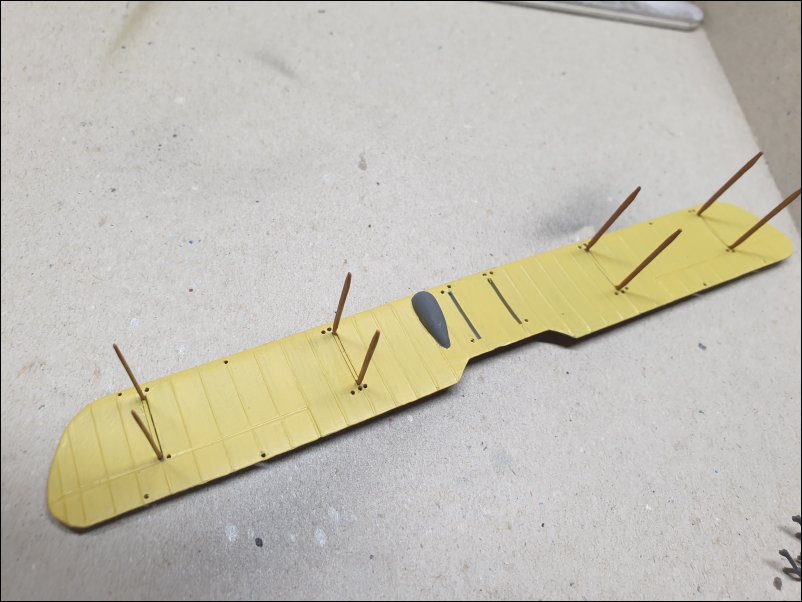
Thanks to Ian (@papa 695) for setting up this GB. I will be building the Airfix 1/72 Airco DH4 1918 (01079).
During the late Sixties when I was aged 10 or 11, I came across the Airfix DH4 for the first time. It was a memorable build for me due to the fact that when I started to build it, there were a lot of missing parts, including a fuselage half! It was the first time that I had missing parts so I duly completed the enclosed complaint slip and sent it off with a handwritten letter to Haldane Place. About three weeks later I received two complete poly-bagged DH4s plus the missing parts for the original kit. I ended up making three DH4s which I enjoyed very much but I have never made one since then!
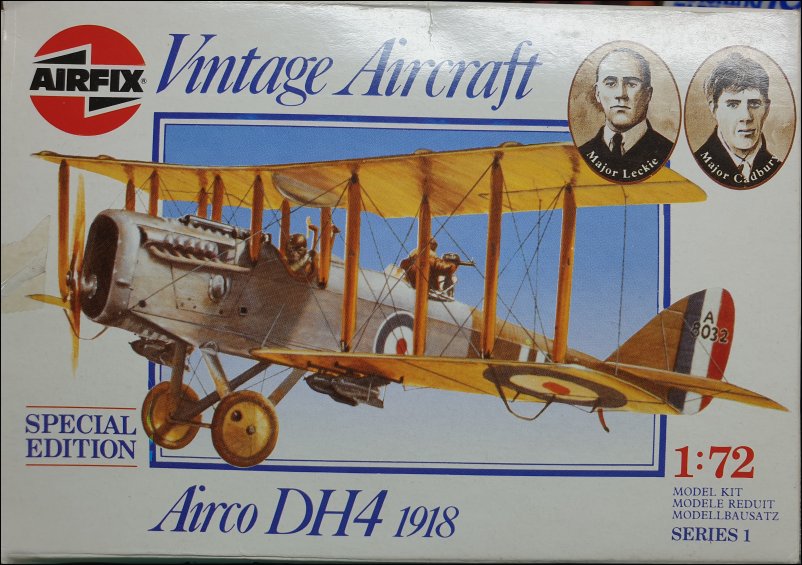
This is a 1987 "Special Edition" boxing released with a "Vintage Aircraft" label:
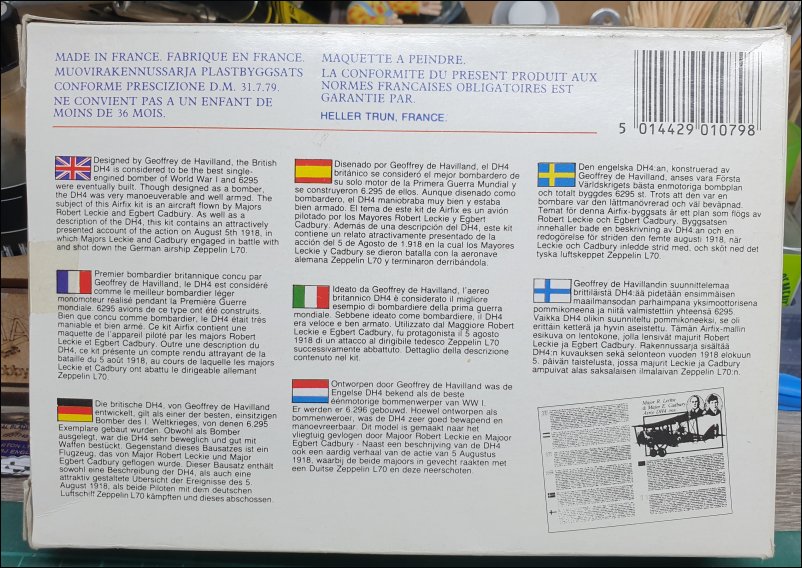
The back of the box shows a potted history of the DH4 with translations in seven languages:
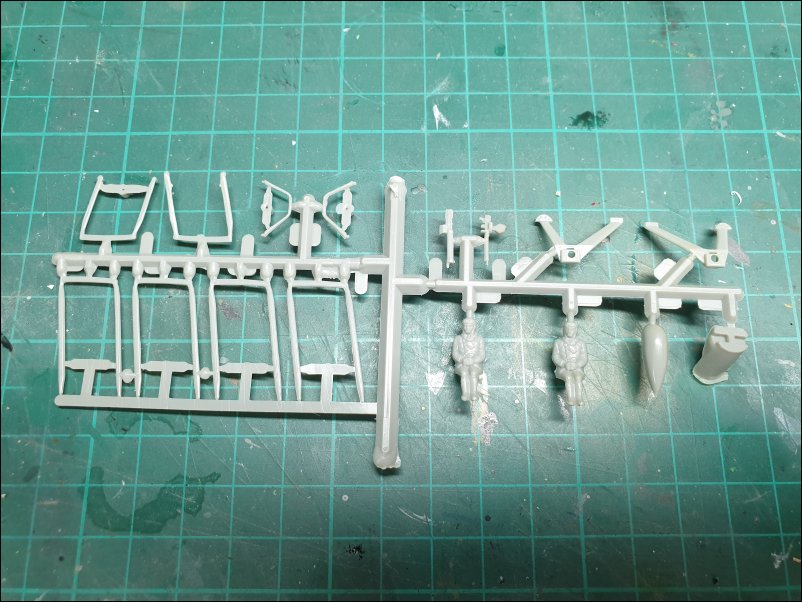
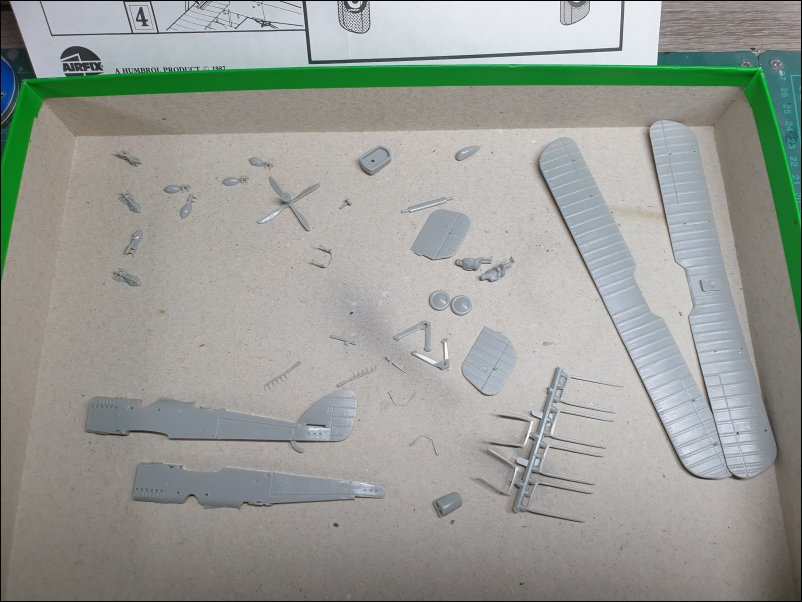
I can recall that the original poly-bagged versions of the DH4 were moulded in a pale yellow colour. This release is moulded in a rather brittle grey plastic:

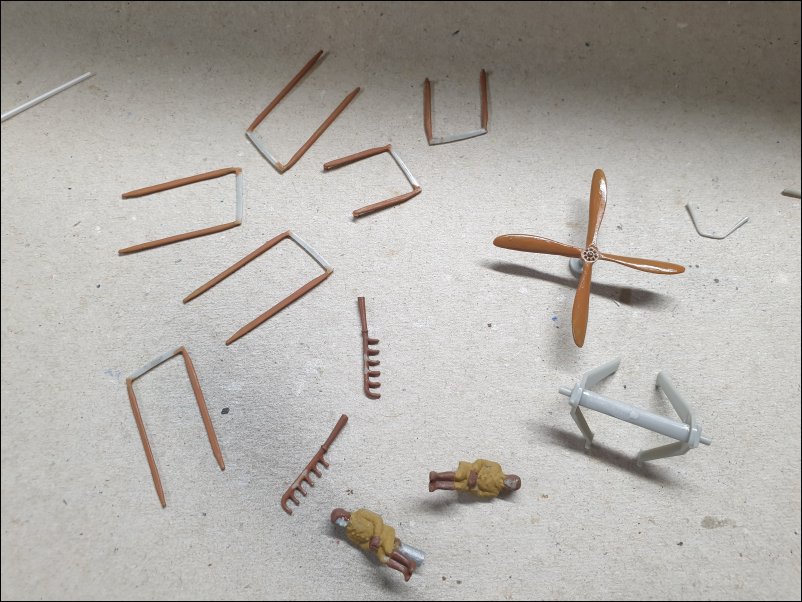
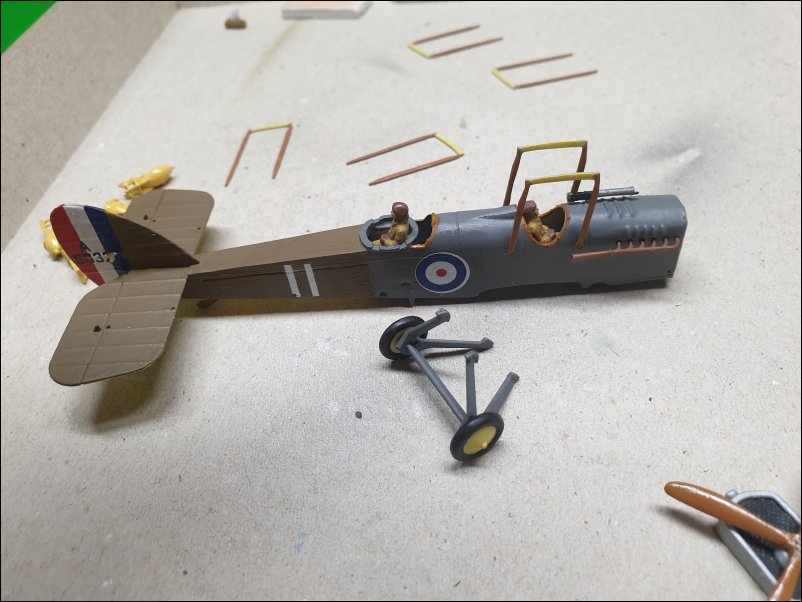
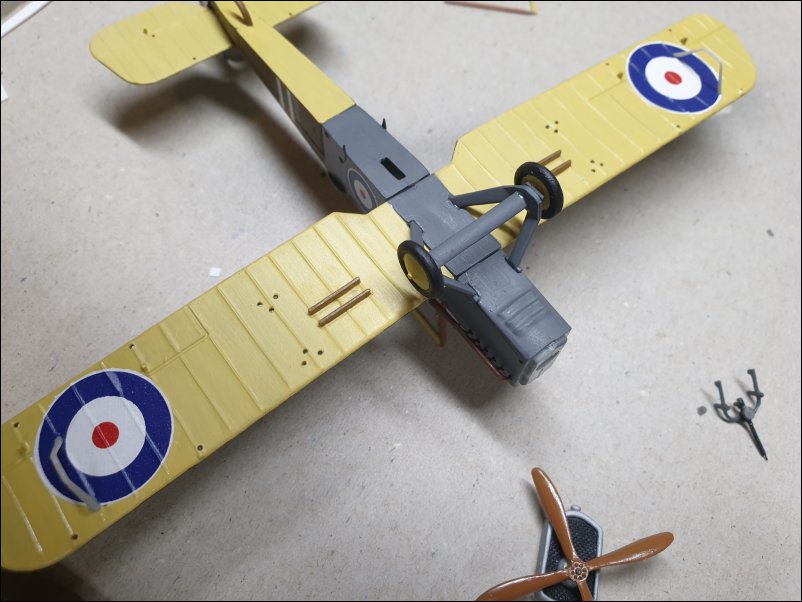
One of the two runners which comes with two figures:
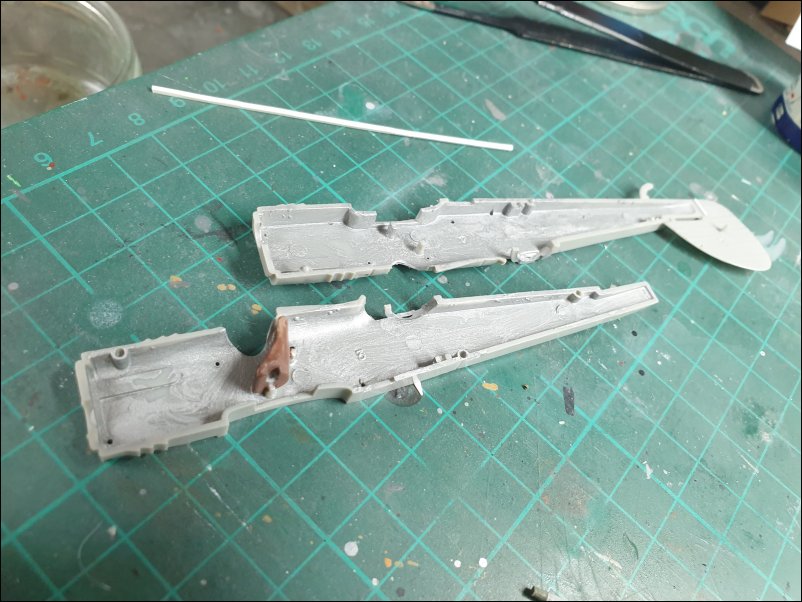
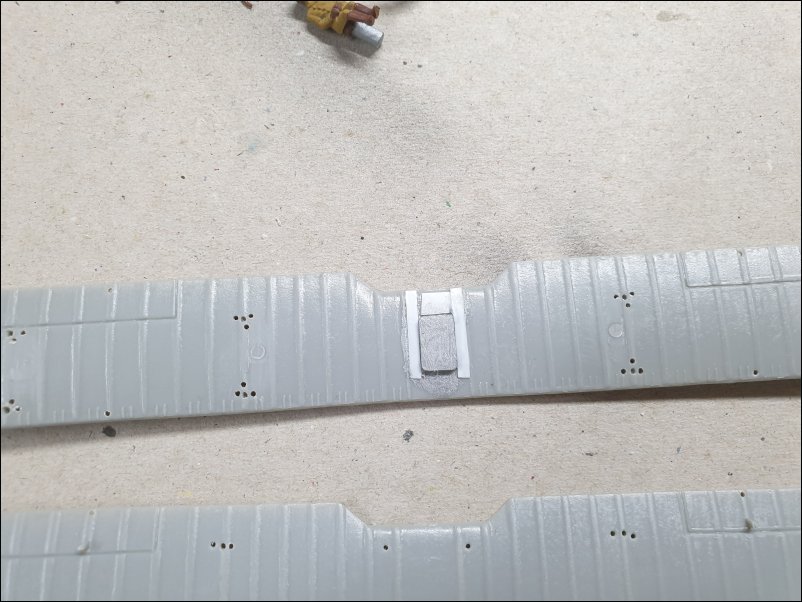
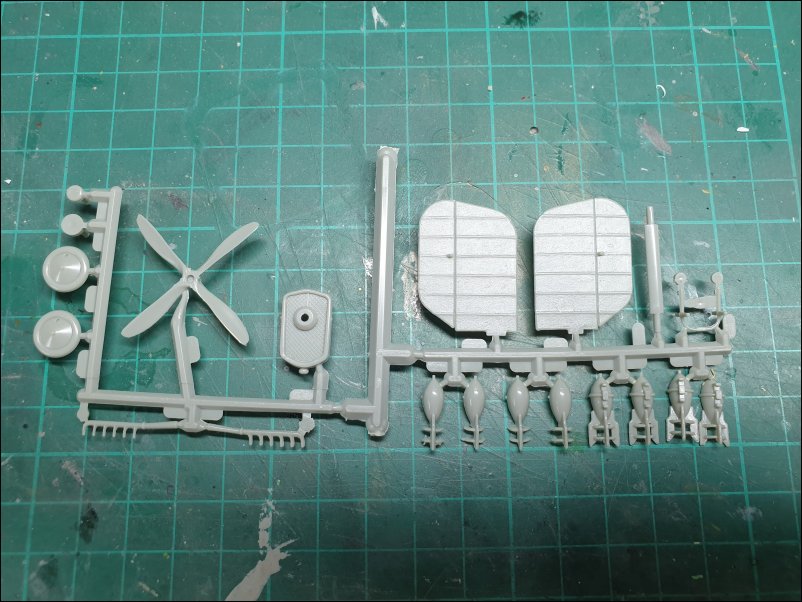
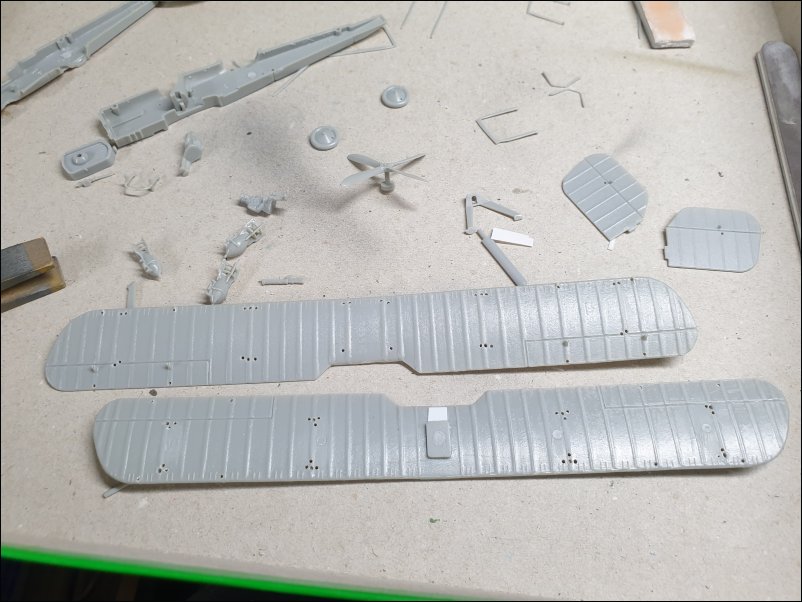
The second runner. Parts are in a pretty good condition without flash and very little in the way of seams to clean up:
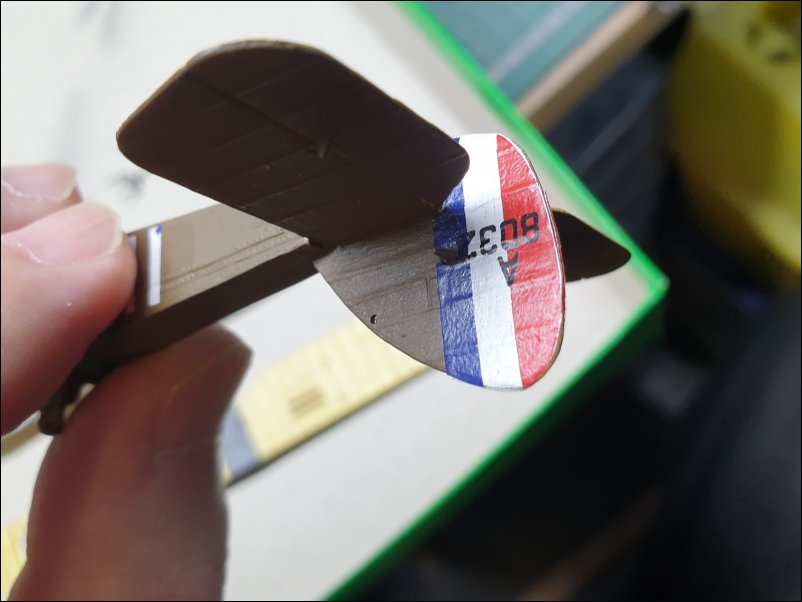
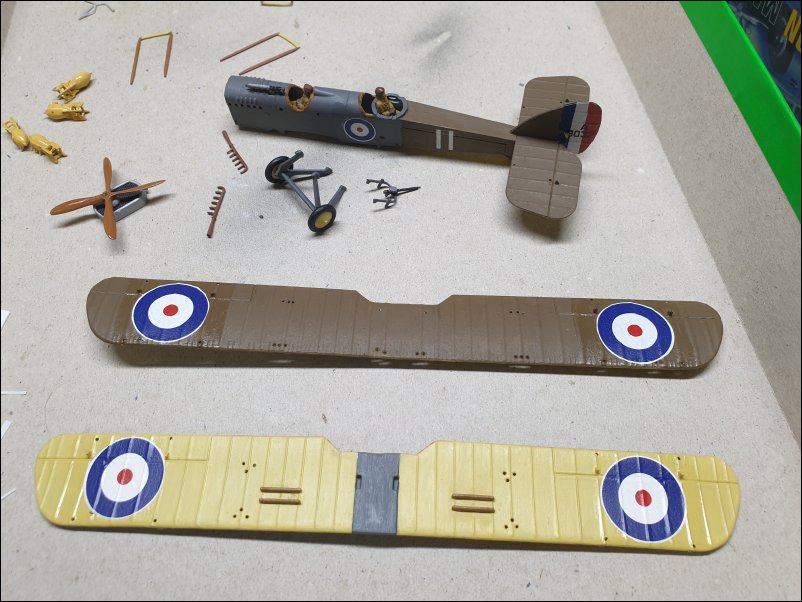
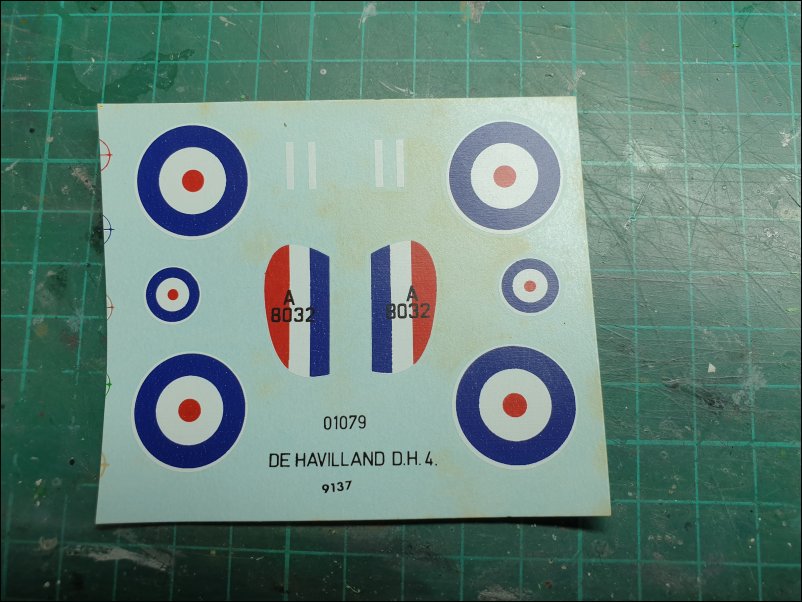
The decal sheet has a slightly brown staining and the blue roundels are printed off-centre which means that there is a white surround to part of the roundels:
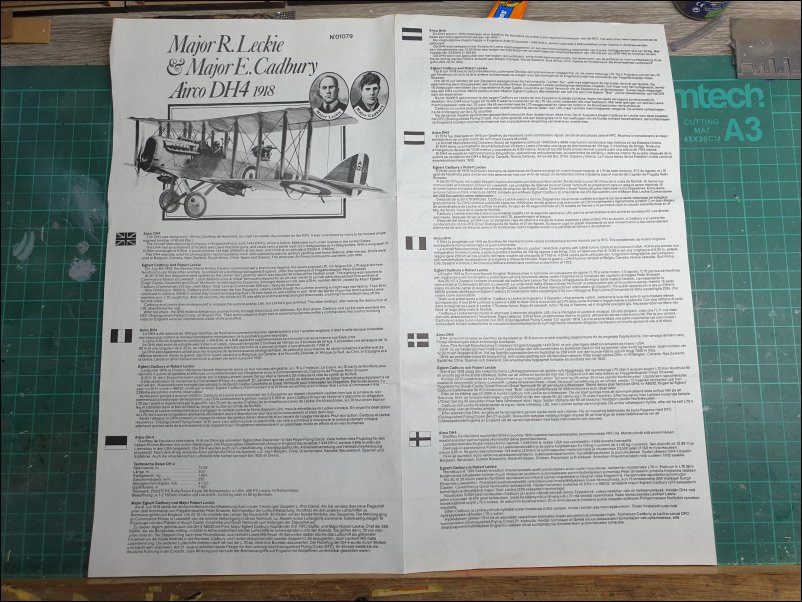
A double-sided sheet contains a potted history of the DH4 with translations in seven languages on one side:
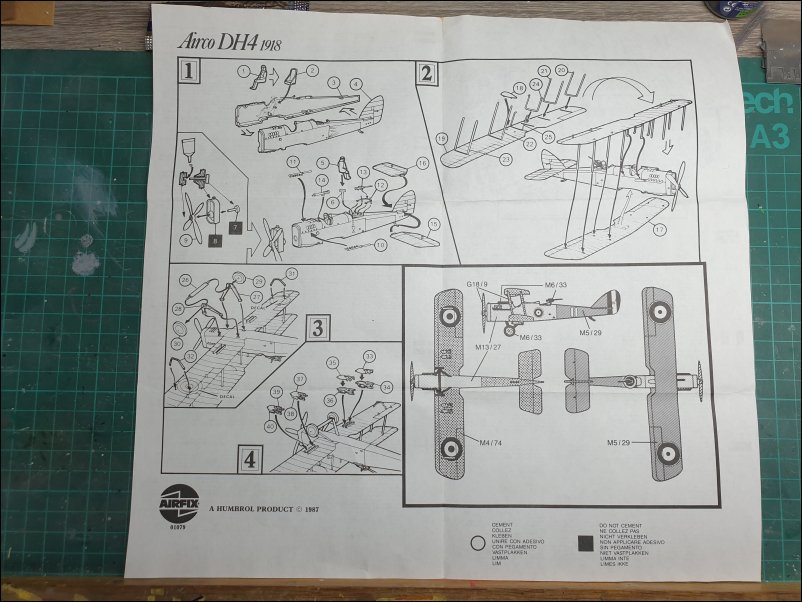
The reverse side has the Assembly Instructions spread over four sections along with a decal placement and painting profile:
That is all for now
Dave
During the late Sixties when I was aged 10 or 11, I came across the Airfix DH4 for the first time. It was a memorable build for me due to the fact that when I started to build it, there were a lot of missing parts, including a fuselage half! It was the first time that I had missing parts so I duly completed the enclosed complaint slip and sent it off with a handwritten letter to Haldane Place. About three weeks later I received two complete poly-bagged DH4s plus the missing parts for the original kit. I ended up making three DH4s which I enjoyed very much but I have never made one since then!
This is a 1987 "Special Edition" boxing released with a "Vintage Aircraft" label:
The back of the box shows a potted history of the DH4 with translations in seven languages:
I can recall that the original poly-bagged versions of the DH4 were moulded in a pale yellow colour. This release is moulded in a rather brittle grey plastic:
One of the two runners which comes with two figures:
The second runner. Parts are in a pretty good condition without flash and very little in the way of seams to clean up:
The decal sheet has a slightly brown staining and the blue roundels are printed off-centre which means that there is a white surround to part of the roundels:
A double-sided sheet contains a potted history of the DH4 with translations in seven languages on one side:
The reverse side has the Assembly Instructions spread over four sections along with a decal placement and painting profile:
That is all for now
Dave
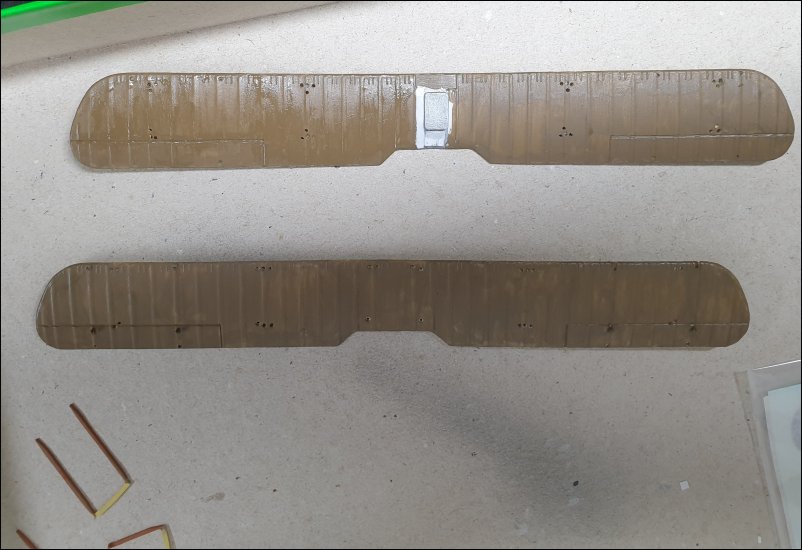
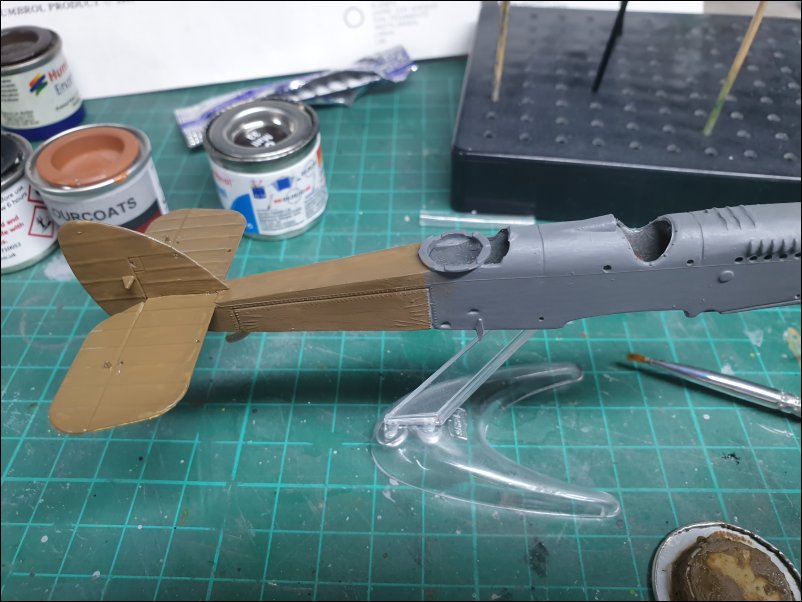
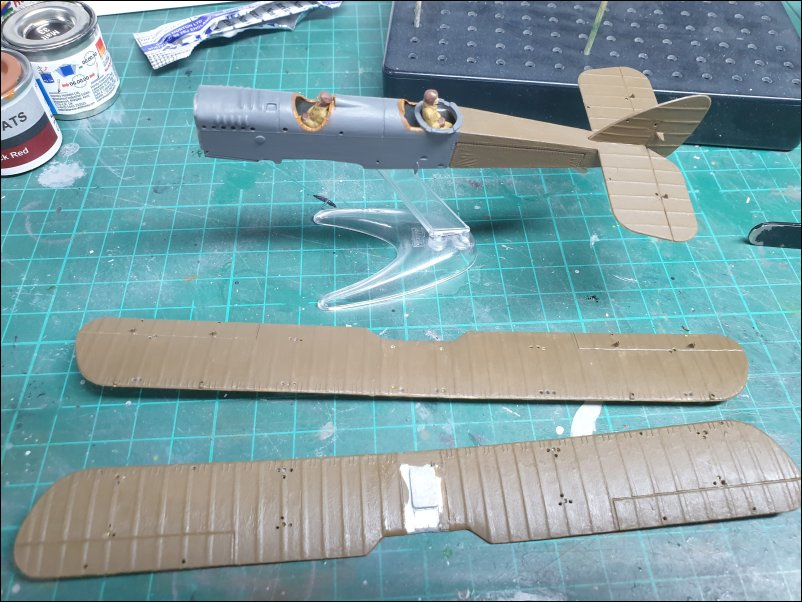
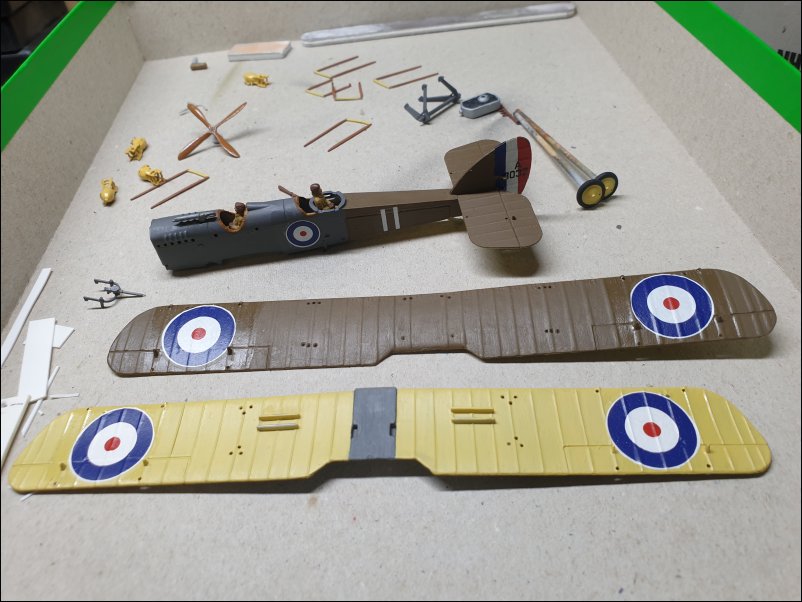
 ...
... ,
,