davecov
SMF Supporter
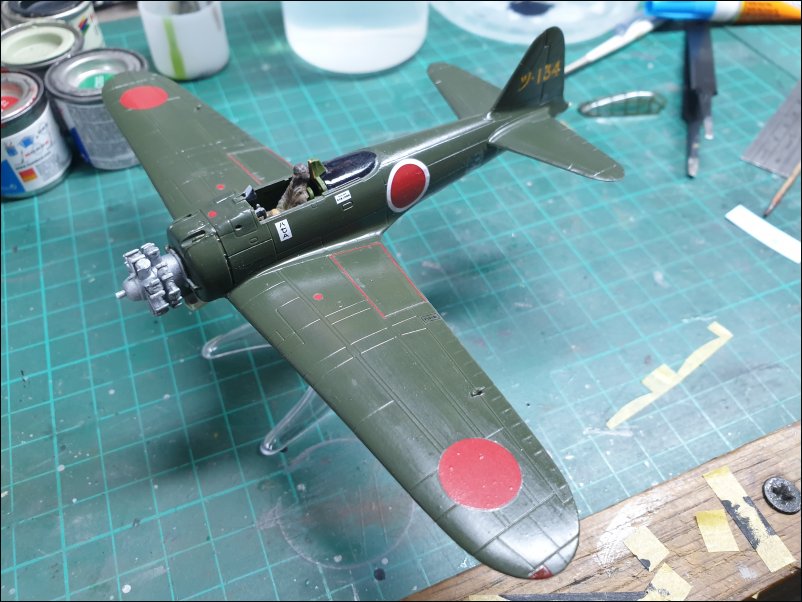
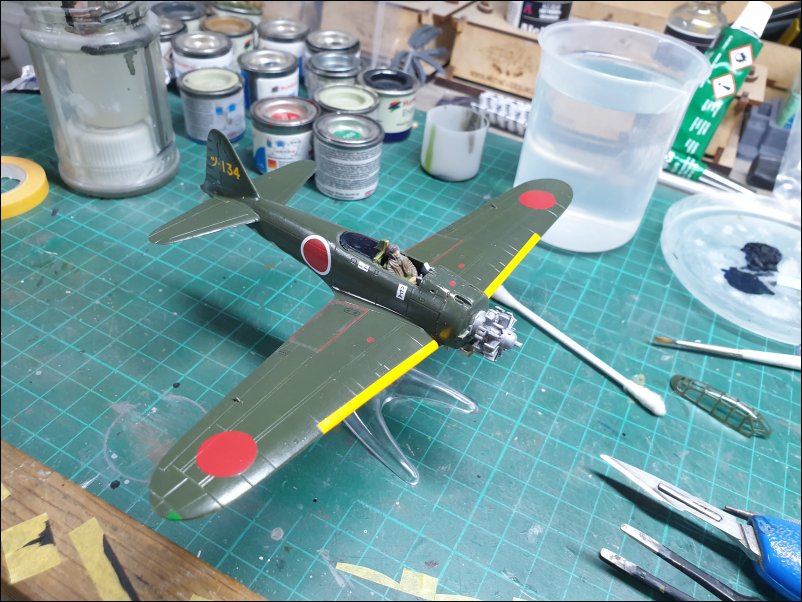
Thanks to Andy @The Smythe Meister for suggesting this GB. I will be building the Airfix 1/72 Mitsubishi A6M2b-21 'Zero' (A01005)
Box artwork:
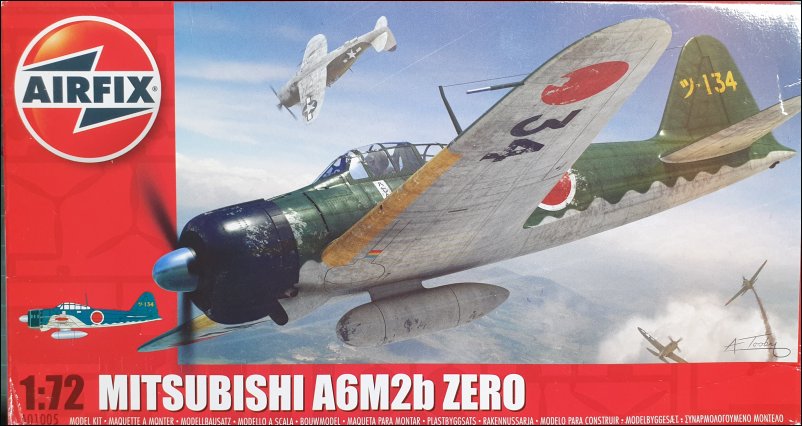
Rear of box shows painting profile and decal placement for a machine of the 201st Kokuta, Tobera Airfield, Keravat, East New Britian, Papua New Guinea, 1944:

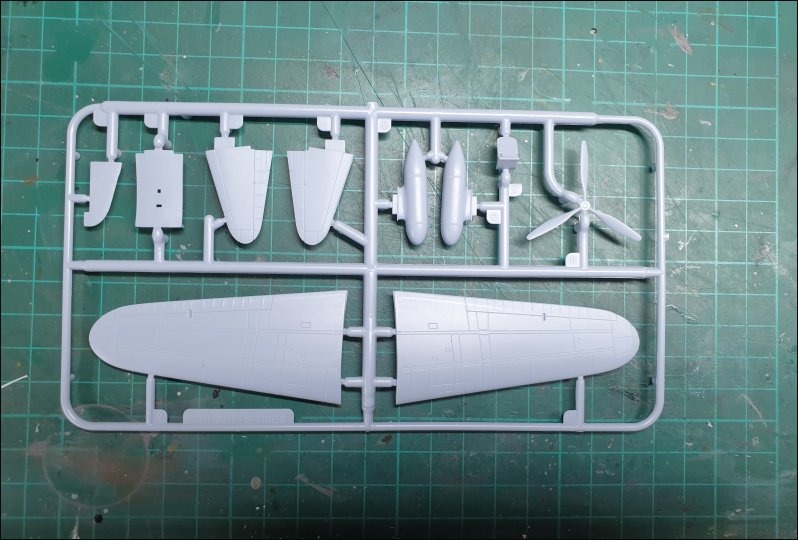
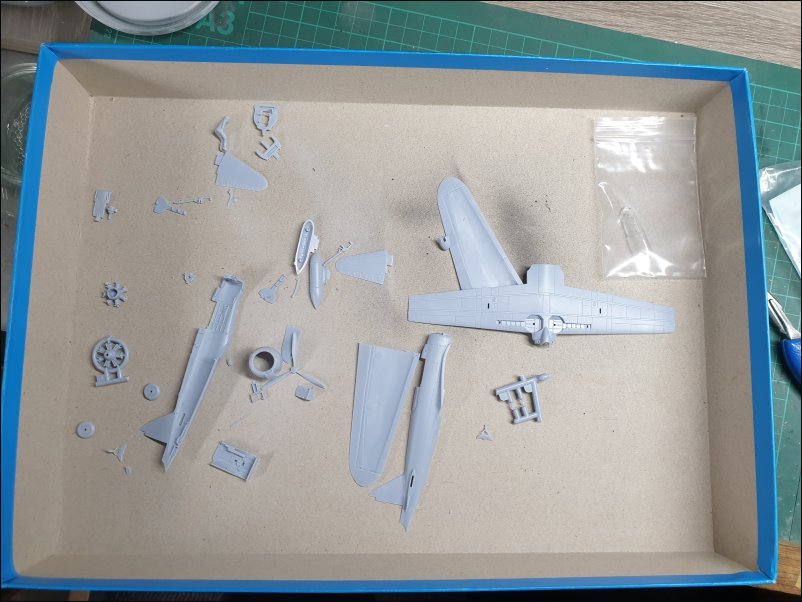
Parts are moulded in a grey plastic. Sprue A:
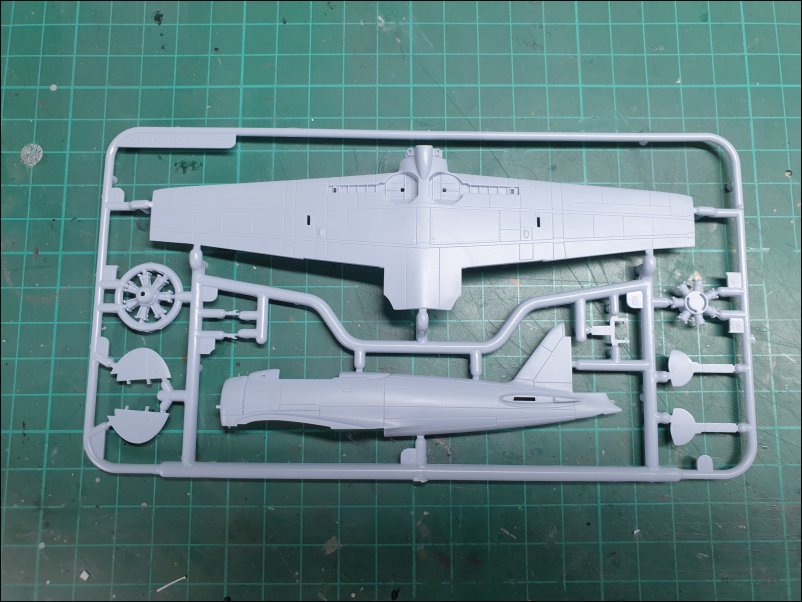
Sprue B:
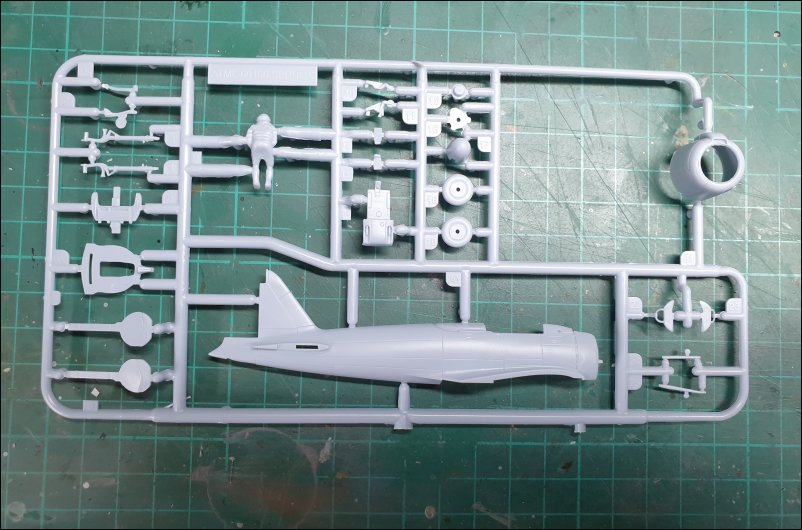
Sprue C:
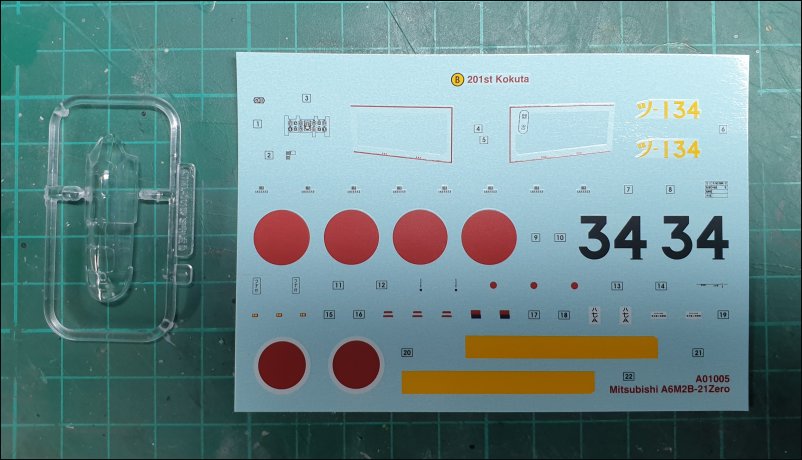
Cockpit transparency is crisply moulded and clear. Decals are well printed and in register:
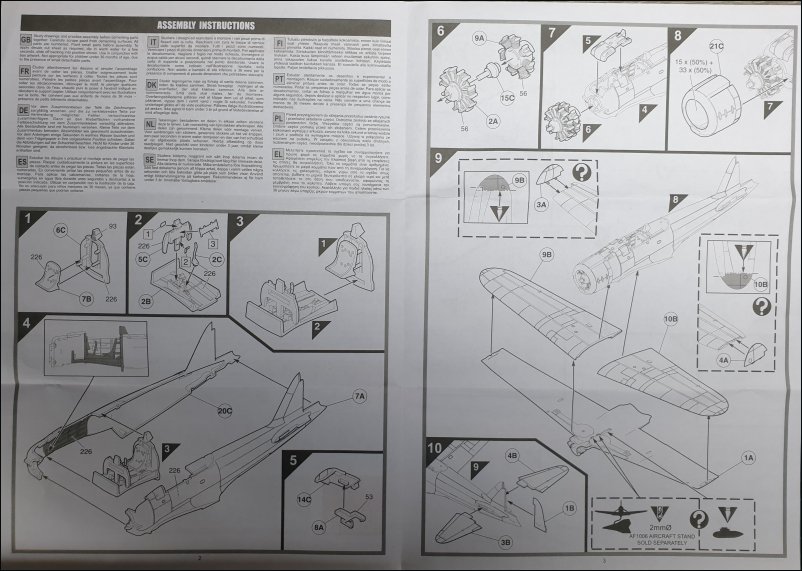
Instructions are printed on two sides of an A3 sheet. Pages 1 and 4:
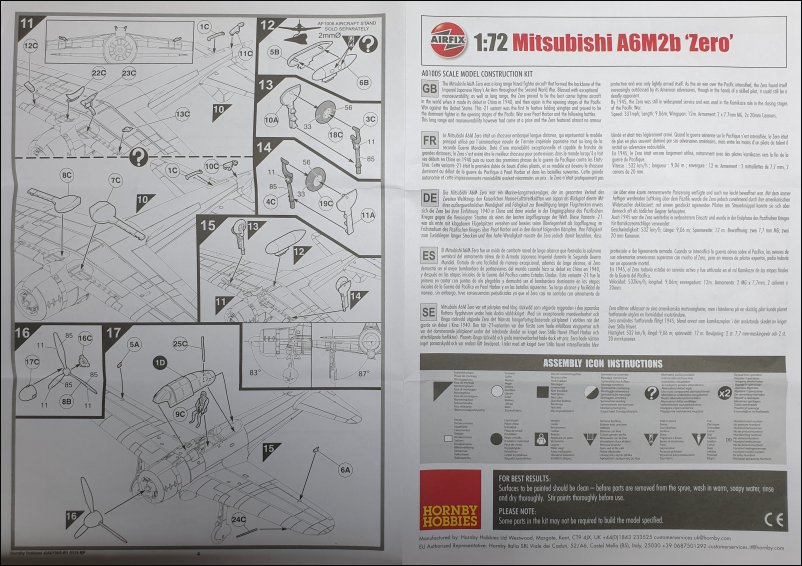
Pages 2 and 3:
That is all for now.
Dave
Box artwork:
Rear of box shows painting profile and decal placement for a machine of the 201st Kokuta, Tobera Airfield, Keravat, East New Britian, Papua New Guinea, 1944:
Parts are moulded in a grey plastic. Sprue A:
Sprue B:
Sprue C:
Cockpit transparency is crisply moulded and clear. Decals are well printed and in register:
Instructions are printed on two sides of an A3 sheet. Pages 1 and 4:
Pages 2 and 3:
That is all for now.
Dave


 Nice one Dave.


")