davecov
SMF Supporter
As I said in the GB chat thread, this coming Sunday (3rd July 2022), I will have been a member of Scale Models Forum for eight years. I have never participated in a GB on this forum. To put that right and to celebrate my 8th anniversary as a member, I would like to tag along in this GB.
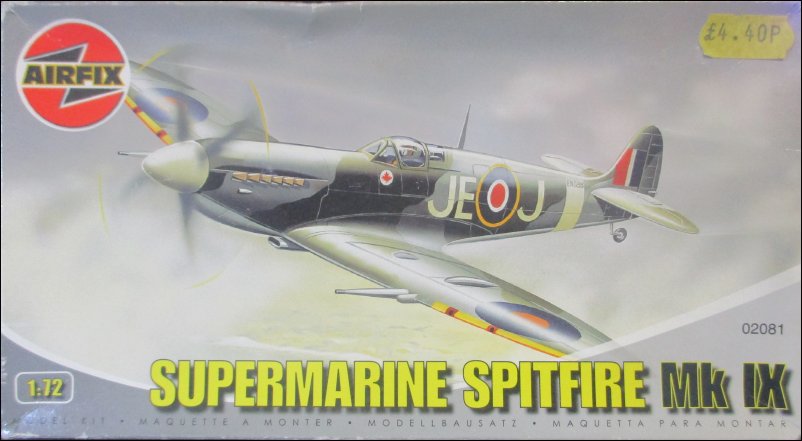
My choice is one of the oldest-tooled Spitfires (originally released 1959) and which I last built in the early Seventies when it was in a polybag and moulded in light blue plastic and before a slight tooling change in 1975 when the pilot was altered. This is the 2005 boxing that I will be building:
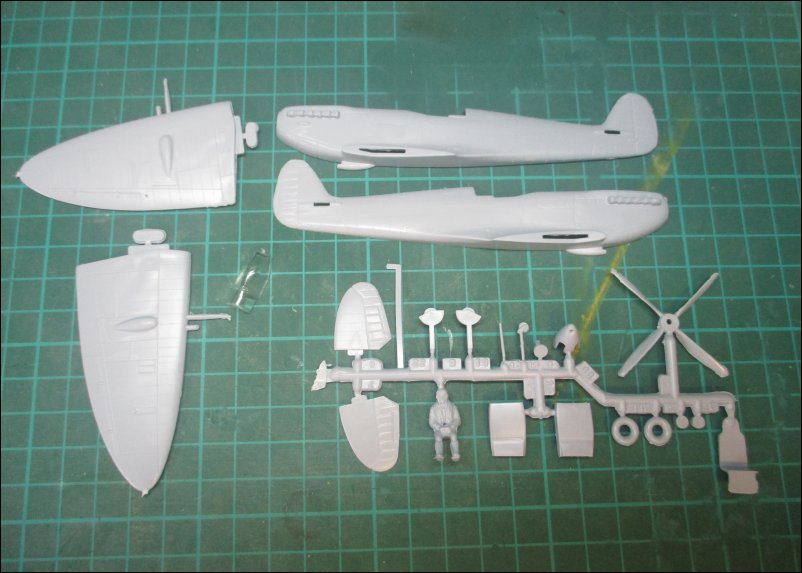
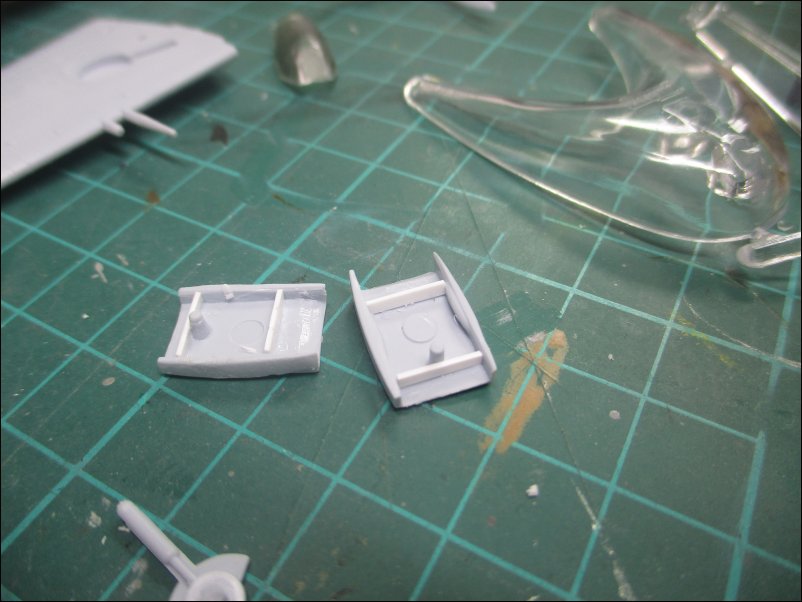
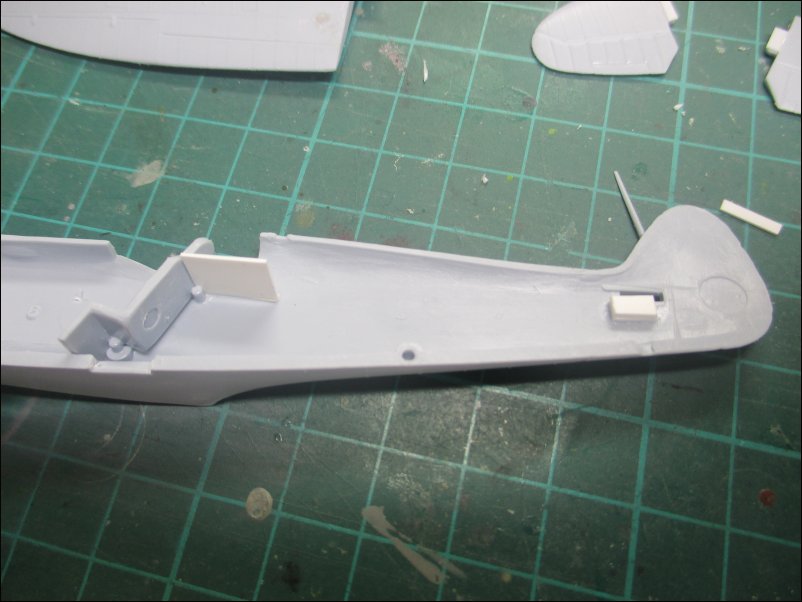
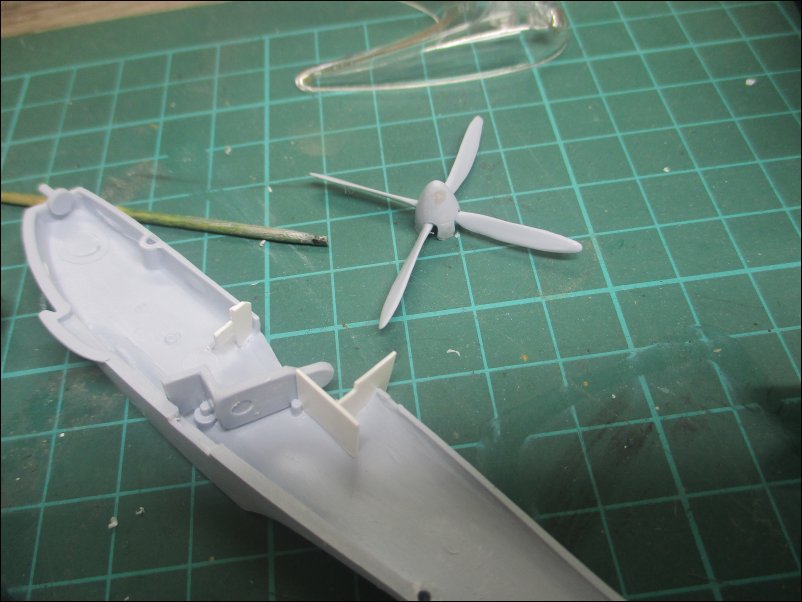
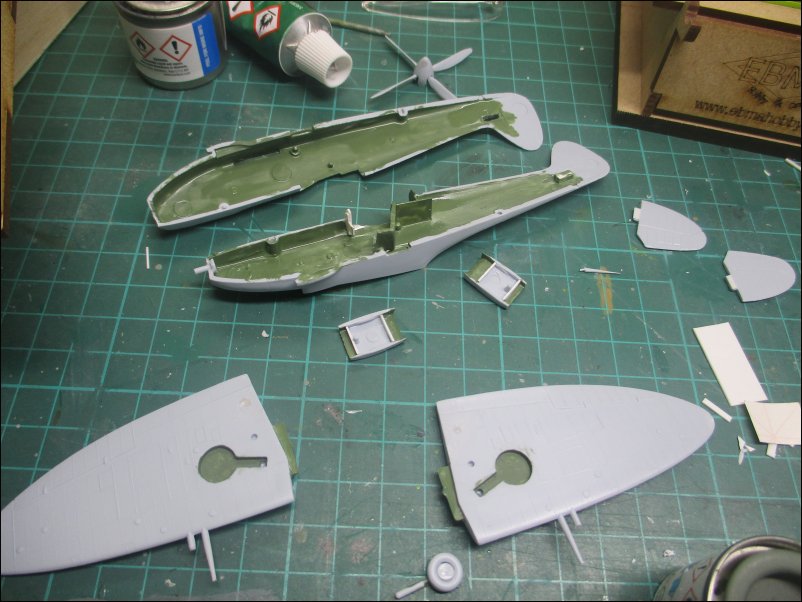
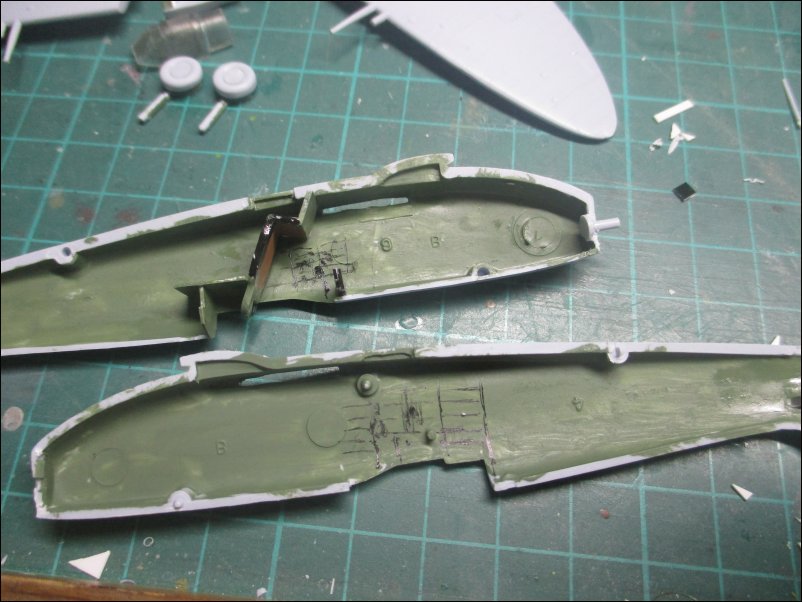
The 22 parts are moulded in a medium grey plastic. As would be expected from such an old mould, the parts have a lot of flash and seams to sort out:
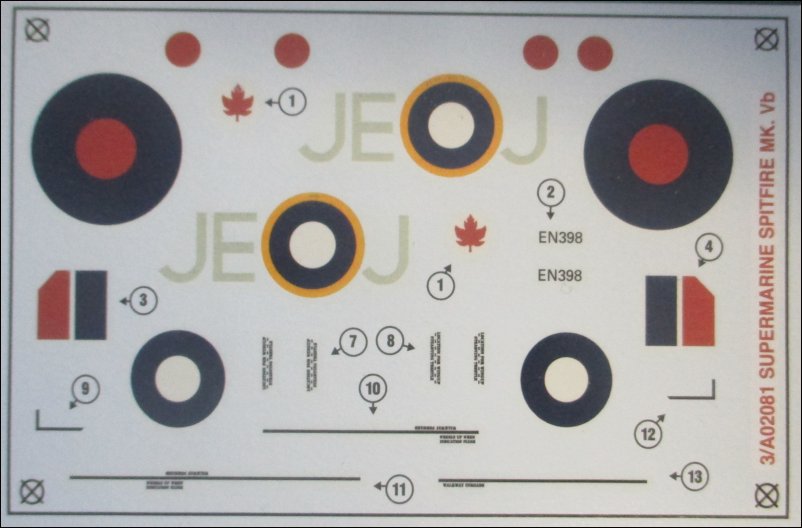
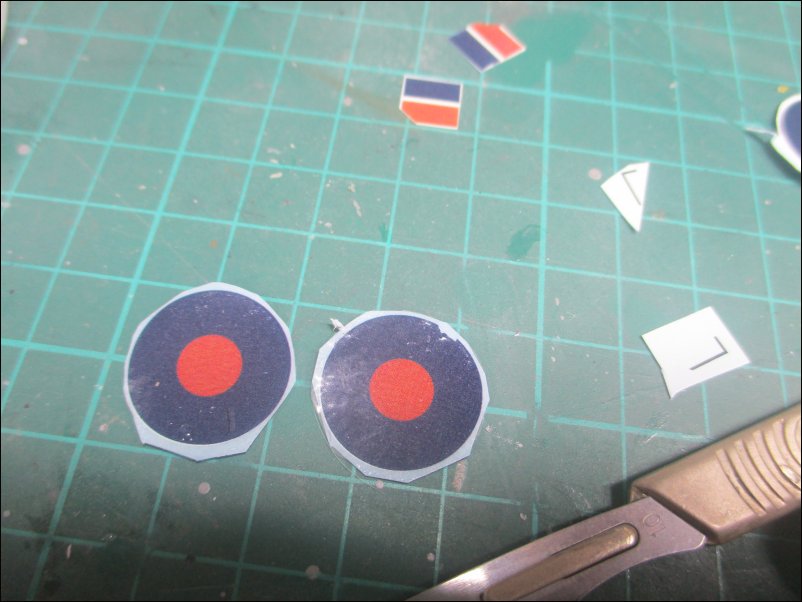
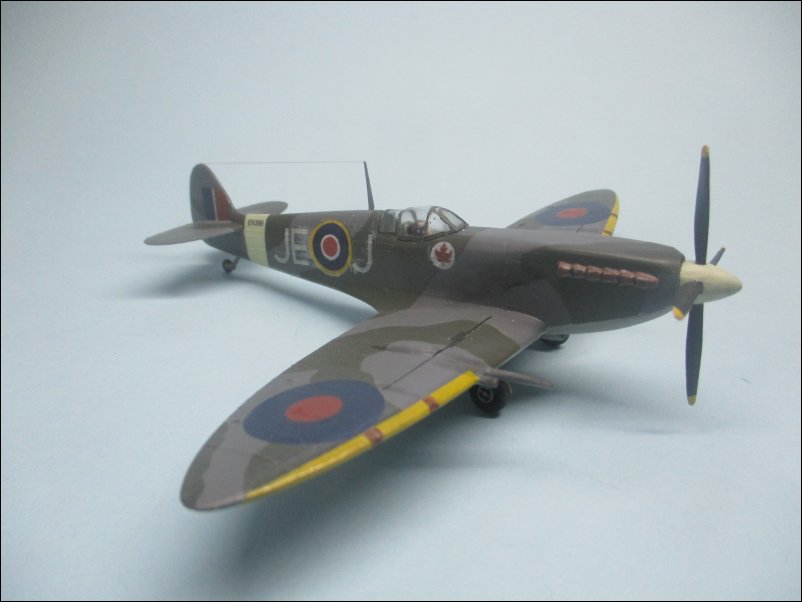
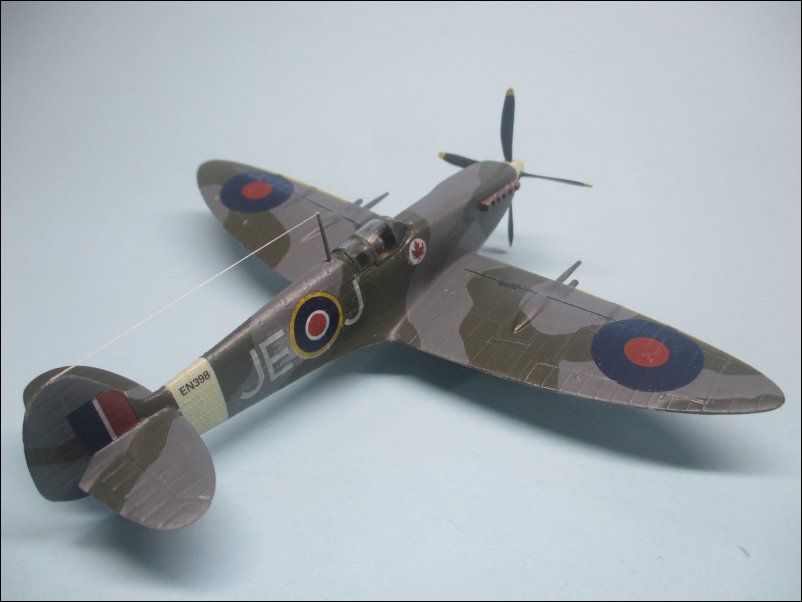
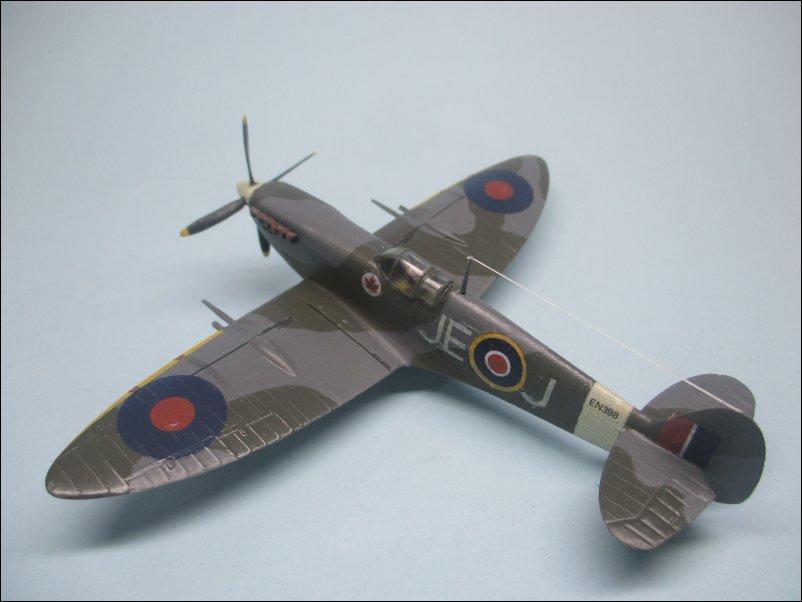
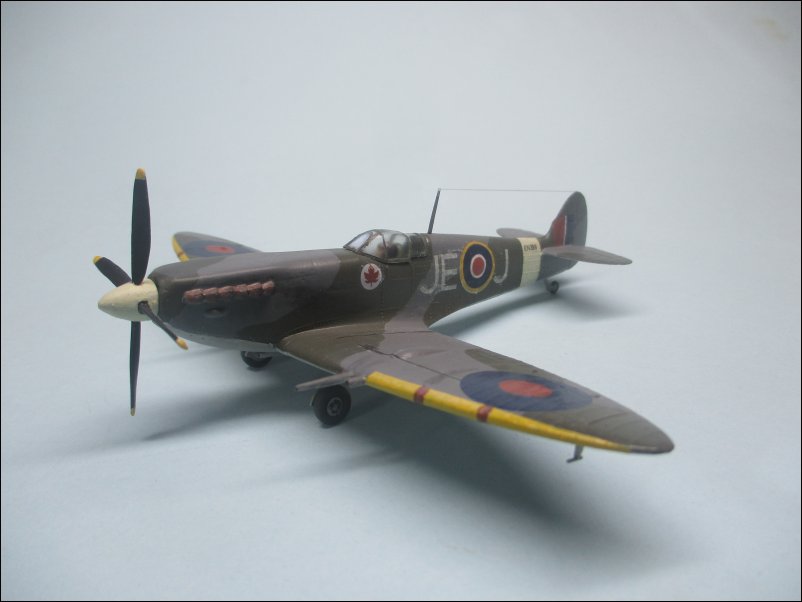
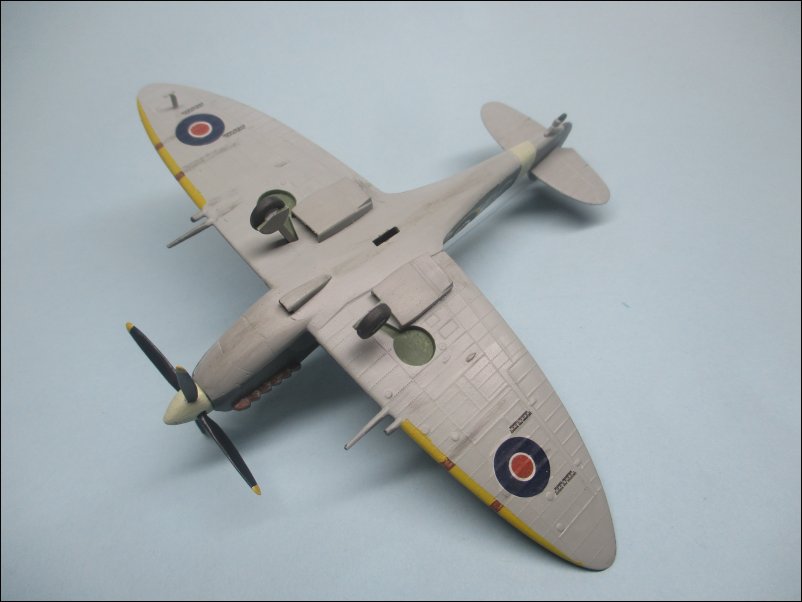
The decals are crisply printed and in register and show markings for RAF ace James Edgar "Johnnie" Johnson:
Instructions are printed on both sides of an A3-sized sheet of paper. On one side there is a history of the subject with advice for assembly along with a monochrome painting profile with reference to Humbrol paint numbers:
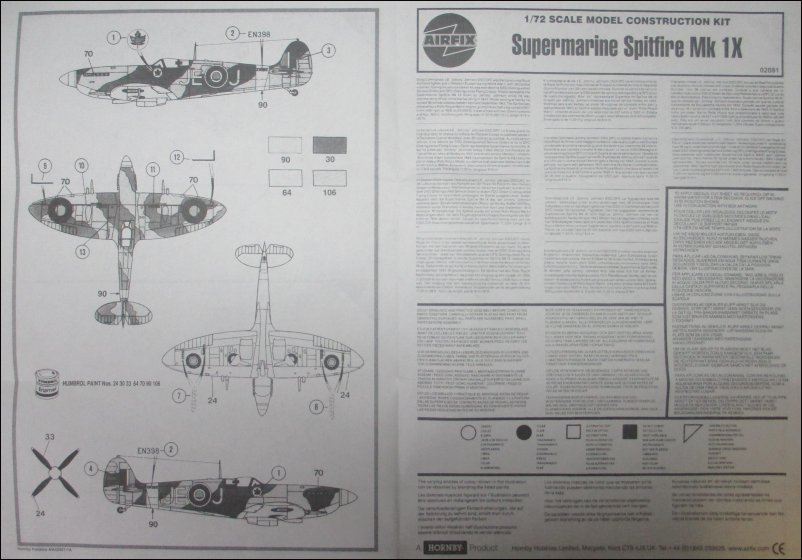
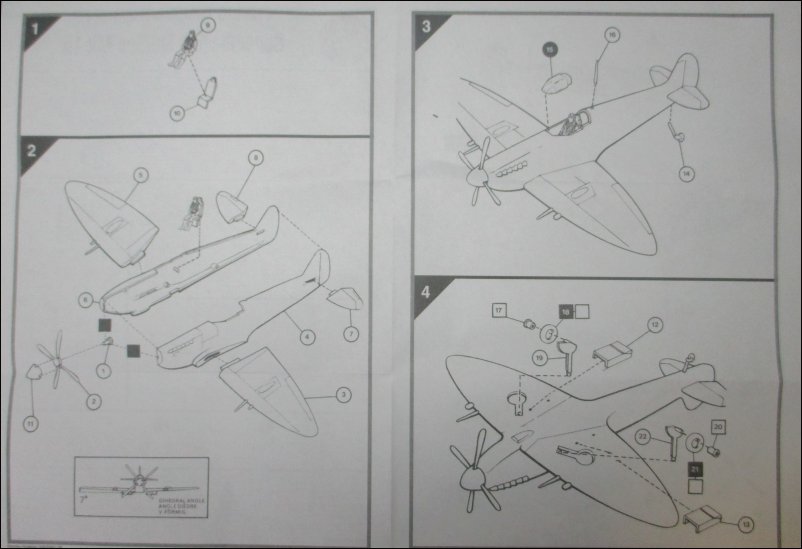
The other side of the instructions contains four sections detailing assembly. Of particular note is the specified dihedral diagram in Section 2:
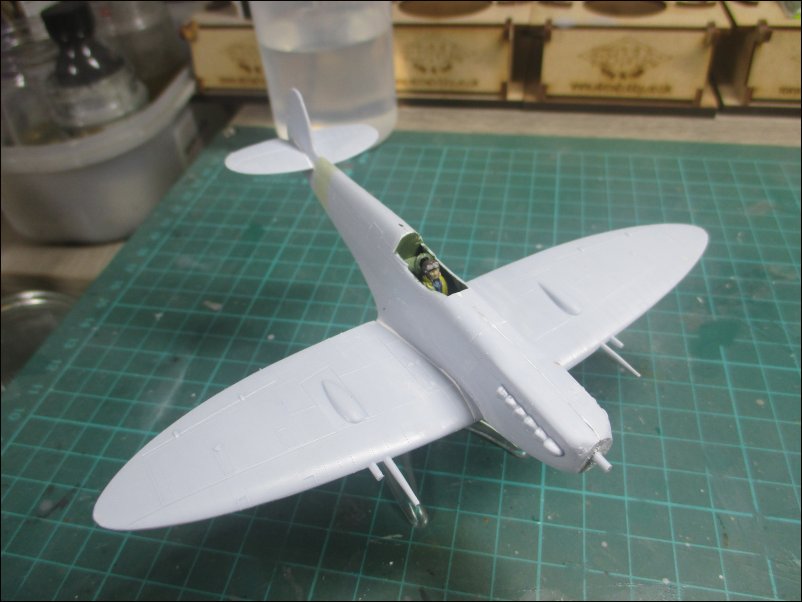
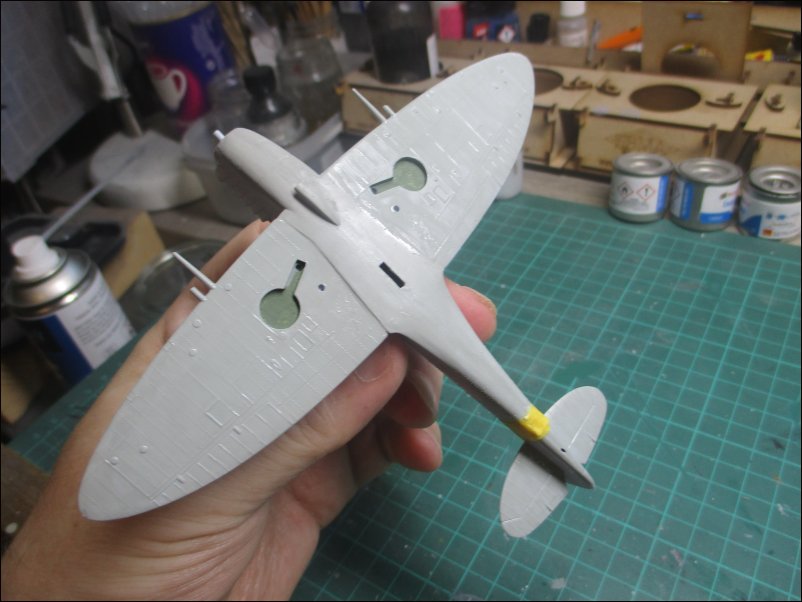
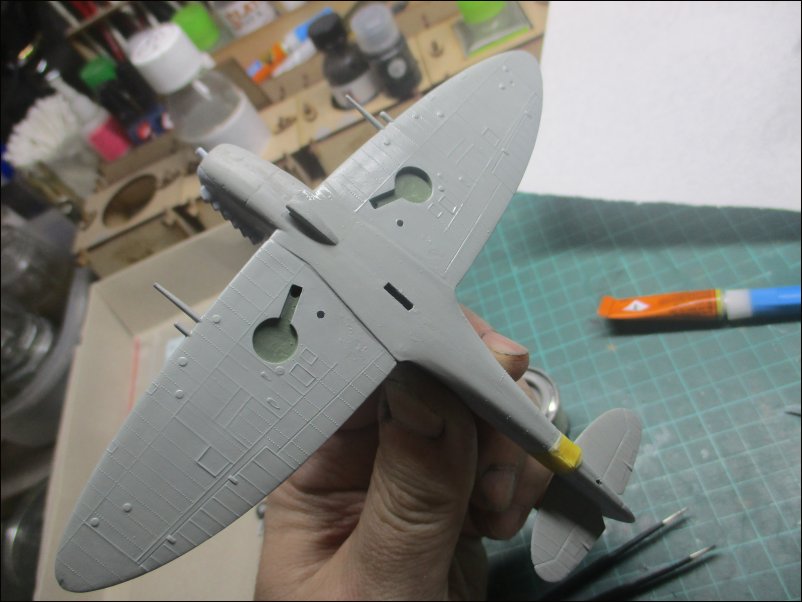
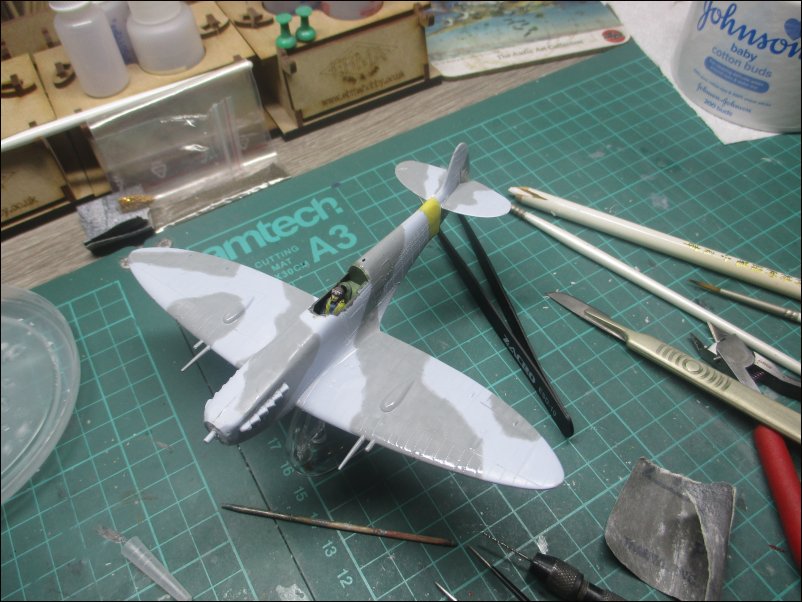
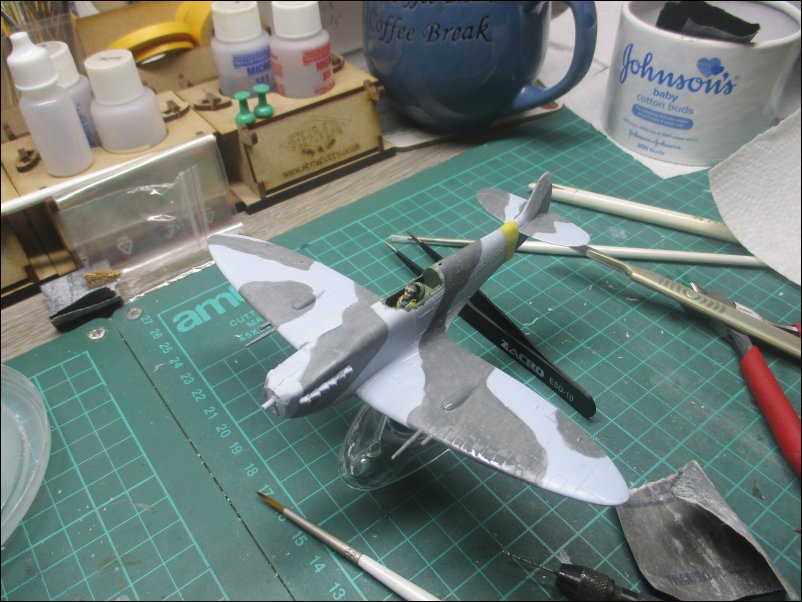
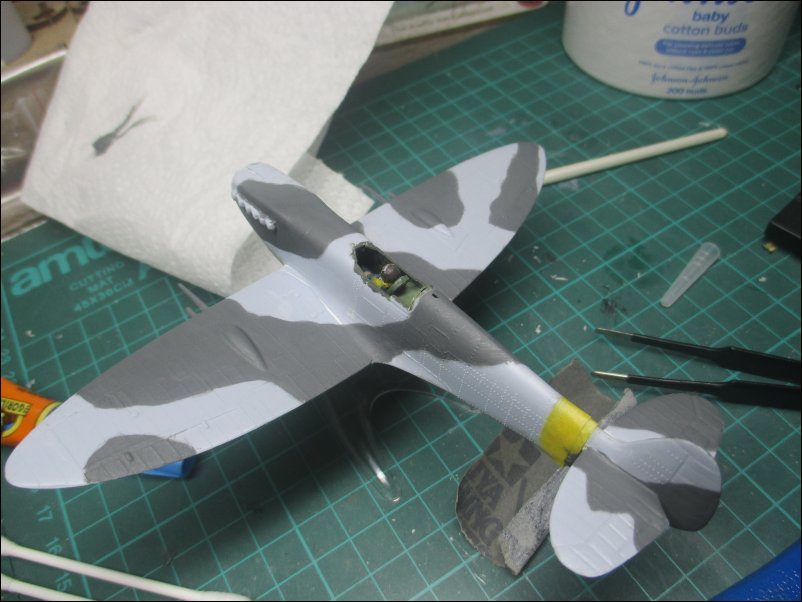
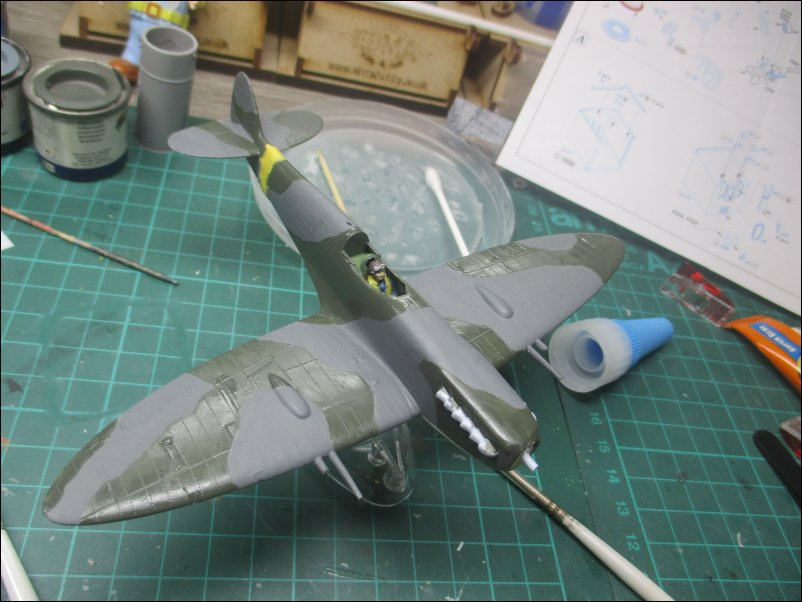
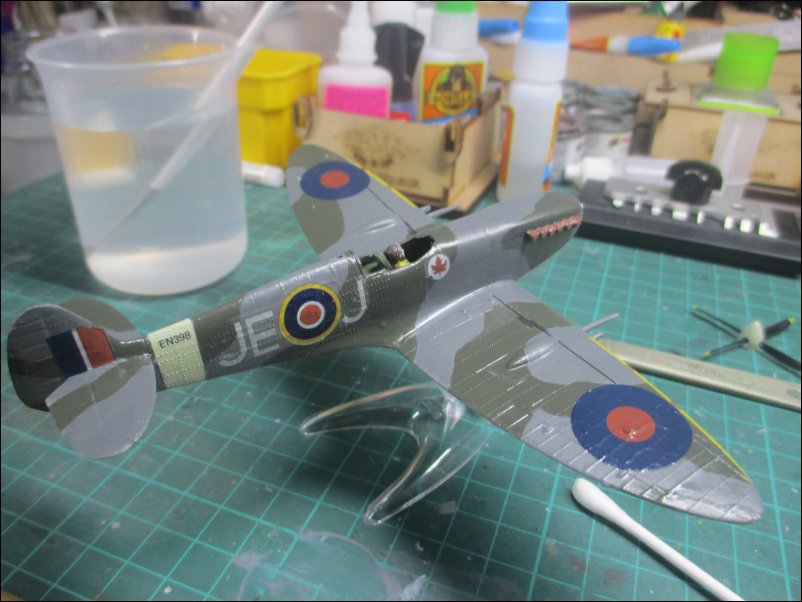
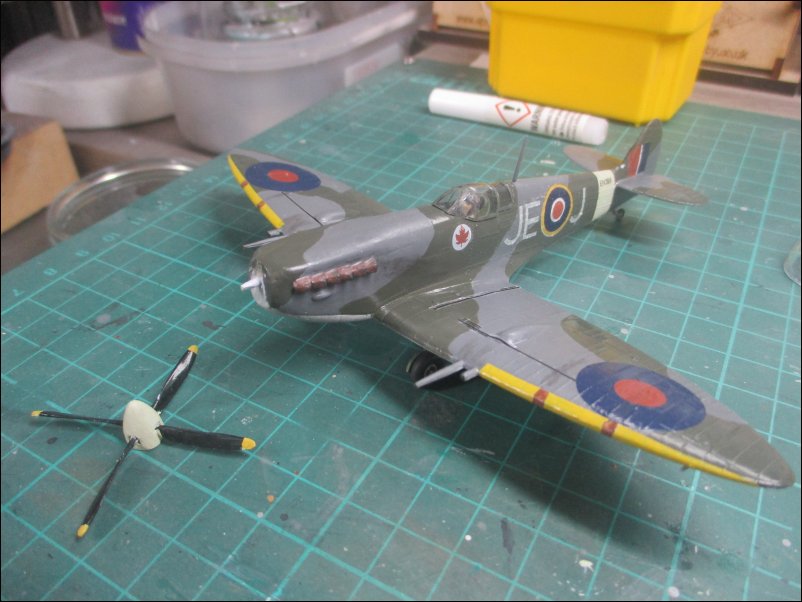
It is my intention to do this as an OOB build and I will be putting aside my airbrush and brush-painting instead.
That is all for now.
Dave
My choice is one of the oldest-tooled Spitfires (originally released 1959) and which I last built in the early Seventies when it was in a polybag and moulded in light blue plastic and before a slight tooling change in 1975 when the pilot was altered. This is the 2005 boxing that I will be building:
The 22 parts are moulded in a medium grey plastic. As would be expected from such an old mould, the parts have a lot of flash and seams to sort out:
The decals are crisply printed and in register and show markings for RAF ace James Edgar "Johnnie" Johnson:
Instructions are printed on both sides of an A3-sized sheet of paper. On one side there is a history of the subject with advice for assembly along with a monochrome painting profile with reference to Humbrol paint numbers:
The other side of the instructions contains four sections detailing assembly. Of particular note is the specified dihedral diagram in Section 2:
It is my intention to do this as an OOB build and I will be putting aside my airbrush and brush-painting instead.
That is all for now.
Dave


")
 ,
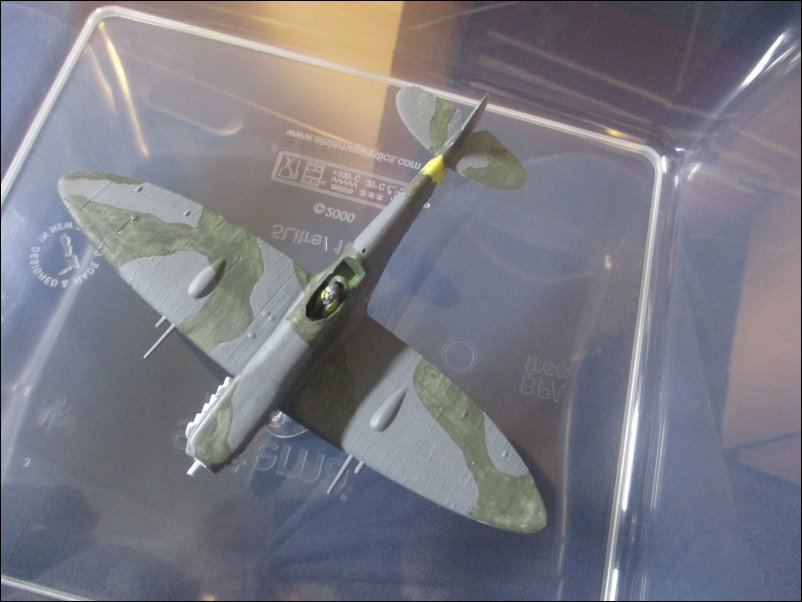
, ,just goes to show how different manufacturers approach the same subject!