DaveCov's Airfix 1/72 Yakovlev Yak-3 (02091)

davecov

SMF Supporter
Joined
Jul 3, 2014
Messages
516
Points
93
Location
Stow, Scottish Borders
First Name
Dave
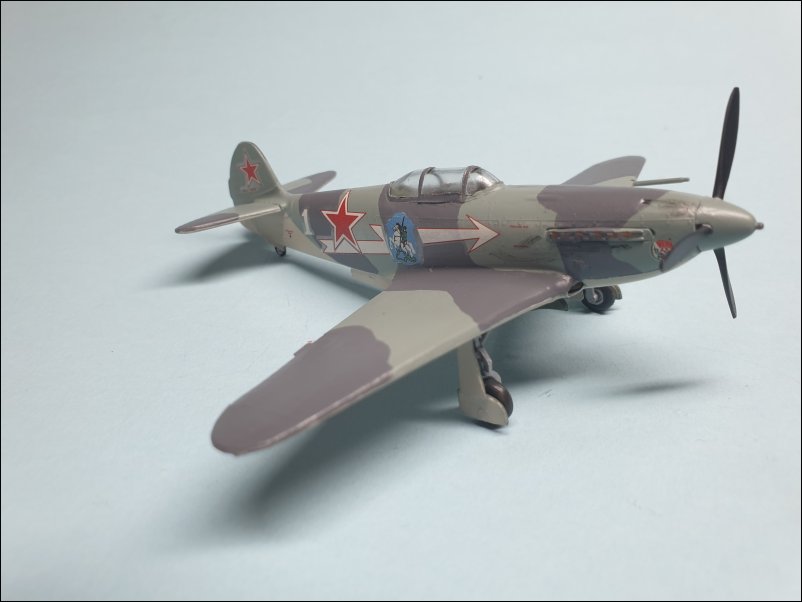
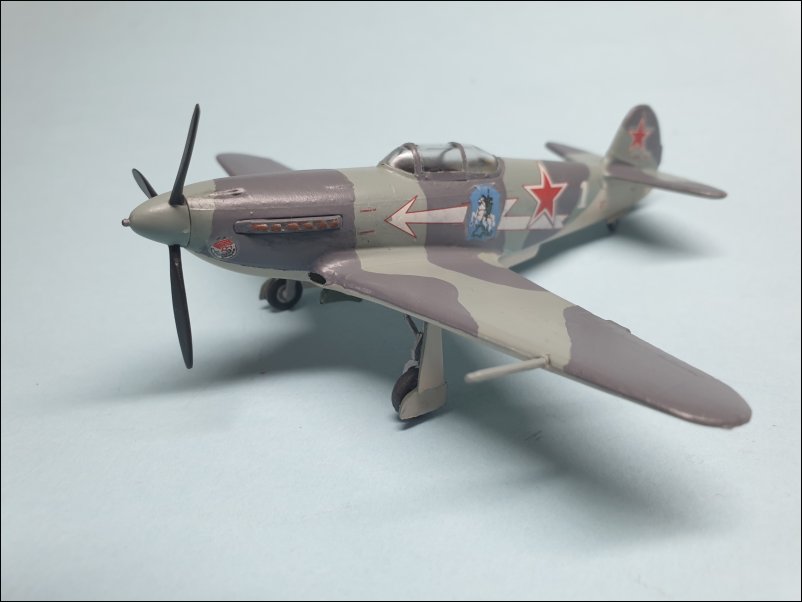
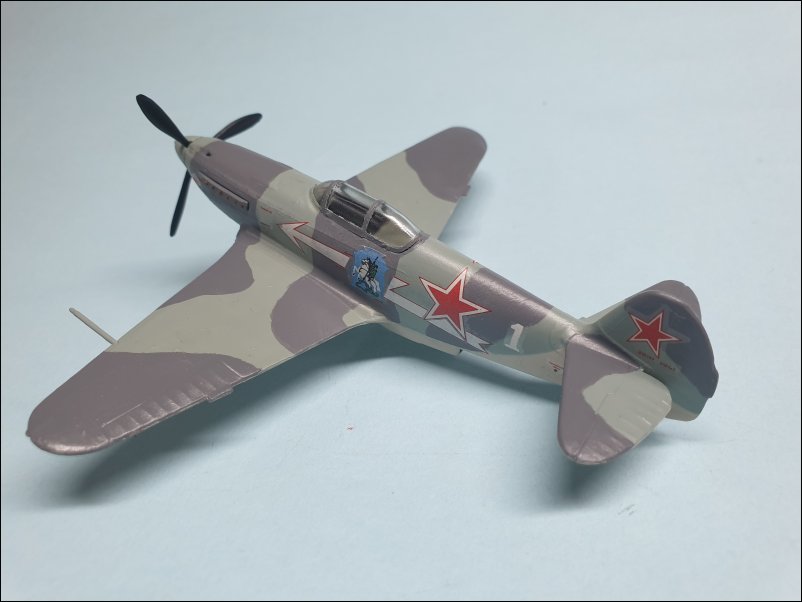
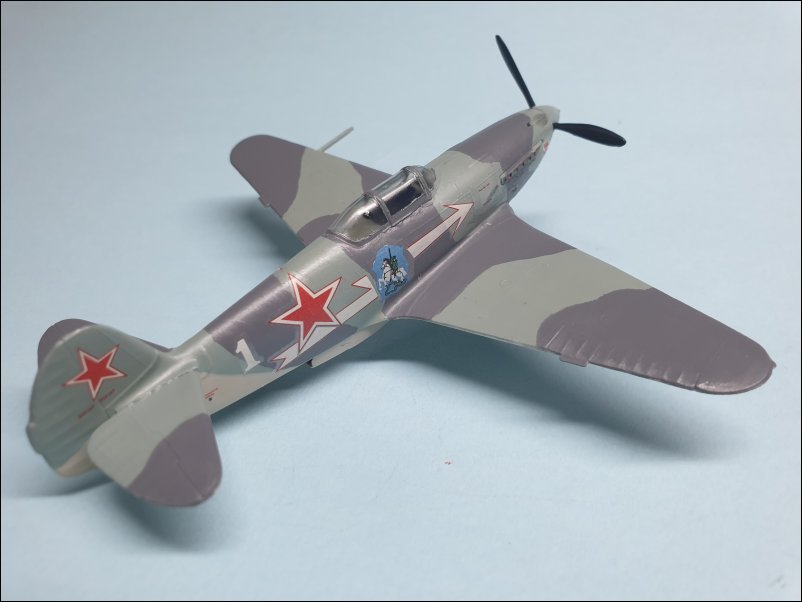
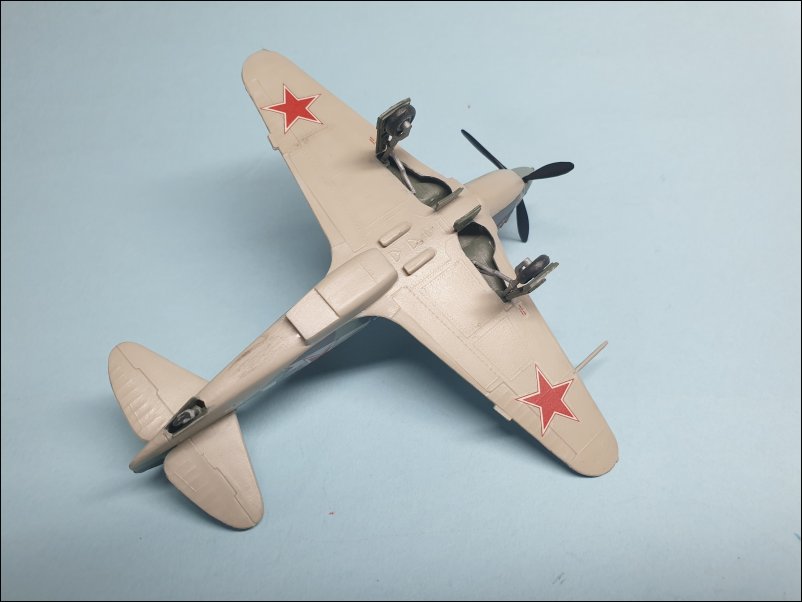
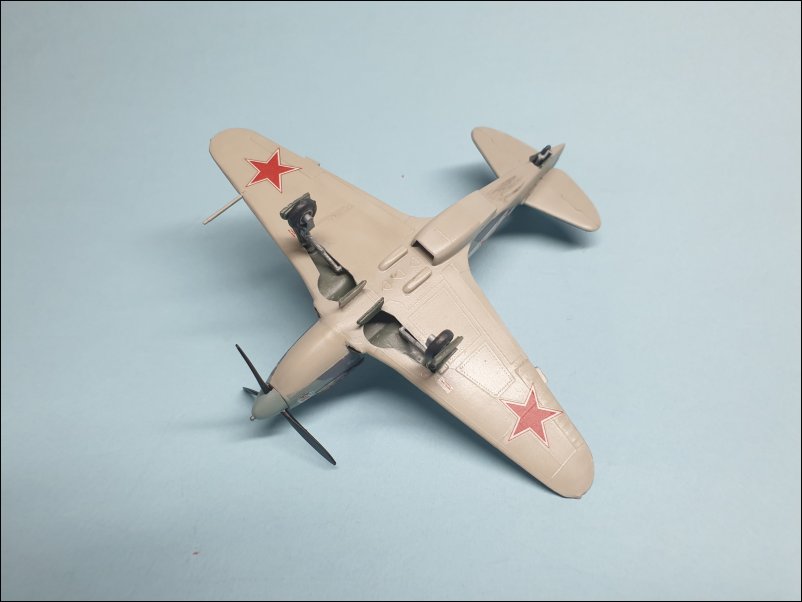
Here is my second entry for the 2023 Karl & Andrew Soviet Wingy Thing GB, the Airfix 1/72 Yakovlev Yak-3 (02091). My thanks to them for hosting this GB.

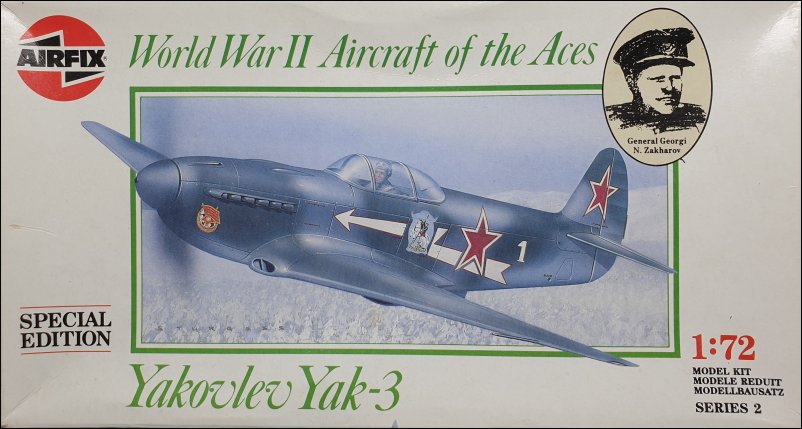
Box artwork. First manufactured by Heller in 1979, this is an Airfix boxing from 1990 as part of their "Special Edition" "World War II Aircraft of the Aces" series. The "Ace" in this particular case being General Georgi N. Zakharov:
Yak_3_72_2023_GB_001.JPG


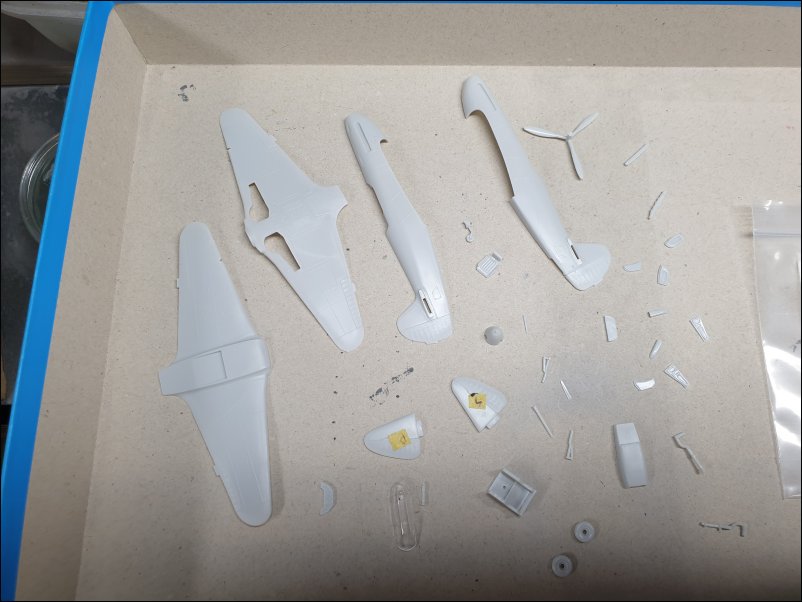
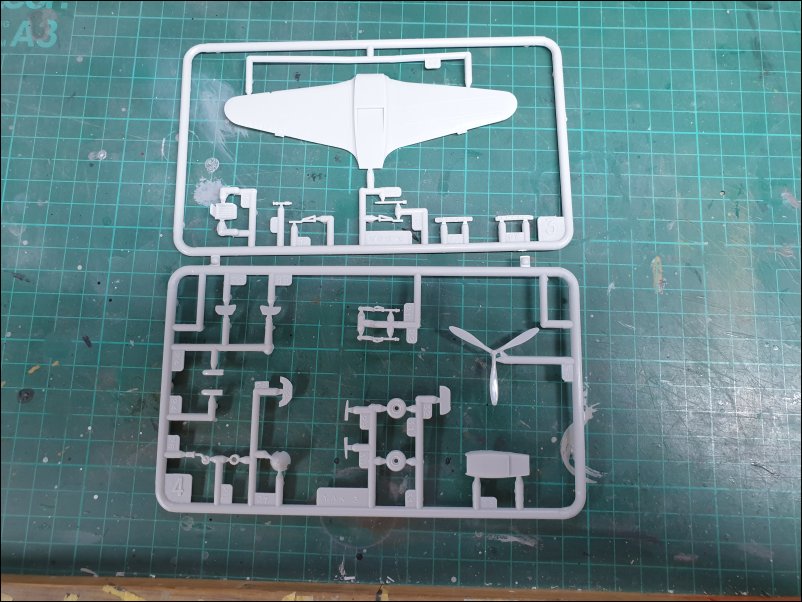
The plastic is moulded in a rather brittle light grey plastic. Thankfully, there is very little flash and seams won't need too much cleaning up. Here are runners 1. and 2:
Yak_3_72_2023_GB_002.JPG


Runners 3 and 4:
Yak_3_72_2023_GB_003.JPG


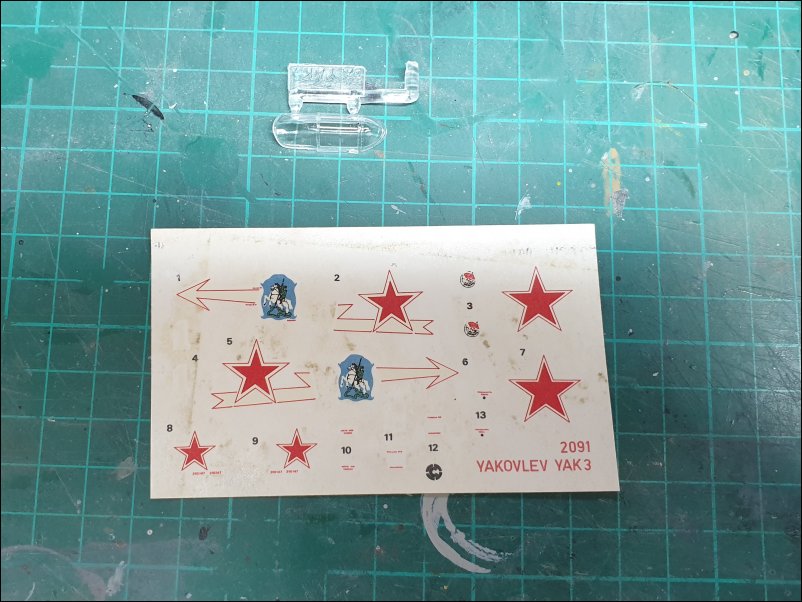
The canopy is clear and the decals are in register although they look like somebody has kicked them around a field for a while as they have a lot of dirt on them:
Yak_3_72_2023_GB_004.JPG


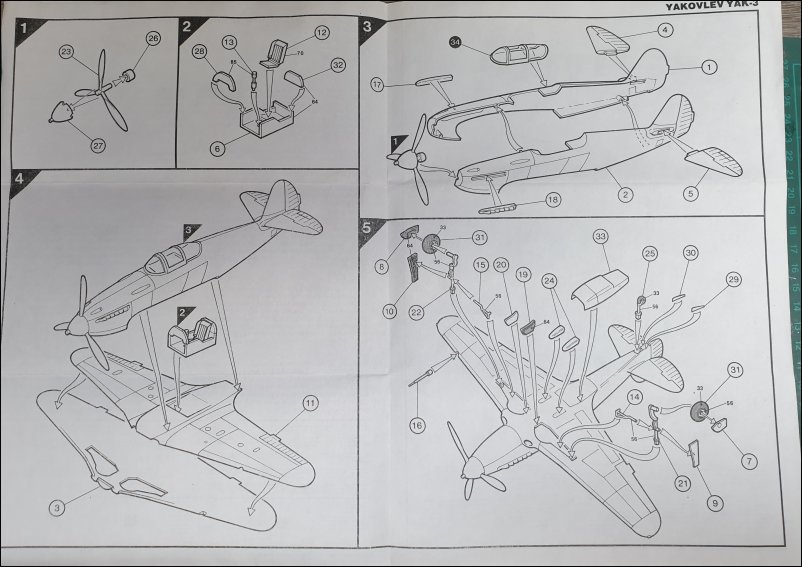
Instruction Leaflet - Pages Two and Three - Assembly Sections 1 to 5:
Yak_3_72_2023_GB_005.JPG


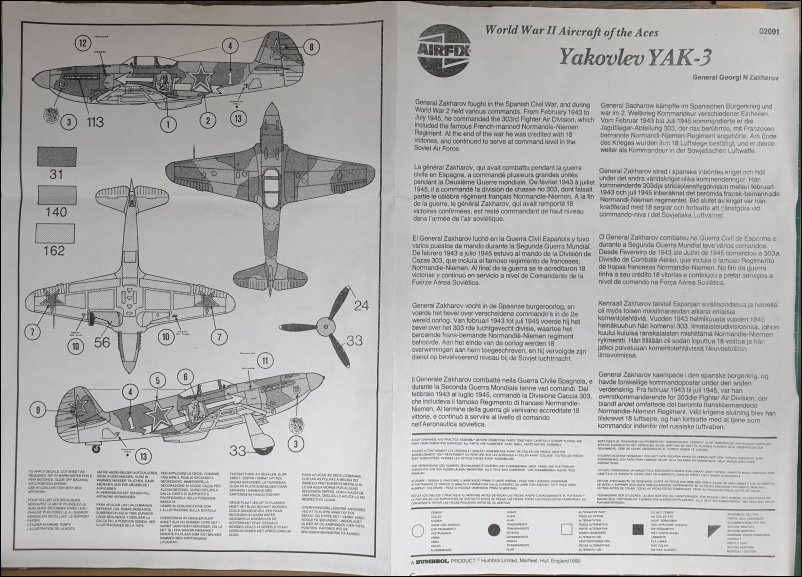
Instruction Leaflet - Page One - Potted History of subject & Modelling tips and Page Four - Painting Profile and Decal Placement:
Yak_3_72_2023_GB_006.JPG


That's all for now.

Dave
 

davecov

SMF Supporter
Joined
Jul 3, 2014
Messages
516
Points
93
Location
Stow, Scottish Borders
First Name
Dave
Time to get started on this build.

First job was to remove the parts from the runners. To avoid confusion later on, the tailplanes were marked to show port and starboard:
Yak_3_72_2023_GB_007.JPG


The next job was the time-consuming cleaning up of parts:
Yak_3_72_2023_GB_008.JPG


I am building an Airfix Yak-9D at the same time as this Yak-3 and that doesn't have any cockpit detail at all so I will use the Yak-3 cockpit parts as templates for the Yak-9D.

That's all for now.

Dave
 

adt70hk

I know its a bit sad but I like quickbuild kits!!!
SMF Supporter
Joined
Sep 4, 2019
Messages
9,507
Points
113
First Name
Andrew
Nice start Dave!
 

davecov

SMF Supporter
Joined
Jul 3, 2014
Messages
516
Points
93
Location
Stow, Scottish Borders
First Name
Dave
After a little break from modelling to rest my hands, I got back to work.

The wing halves were glued together as were the fuselage halves. The cockpit tub was glued to the centre section of the wings:
Yak_3_72_2023_GB_009.JPG


Filler was applied to the fuselage and wing joins:
Yak_3_72_2023_GB_010.JPG


After the filler had been sanded, I glued the tailplanes, tailwheel and main undercarriage legs:
Yak_3_72_2023_GB_011.JPG


Time for some painting. The instructions had recommended H64 Matt Light Grey but after applying a first coat I didn't like the look of it so I repainted with a first coat of H31 Matt Slate Grey:
Yak_3_72_2023_GB_012.JPG


That's all for now.

Dave
 

davecov

SMF Supporter
Joined
Jul 3, 2014
Messages
516
Points
93
Location
Stow, Scottish Borders
First Name
Dave
Latest update.

The fuselage and wings were glued together. The join is not great so I will have to get the filler out. The cockpit canopy was masked and then glued to the fuselage:
Yak_3_72_2023_GB_013.JPG


View of the underside. Not much filling required here, mainly around the radiator housing:
Yak_3_72_2023_GB_014.JPG


Filler has been applied along the wing root/fuselage joins:
Yak_3_72_2023_GB_015.JPG


Filler applied underneath as well. The mainwheels have been painted and glued in place:
Yak_3_72_2023_GB_016.JPG


That's all for now.

Dave
 

adt70hk

I know its a bit sad but I like quickbuild kits!!!
SMF Supporter
Joined
Sep 4, 2019
Messages
9,507
Points
113
First Name
Andrew
Coming in nicely Dave!
 

davecov

SMF Supporter
Joined
Jul 3, 2014
Messages
516
Points
93
Location
Stow, Scottish Borders
First Name
Dave
Latest update.

Time to start painting now. The first coat of H126 Satin US Medium Grey was brush painted. Although it went on well, it was obvious that it would need at least one more coat:
Yak_3_72_2023_GB_017.JPG


The second coat has been painted but I want to do one more coat:
Yak_3_72_2023_GB_018.JPG


Three coats of H126 Satin US Medium Grey have been applied now and I will give the paint another 24 hours to cure before I apply the other camouflage colour:
Yak_3_72_2023_GB_019.JPG


That's all for now.

Dave
 

davecov

SMF Supporter
Joined
Jul 3, 2014
Messages
516
Points
93
Location
Stow, Scottish Borders
First Name
Dave
It has been a very hard week trying to model but I have made a lot of progress.

The first coat of H164 Satin Dark Sea Grey was applied. It was obvious that I would need to apply two more coats:
Yak_3_72_2023_GB_020.JPG


Second coat:
Yak_3_72_2023_GB_021.JPG


Third coat of H164 Satin Dark Sea Grey has been applied now:
Yak_3_72_2023_GB_022.JPG


First two coats of H166 Satin Light Aircraft Grey were applied to the underside:
Yak_3_72_2023_GB_023.JPG


A third coat was required:
Yak_3_72_2023_GB_024.JPG


Kleared ready for decals:
Yak_3_72_2023_GB_025.JPG


The decals went on nicely without the need for setting solution. I fitted the propeller but I have a bit more painting, weathering and varnishing to do before I can call this finished:
Yak_3_72_2023_GB_026.JPG


I am now taking a few days break from the modelling bench and will finish this build next week.

That's all for now.

Dave
 

adt70hk

I know its a bit sad but I like quickbuild kits!!!
SMF Supporter
Joined
Sep 4, 2019
Messages
9,507
Points
113
First Name
Andrew
Very neat indeed Dave, as Gary says.

Also good to see that I'm not the only person to stick a cocktail stick up into the cowling. Makes it so much easier to handle!

ATB

Andrew
 

adt70hk

I know its a bit sad but I like quickbuild kits!!!
SMF Supporter
Joined
Sep 4, 2019
Messages
9,507
Points
113
First Name
Andrew
My final update for this build.

I applied weathering and a coat of light sheen varnish. It is now finished:
Yak_3_72_2023_GB_027.JPG


Yak_3_72_2023_GB_028.JPG


Yak_3_72_2023_GB_029.JPG


Yak_3_72_2023_GB_030.JPG


Yak_3_72_2023_GB_031.JPG


Yak_3_72_2023_GB_032.JPG


Thanks again to Karl and Andrew for hosting this group build.

Dave

Dave

Sincerest apologies for getting to this late. That's turned out very nicely indeed. Very well done.

Thanks for taking part!

Andrew
 
Top