Nick's Aoshima 1/12 Kawasaki GPz900R ......... TOP GUN

Jakko

Way past the mad part
SMF Supporter
Joined
Apr 28, 2018
Messages
10,894
Points
113
First Name
Jakko
It’s starting to look like a bike now :smiling3:
 

therapy

SMF Supporter
Joined
Apr 21, 2019
Messages
886
Points
93
Location
East Anglia
First Name
Nick
Managed to make some more progress on the assembly. Got the footrest hangers in place and left overnight. The actual footrests themselves will be left until pretty much the end for fear of knocking them off. The brake and gear change lever had to be fitted behind the hangers and are a worry.

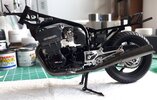
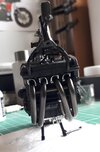
Then the exhausts - these lined up quite nicely straight off which was pleasing as the silencers and collector were all glued up by eye before painting. The downpipes each had three ejector pin marks to deal with along with their longditudinal seams prior to painting. They have spent a week or two on numbered croc clips so that I knew what order they went in.
20230515_145315.jpg

20230515_145302.jpg


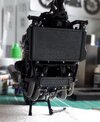
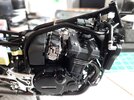
Next it was onto the bracketry and plumbing for the radiator and oil cooler, so after another overnight wait, today I have added these parts.
20230515_151508.jpg

20230515_151542.jpg

20230515_152231.jpg

So disappointing when you only notice an ejector pin mark after its too late..... :rolling:

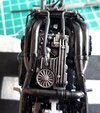
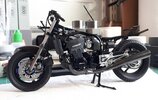
Lastly, I got the front-end fitted. This had already been built up and the brakes and anti-dive units plumbed in.
20230515_171308(0).jpg


Pretty much all the other parts can now be fitted, but the whole thing is pretty fragile. I have been working on the tank and panels, but we'll save those for the big reveal. Back to work for a few days now, but its looking like I might even finish on time. Fingers crossed.

Thanks as always for looking in.


Nick
 

therapy

SMF Supporter
Joined
Apr 21, 2019
Messages
886
Points
93
Location
East Anglia
First Name
Nick
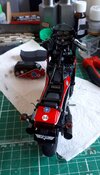
After getting a little bit done most evenings this week, I am nearly at the finish line although not without a few issues. The inner rear mudguard went in ok, but the outer complete with tail light took a bit of care and persuasion. One of the rear frame rails was slightly off and it needed the help of a couple of pairs of reverse action tweezers keep it all in the right place whilst the glue cured.

The rear bodywork went on reasonably ok but the front fairing has been a right pain and I'm still not happy with it. Nevertheless, the next pics will be in the completed section for better or worse when I can get some decent photos. Thanks again to Jakko for organising the group build and to everyone that's had a look in here and followed along.

20230520_164932.jpg

Nick
 

Jakko

Way past the mad part
SMF Supporter
Joined
Apr 28, 2018
Messages
10,894
Points
113
First Name
Jakko
Looking good already :smiling3:
 
Top