scottie3158
SMF Supporter
Bob,
Great work and a nice piece of turning.
Great work and a nice piece of turning.


Good morning gents
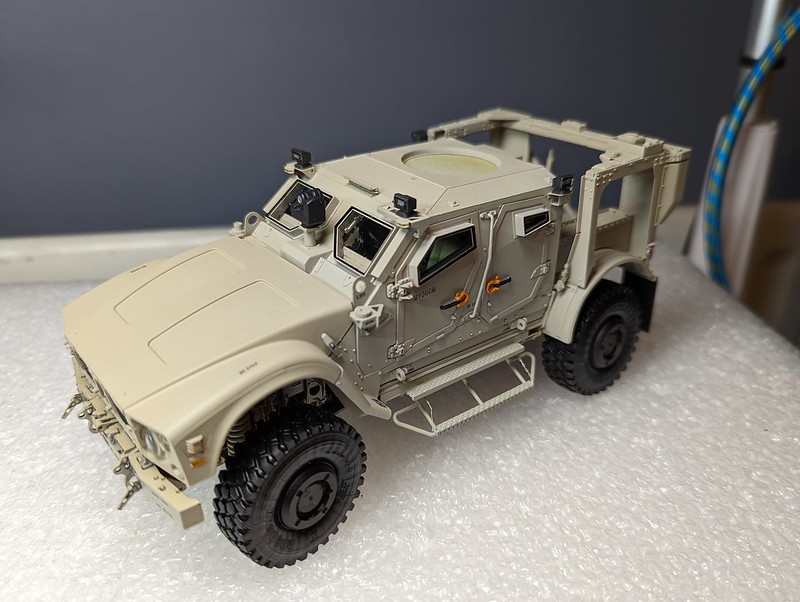
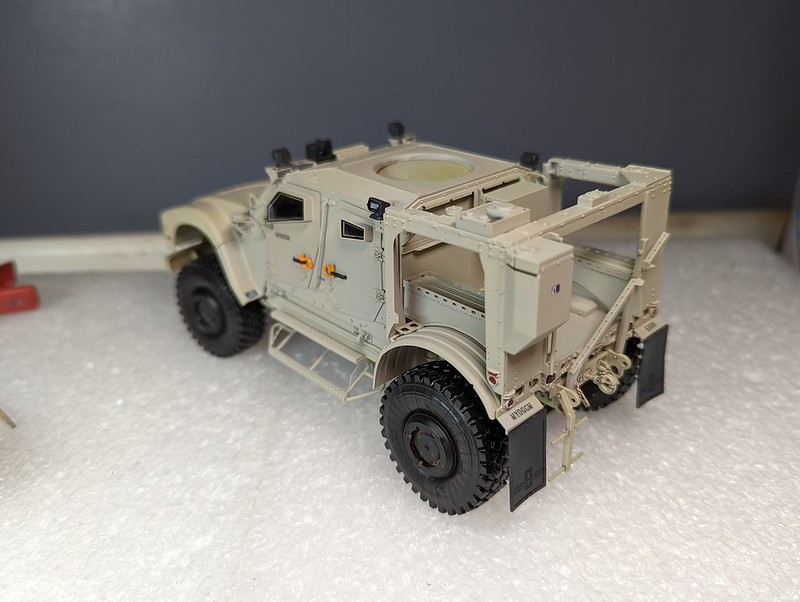
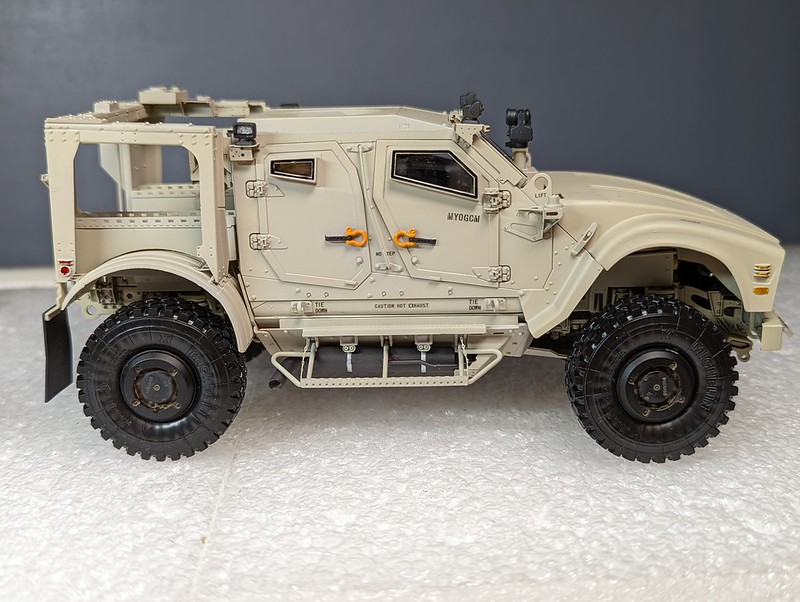
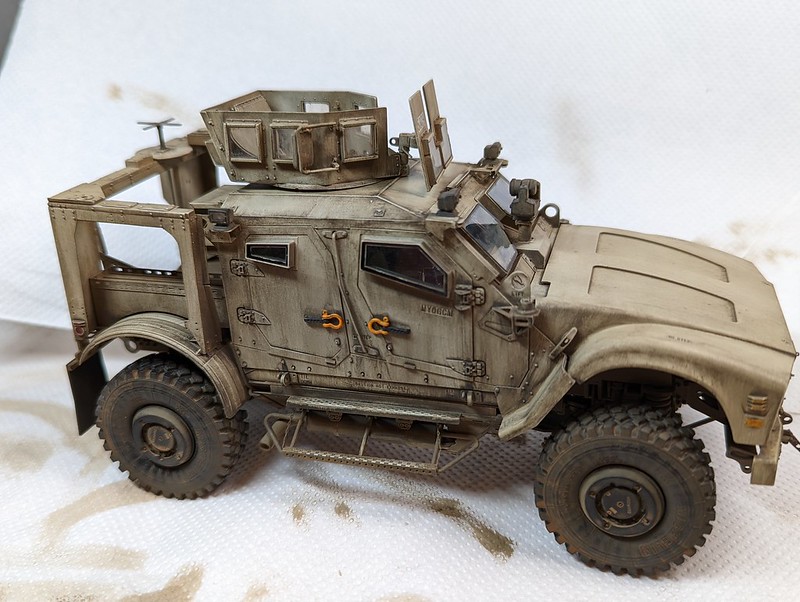
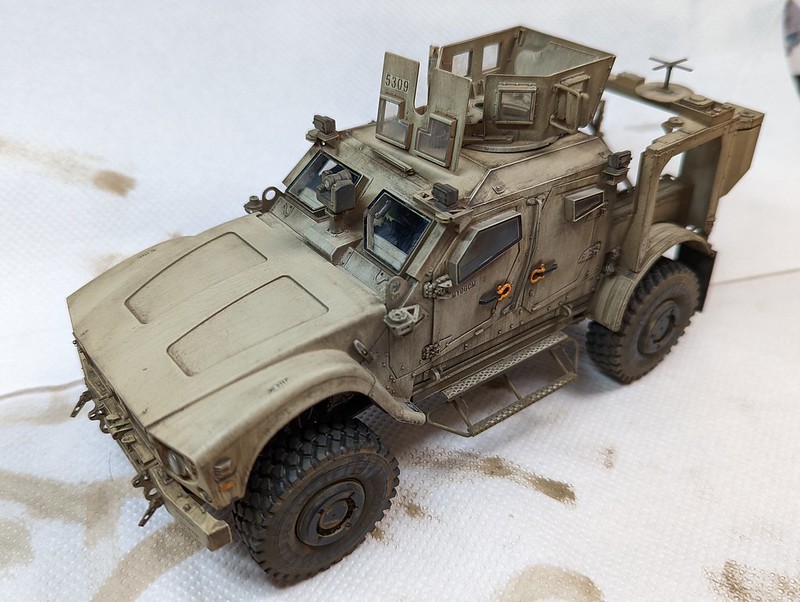
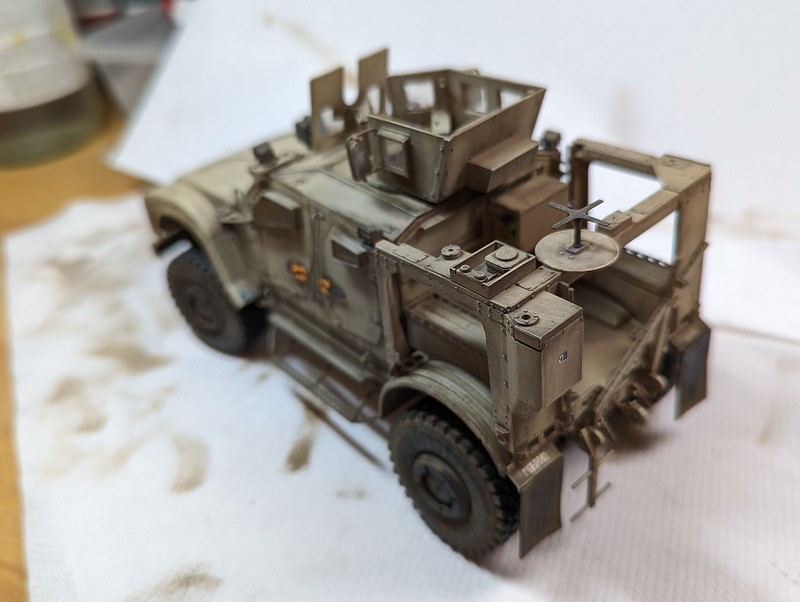
I finally got on with some weathering over the last few evenings, in fact I got the first two stages done. I don't think I mentioned this before but my vision for this vehicle is that it's been out in the Afghanistan desert for a long time during the rainy Winter/Spring periods. In other words, Dirty!
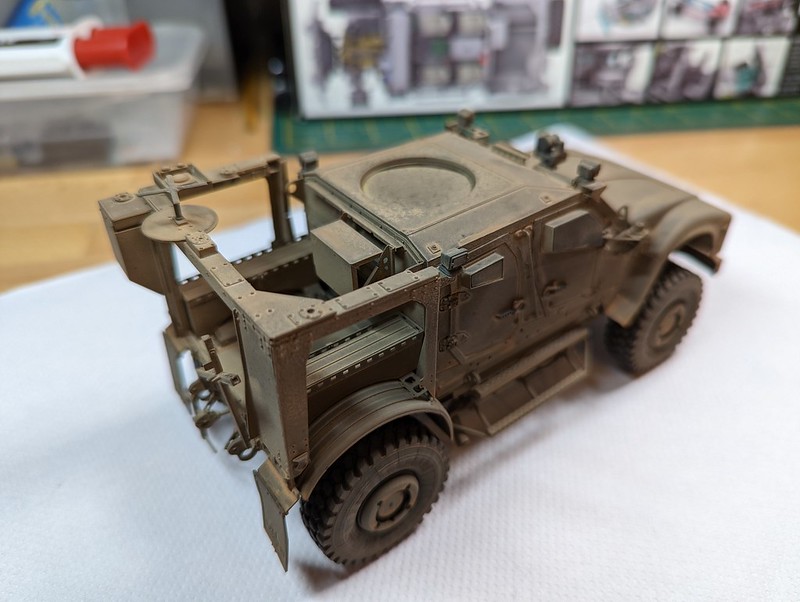
First up was spraying the entire model with three tones of clay wash, which left it looking like this.
The majority of this was then removed with a damp brush, leaving lots of ingrained dirt and streaks behind. The front end was cleaned off a little more as I wanted it to look a bit more sand blasted from driving through the desert. This was followed up by a very thin oil wash round the bolts, fittings, greeblies, etc.
It does look quite stark now, but this will be followed up with a metallic dry brushing over a few areas, and then an overall sand pigment scrub which will lighten everything up.
Unfortunately that will have to wait a week or so, the dinging room table is apparently needed for Christmas dinner, so everything is getting packed up tonight.
I've not heard of that before. Does the clay wash just clean off/streak with water?First up was spraying the entire model with three tones of clay wash
For FULL Forum access you can upgrade your account here UPGRADE

