The 'Junkster' Pod Racer

tiking

SMF Supporter
Joined
Jul 18, 2006
Messages
1,337
Points
113
First Name
Charles
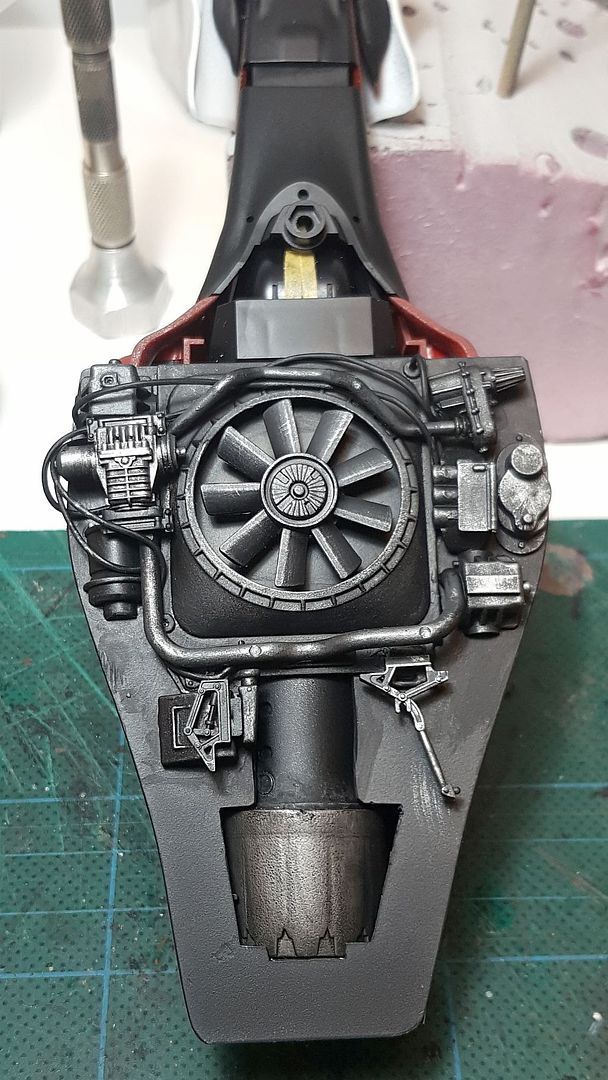
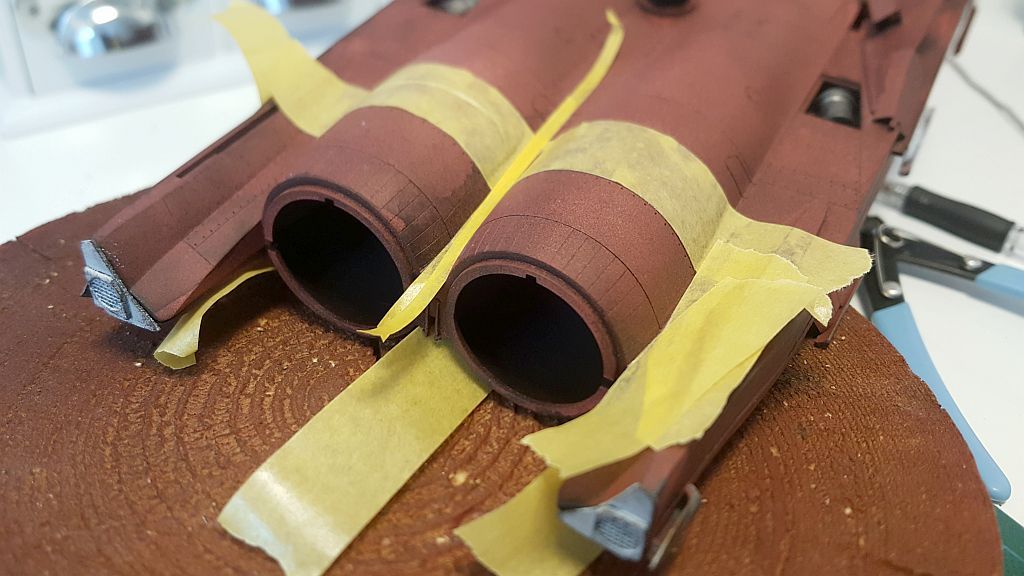
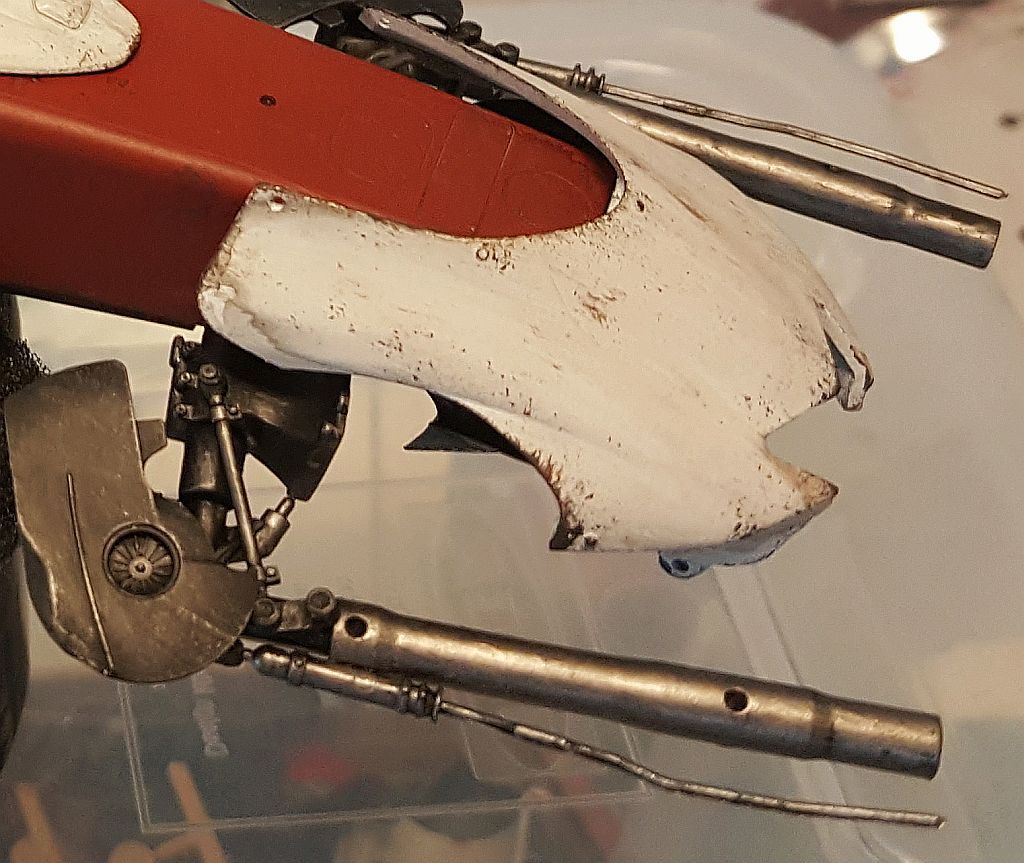
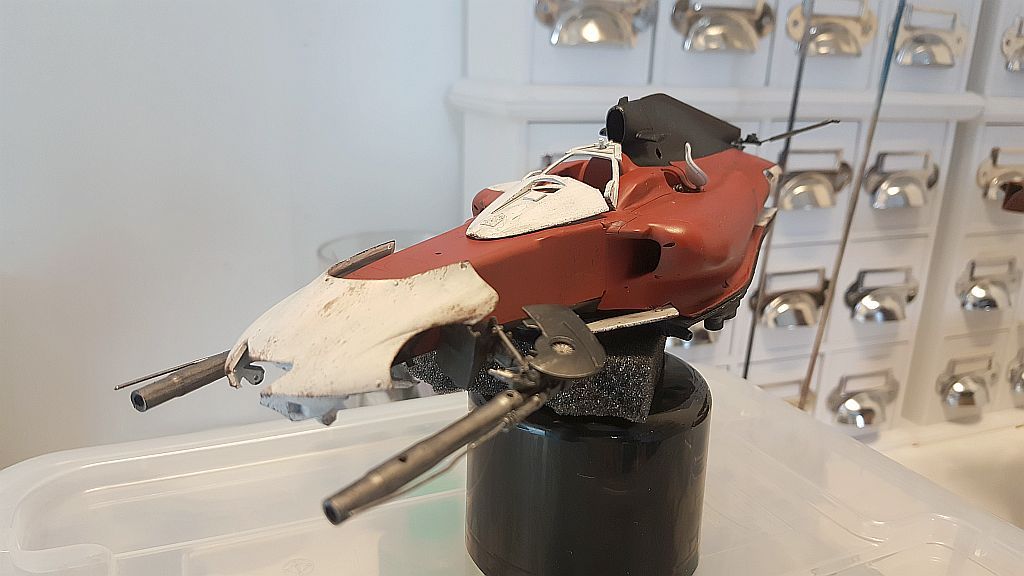
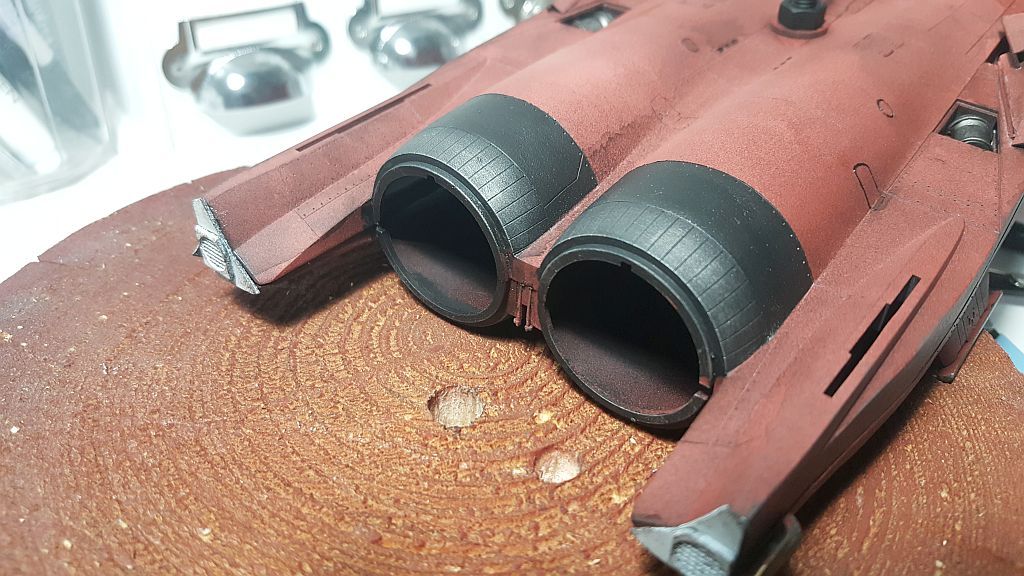
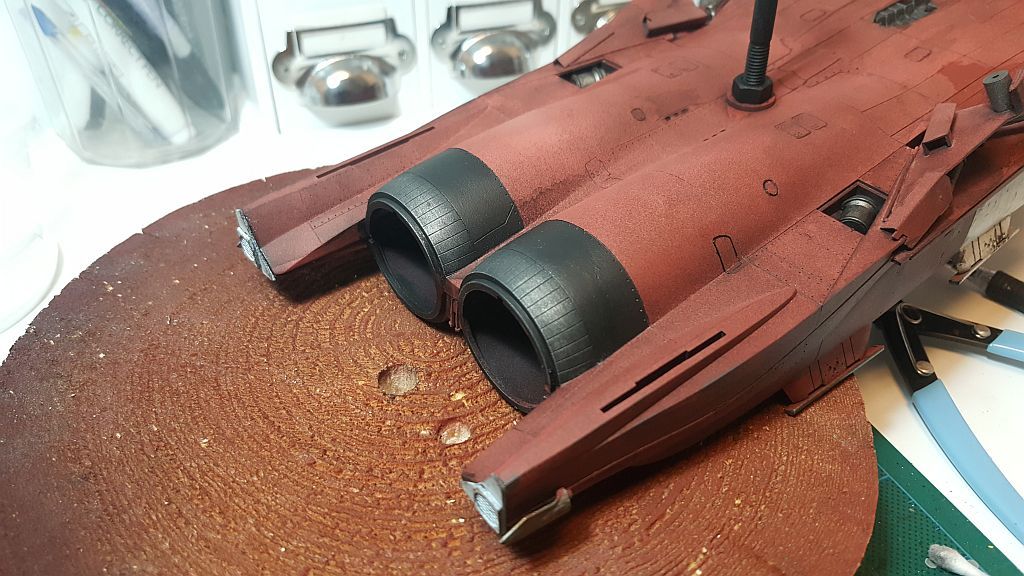
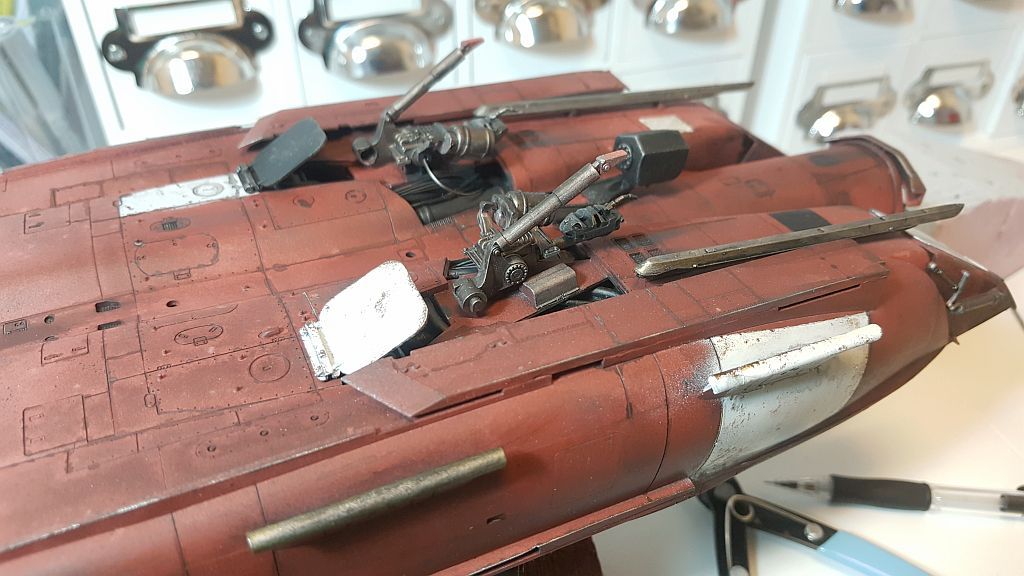
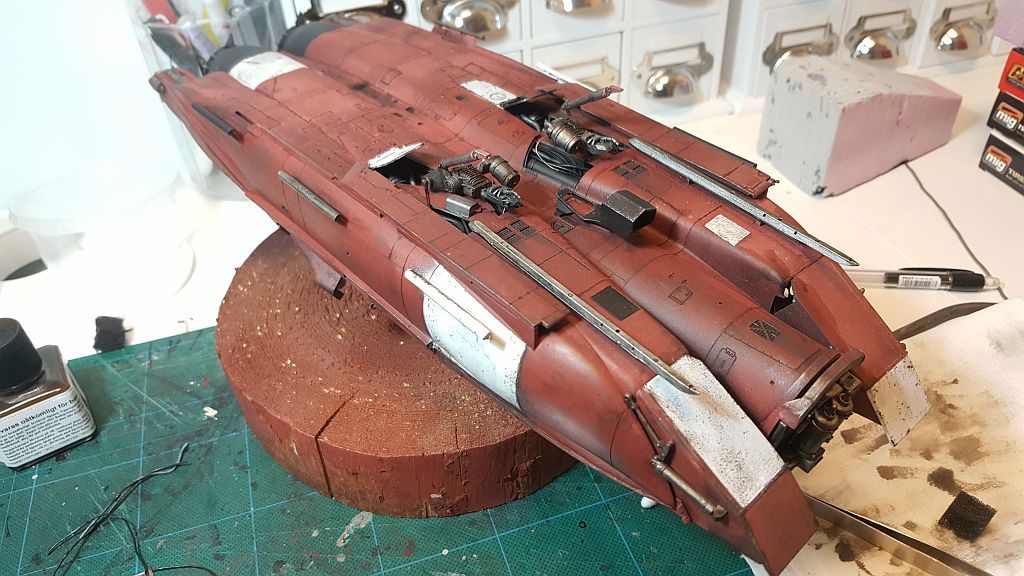
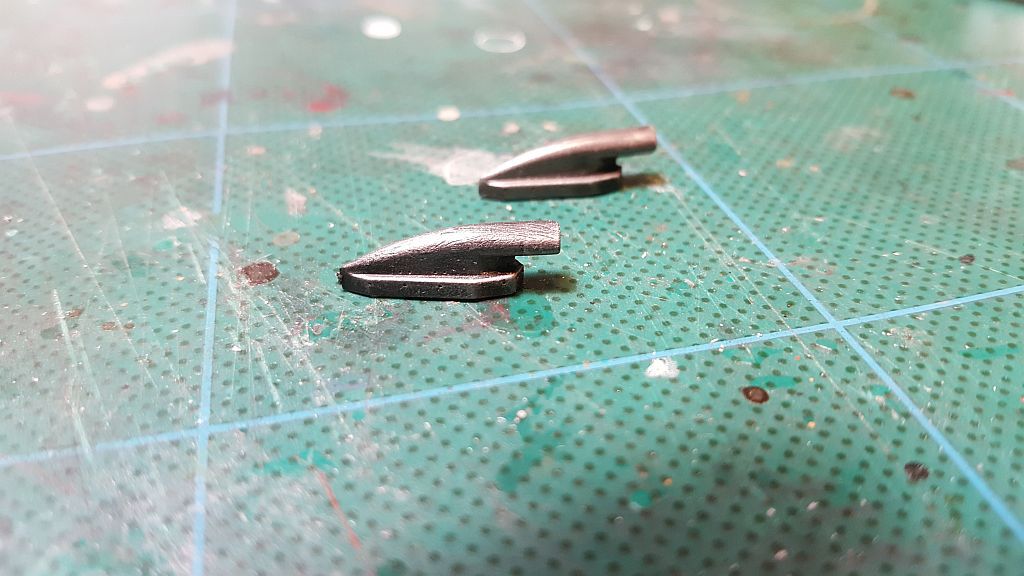
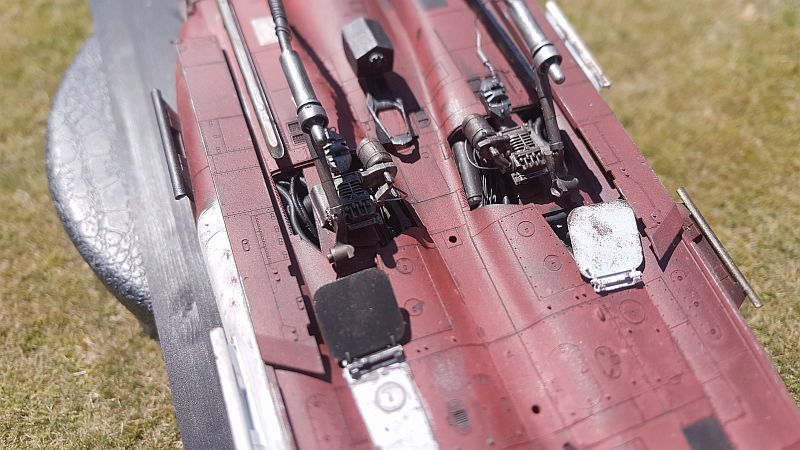
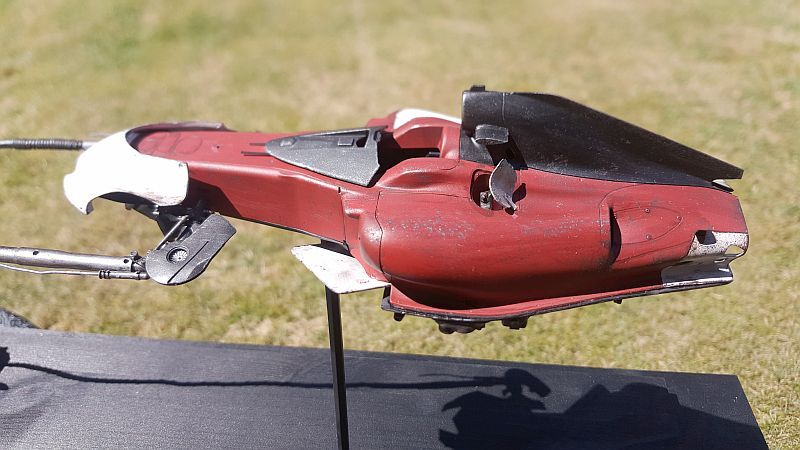
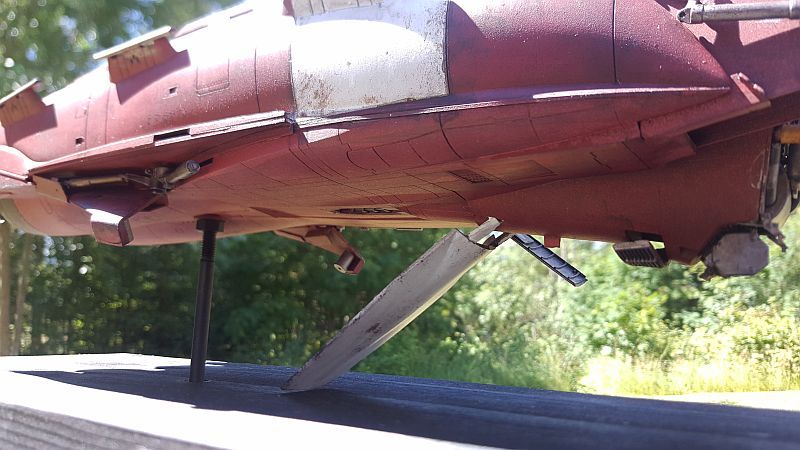
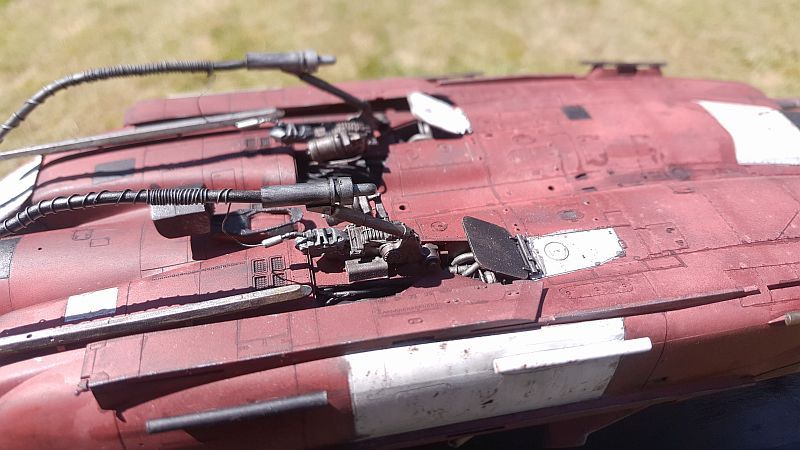
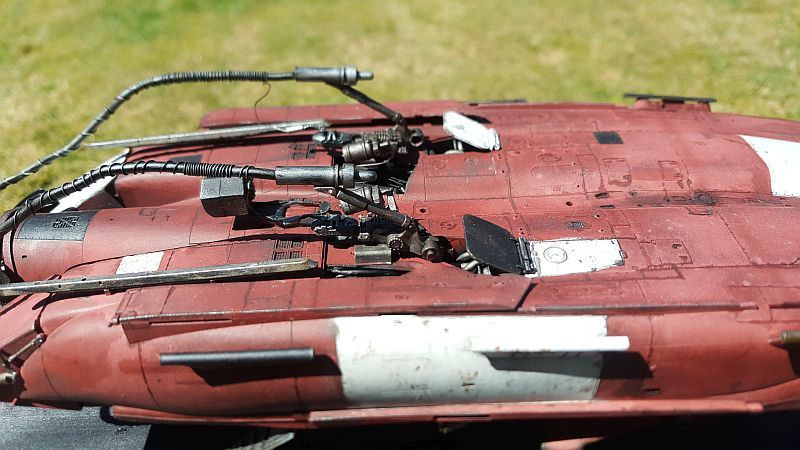
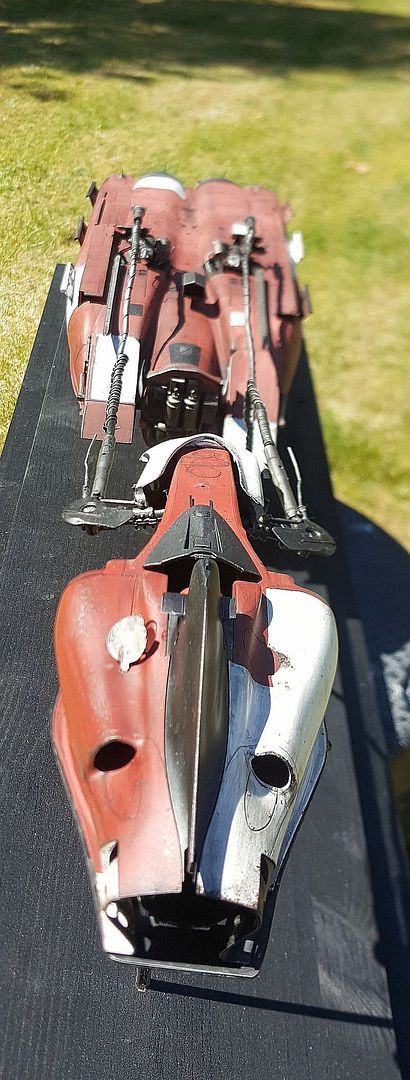
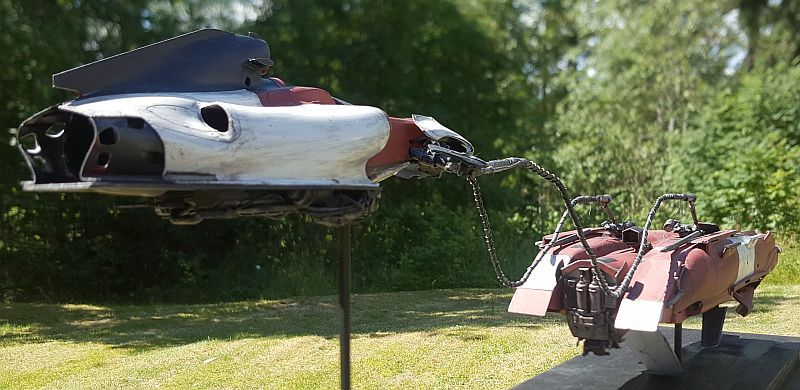
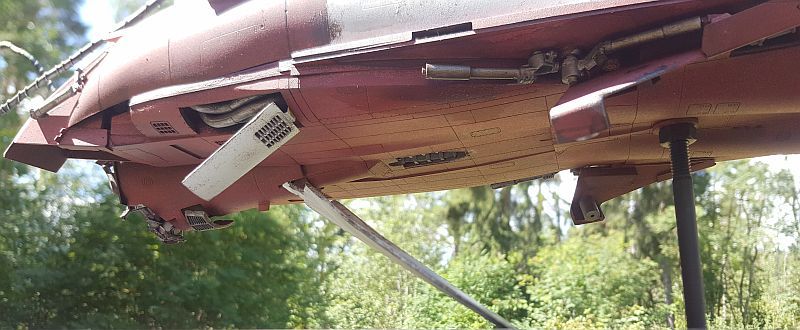
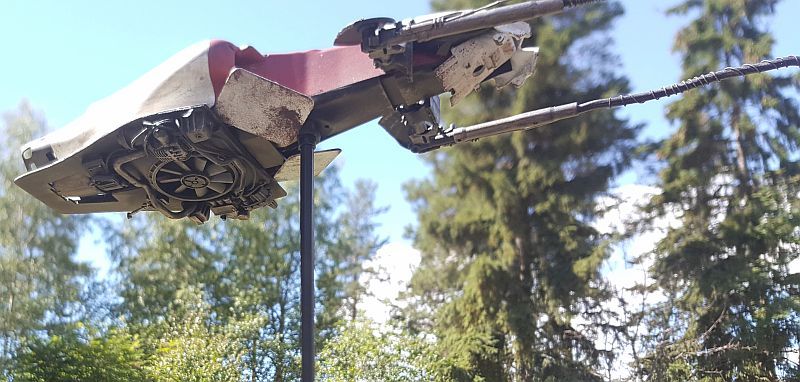
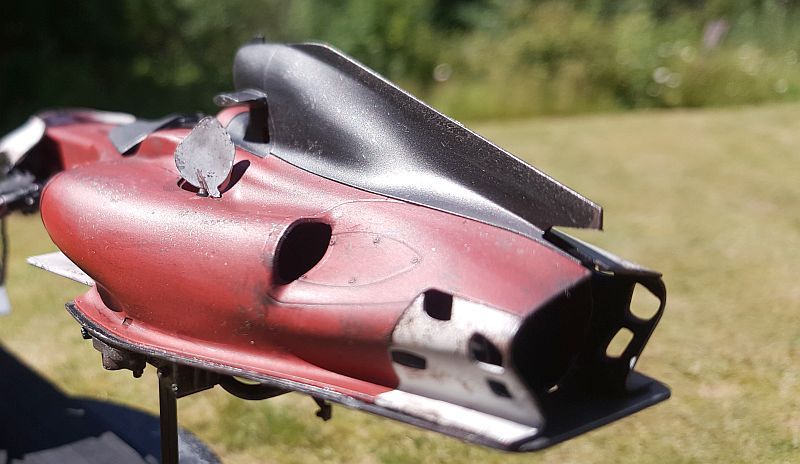
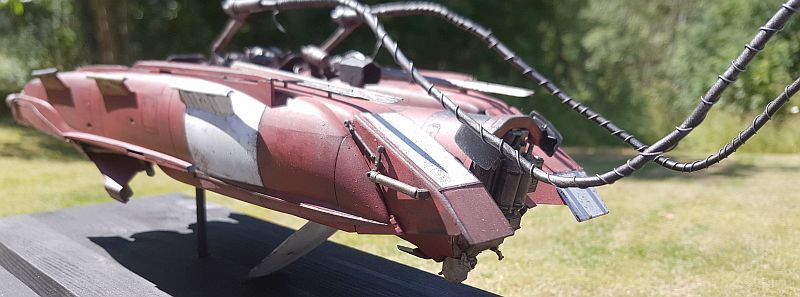
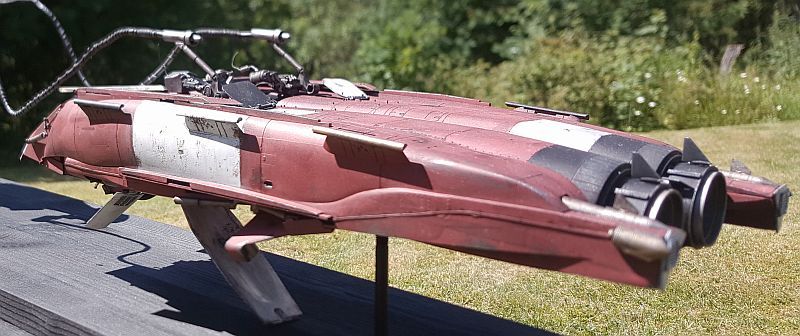
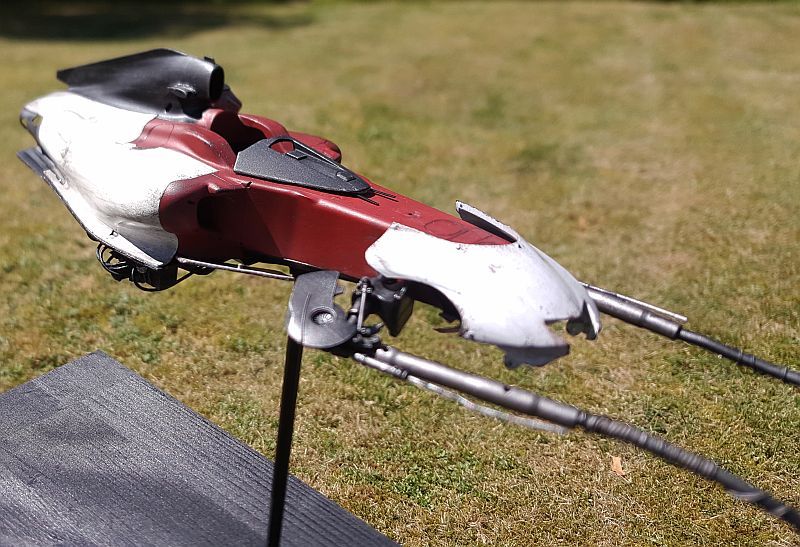
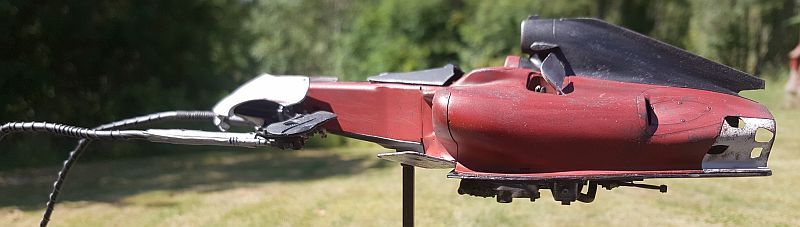
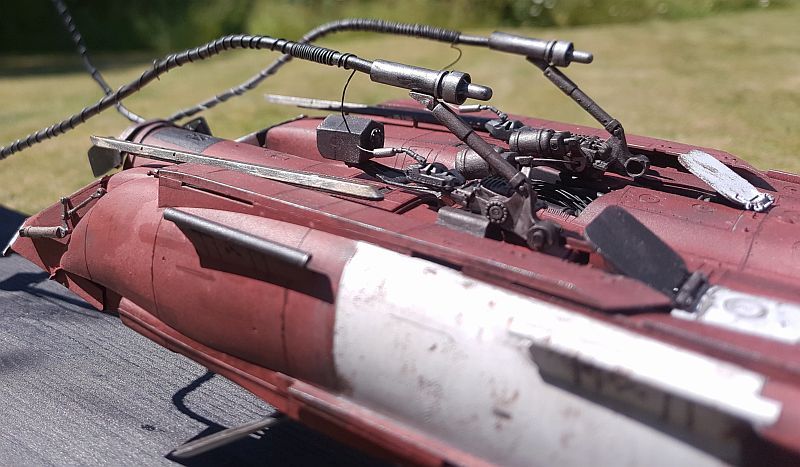
19. I think I like the results of the bottom. Although, it will be visible, but one would have to bend their head just a little to look underneath. The details would be suffcient. Or maybe I should just add a mirror just under the pod. We'll see.


bottom_exhaust_plate6d_zpsndgccnwr.jpg


tiking

SMF Supporter
Joined
Jul 18, 2006
Messages
1,337
Points
113
First Name
Charles
20. Finally threw some paint on the fuselage to give me more inspiration to carry on. As I was a little skeptical about this was going. So far, so good. I think.  I first used a chacoal black color from Citadel, then an automobile dark reddish color as the base.


paint_racer2_zpsahmisym3.jpg


paint_racer4_zpshr23nfnu.jpg
 

tiking

SMF Supporter
Joined
Jul 18, 2006
Messages
1,337
Points
113
First Name
Charles
21. I added an extra detail to the Electro attachments on the engines to add more interest to the fuselage. There will be a tiny cable, along with the bigger one, that connects this attachment point with the other smaller one on the pod. For me, the more detail, the better. 


pod_racer_extreme25_zpsaabebvea.jpg


pod_racer_extreme25a_zpseqe0ym6q.jpg
 

tiking

SMF Supporter
Joined
Jul 18, 2006
Messages
1,337
Points
113
First Name
Charles
22. So I started working on the fuselage intakes. Nothing too complicated or advanced, but I thought a slick design would work well for this old beast, even though it is an out-dated design and/or engine. I saved about anything that looks it might work for me in any future builds. I am an astmatic, so I have lots of these cannister lying around. I knew one day they will come in handy. I Still contemplating the design aspect of this section of the build. Will have to do more testing on the over all look later. But so far, this is wht I have. 


pod_racer_extreme10a_zpstwsewiij.jpg


pod_racer_extreme11_zpswlmczqhv.jpg


pod_racer_extreme12_zpsmq0inbbi.jpg
 

tiking

SMF Supporter
Joined
Jul 18, 2006
Messages
1,337
Points
113
First Name
Charles
23. Painting the external intakes on the fuselage.


pod_racer_extreme27_zpsjdwzhqcq.jpg


pod_racer_extreme27a_zpszpjw4x9g.jpg
 

tiking

SMF Supporter
Joined
Jul 18, 2006
Messages
1,337
Points
113
First Name
Charles
24. Added the Electro Attachments to the pod.It's starting to take shape.


pod_racer_extreme28a_zpsupwfjvjp.jpg


pod_racer_extreme28b_zpskji4gr8n.jpg


pod_racer_extreme28_zpsdckaix5u.jpg
 

tiking

SMF Supporter
Joined
Jul 18, 2006
Messages
1,337
Points
113
First Name
Charles
25. The overall look, so far on this pod. I think it is starting to look descent enough. Still contemplating the components surrounding the seating compartment. We'll see if I will use both or one or just leave it off entirely. 


pod_racer_extreme29_zps2qqbllbh.jpg
 

tiking

SMF Supporter
Joined
Jul 18, 2006
Messages
1,337
Points
113
First Name
Charles
26. The painting is done on the area surrounding the intakes. Will be doing some dry-brushing later on them.


pod_racer_extreme27b_zpslfi6wowt.jpg


pod_racer_extreme27c_zpsa9kofe8h.jpg
 

tiking

SMF Supporter
Joined
Jul 18, 2006
Messages
1,337
Points
113
First Name
Charles
27. I think the overall look on this old beast is starting to look pleasing to the eyes.


pod_racer_extreme31_zpskko3gr0u.jpg


pod_racer_extreme32_zpsugtpuanv.jpg


pod_racer_extreme33_zps1unu98jm.jpg


pod_racer_extreme36_zpsncqavfvz.jpg
 

tiking

SMF Supporter
Joined
Jul 18, 2006
Messages
1,337
Points
113
First Name
Charles
28.  The little details added.


pod_racer_extreme35_zpsfo0nyl5l.jpg


pod_racer_extreme34_zpsoef4ar7m.jpg


pod_racer_extreme30_zpsjcvi9es3.jpg
 

tiking

SMF Supporter
Joined
Jul 18, 2006
Messages
1,337
Points
113
First Name
Charles
29. The Electro cable that will attach to both the pod and the engine. I used a soldering lead thread is what I used to make the big cable. A thinner steel wire is used to wrap around the bigger cable. THese will be painted black then dried brush with silver.


pod_racer_extreme42c_zpsukqzjvt2.jpg


pod_racer_extreme42a_zpss3bvkq9a.jpg


pod_racer_extreme42b_zpsevgllwfo.jpg


pod_racer_extreme42_zps7eio5vfj.jpg


pod_racer_extreme42d_zps9wbqhvvf.jpg
 

tiking

SMF Supporter
Joined
Jul 18, 2006
Messages
1,337
Points
113
First Name
Charles
0.  The cable attachments. I had the choice of two. The first one and the second version. I choose the second alternative just beacuse of the way it looked. 


Alternative 1.
pod_racer_extreme41_zpscebijuev.jpg


Alternative 2.
pod_racer_extreme39_zpswbfqcl0o.jpg


Alternative two mounted together and base painted. Will dry brush it before mounting it to the Electro attachments.


pod_racer_extreme40_zpspoygbx7h.jpg


The cable will not be glued as I want  make any changes if I am not 100% satisfied with the look after mounting it. So there are mount holes at each end that will make it possible to just shove the cable in the and out it the need arises. This is one of the main reasons I chose to use lead soldering thread as the cable. It makes it possible to pose the cable exactly the way I want it without any movement.


tiking

SMF Supporter
Joined
Jul 18, 2006
Messages
1,337
Points
113
First Name
Charles
31. I decided use another wire that I found in a dumspters. I simply cut both ends to reveal the copper wire inside. Then I measured the distance between the two Electro attachments and made the cut. I also wrapped a much smaller wire around the the thicker one. I just thought it would add to the overall look.Then I primed the wires with black charcoal paint and then dried brushed them with silver. 


pod_racer_extreme43_zpsxw0cvrfc.jpg


pod_racer_extreme43a_zpszprcpfq5.jpg


pod_racer_extreme43b_zpsljevf1ql.jpg


pod_racer_extreme43c_zps460hgrrv.jpg


pod_racer_extreme43d_zpsjkbius20.jpg
 

tiking

SMF Supporter
Joined
Jul 18, 2006
Messages
1,337
Points
113
First Name
Charles
32. And now for the final pics. Still a little more touch up here and there but I think It looks ok. My apologies for the quality of the photos. My camera has a focus issue that needs fixing. I hope you guys like the results:


junkster3_zpsvsycpeua.jpg

junkster5_zpsxhhql6ml.jpg

junkster7_zps5ox9fc19.jpg

junkster8_zps8q4hsyun.jpg

junkster11_zps6cfzckdp.jpg

junkster12_zps1eeqeuw2.jpg

junkster13_zpsgc4dydya.jpg

junkster18_zps3f5m4yc7.jpg

junkster17_zpsuuqbqn7o.jpg

junkster20_zpsnobxkkvn.jpg

junkster16_zpslioammfj.jpg

junkster19_zpsan0cqthu.jpg

junkster15_zpshtspwcnc.jpg

junkster14_zpsnmveus9n.jpg

junkster10_zpstrmjcr5w.jpg

junkster9_zpsf7yrlwnp.jpg

junkster4_zpsxzovrump.jpg

junkster_zps2rifgjzk.jpg

junkster6_zpsdbkvcvve.jpg

junkster2_zpsyalryn56.jpg
 

Snowman

We come in peace, so shoot to kill!
SMF Supporter
Joined
Oct 20, 2014
Messages
1,996
Points
113
First Name
Gavin
Brilliant!! O.o B| :x


That is one super cool build!!
 
Top