Truck 'Loading Bay' Diorama WIP

tiking

SMF Supporter
Joined
Jul 18, 2006
Messages
1,337
Points
113
First Name
Charles
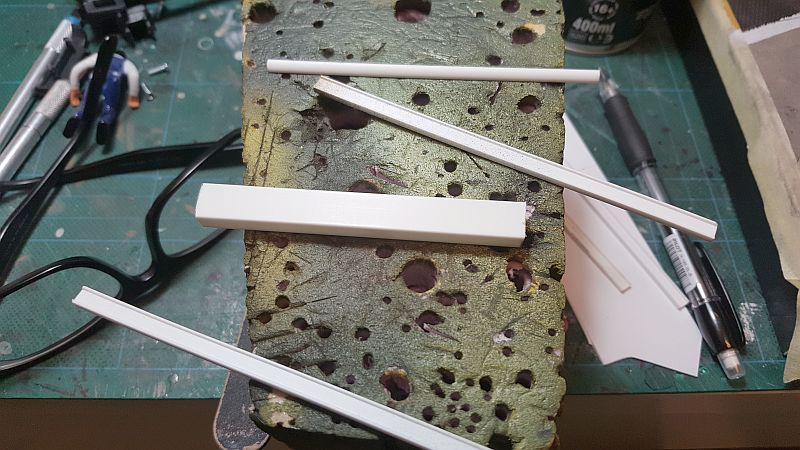
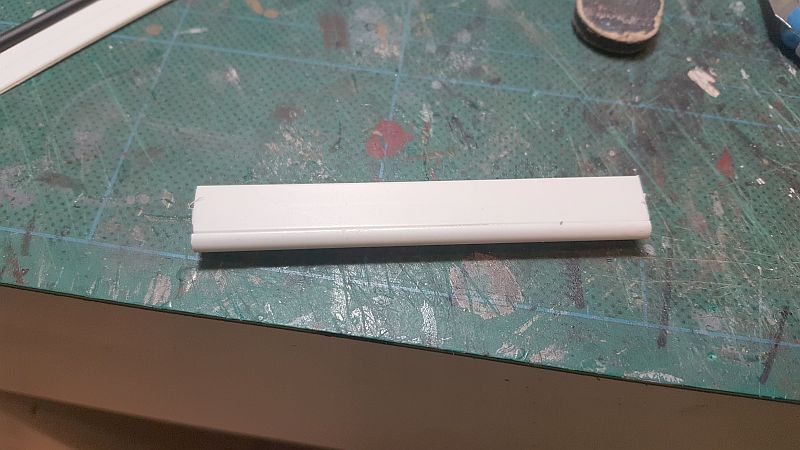
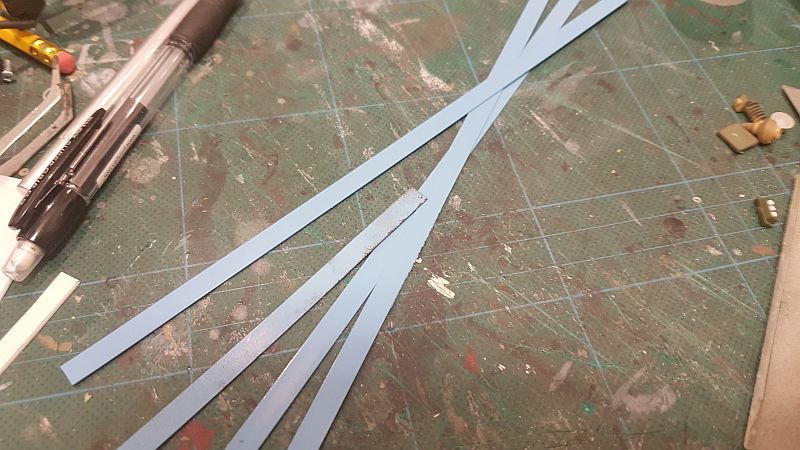
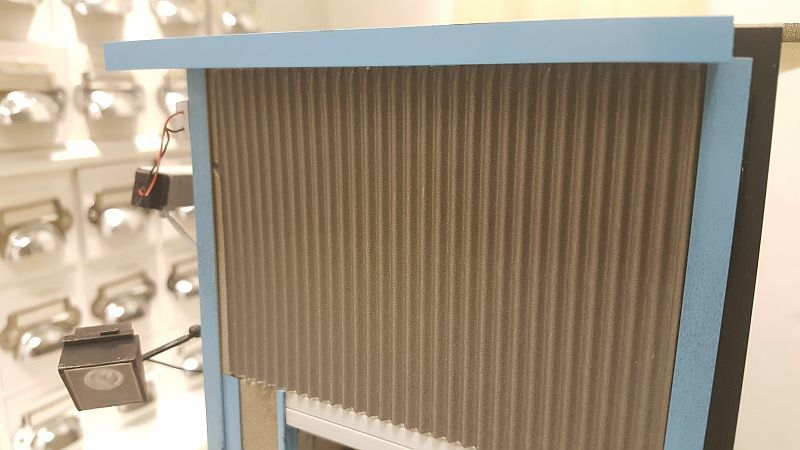
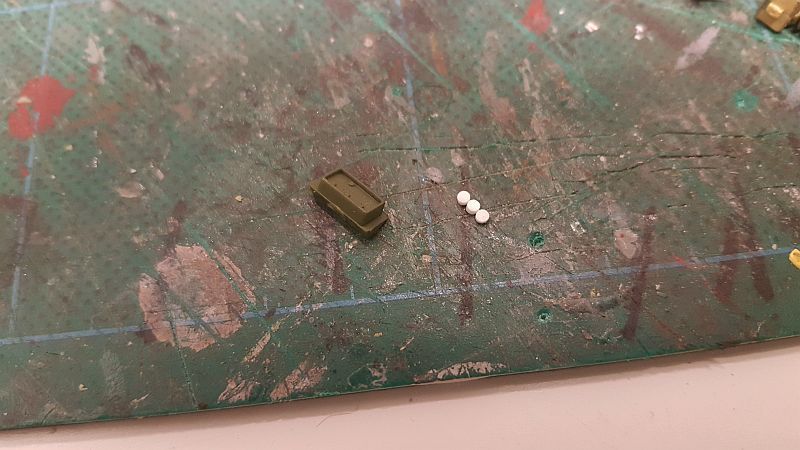
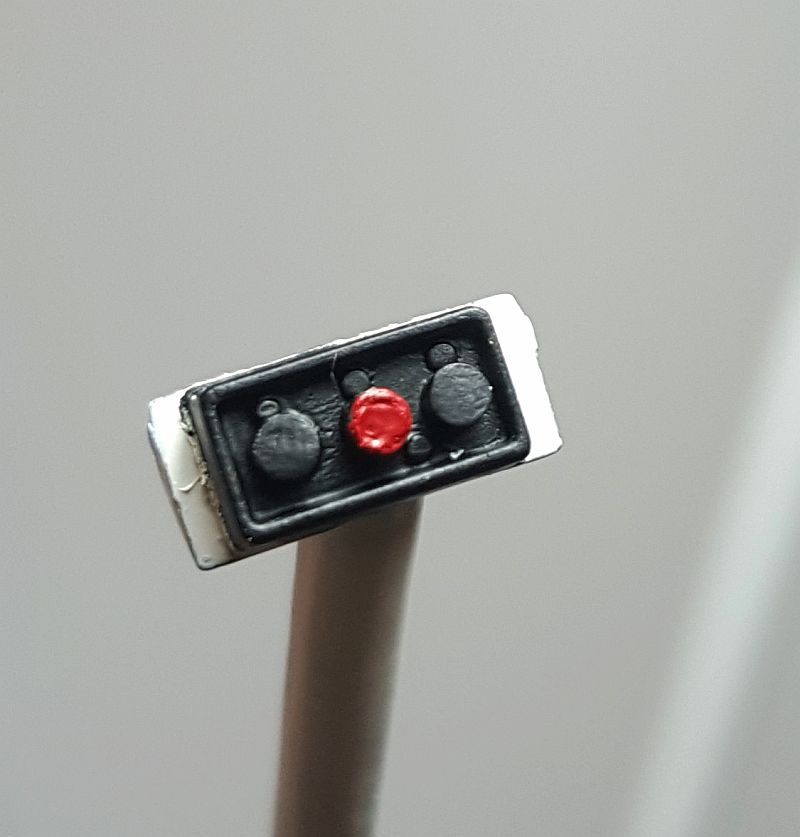
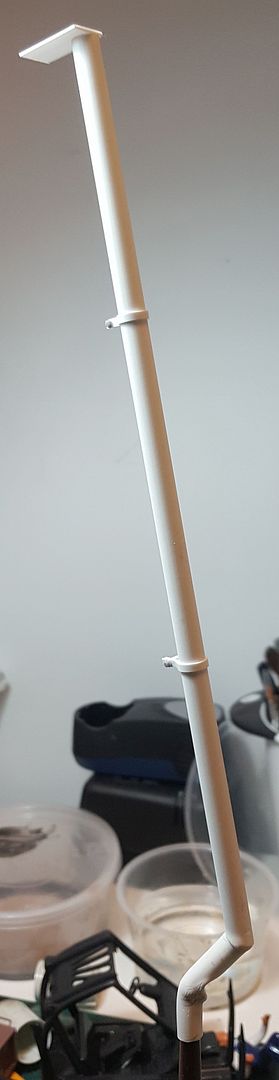
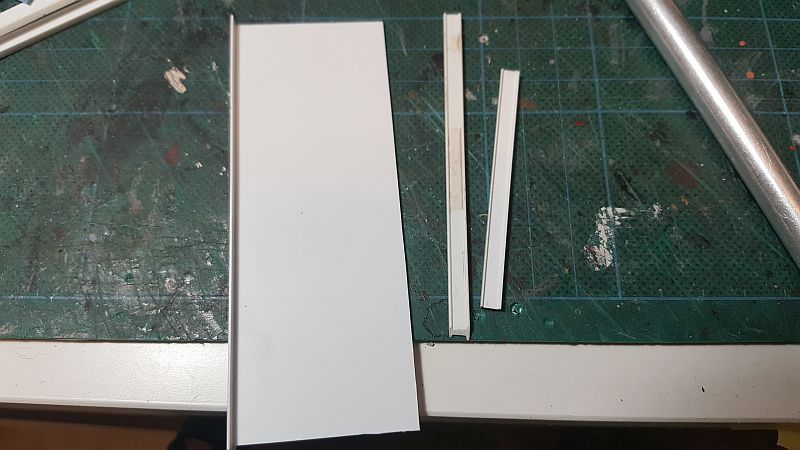
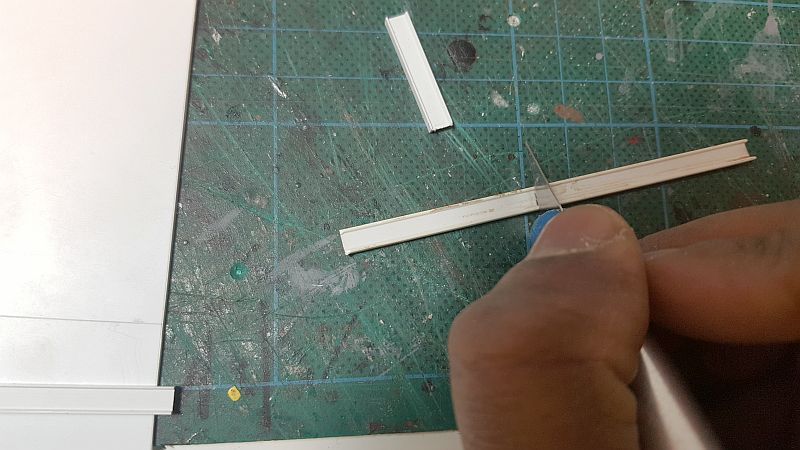
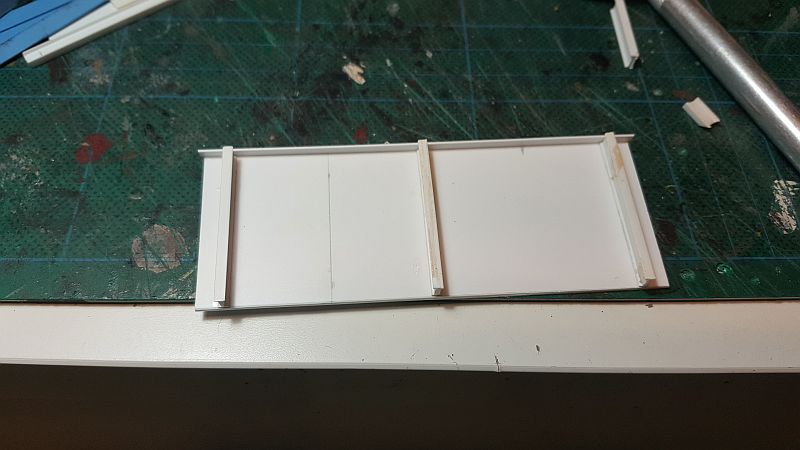
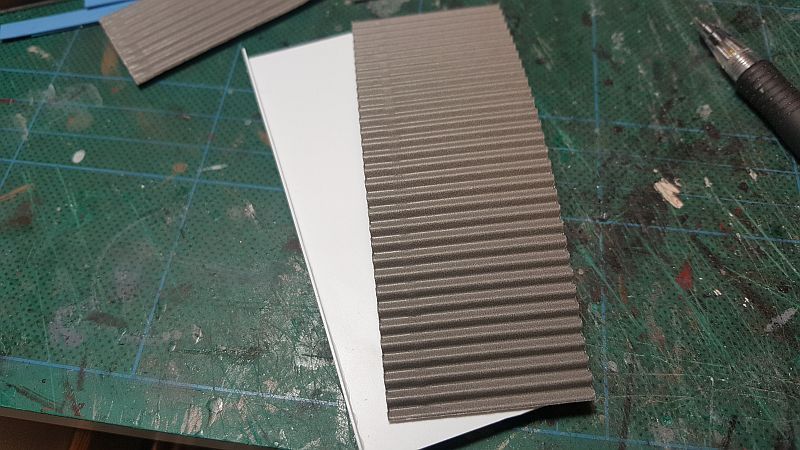
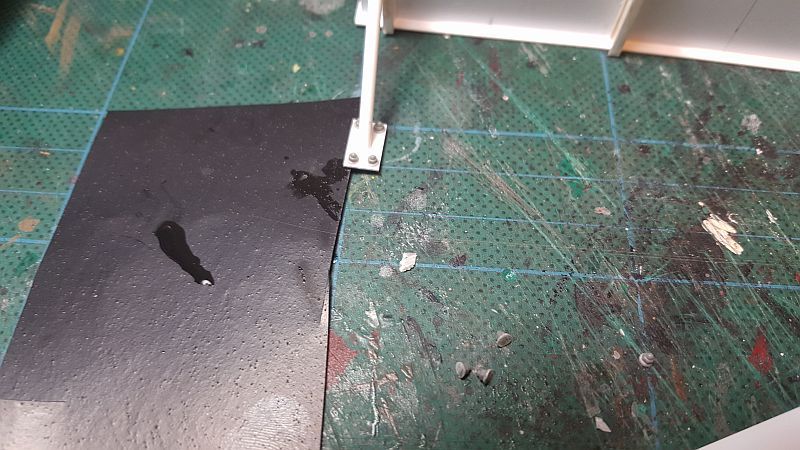
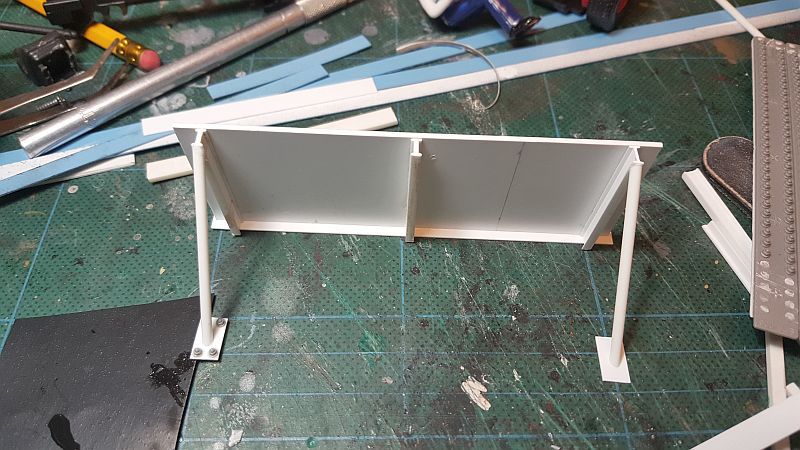
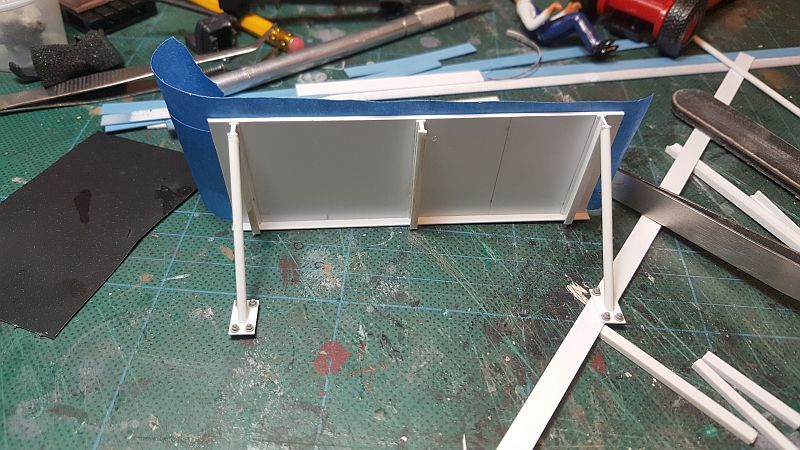
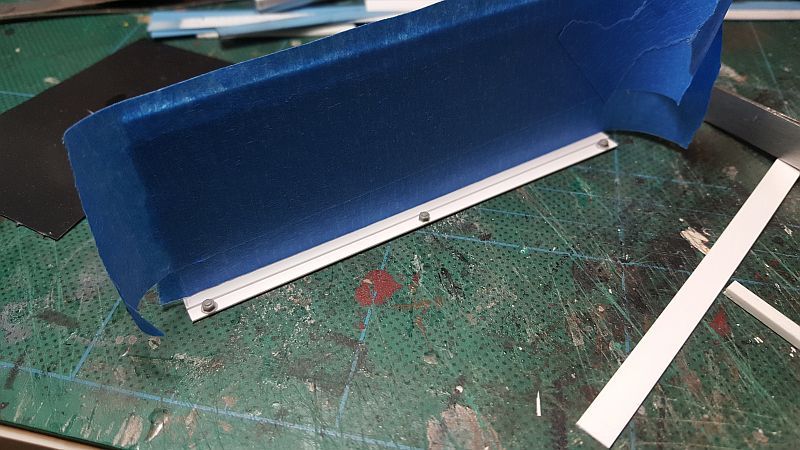
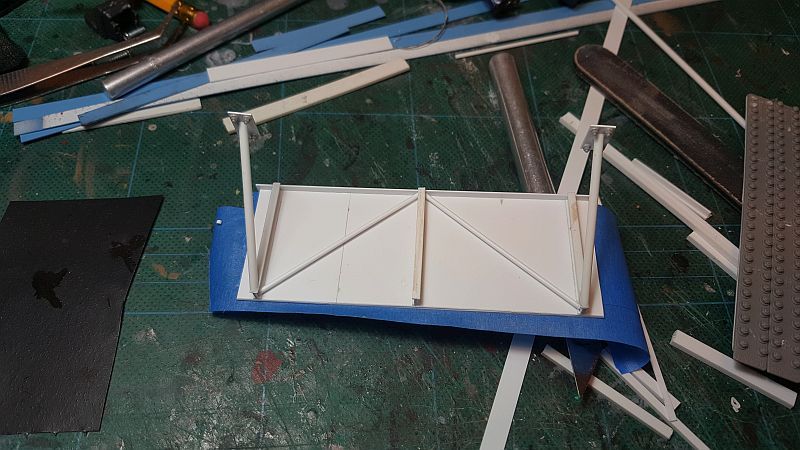
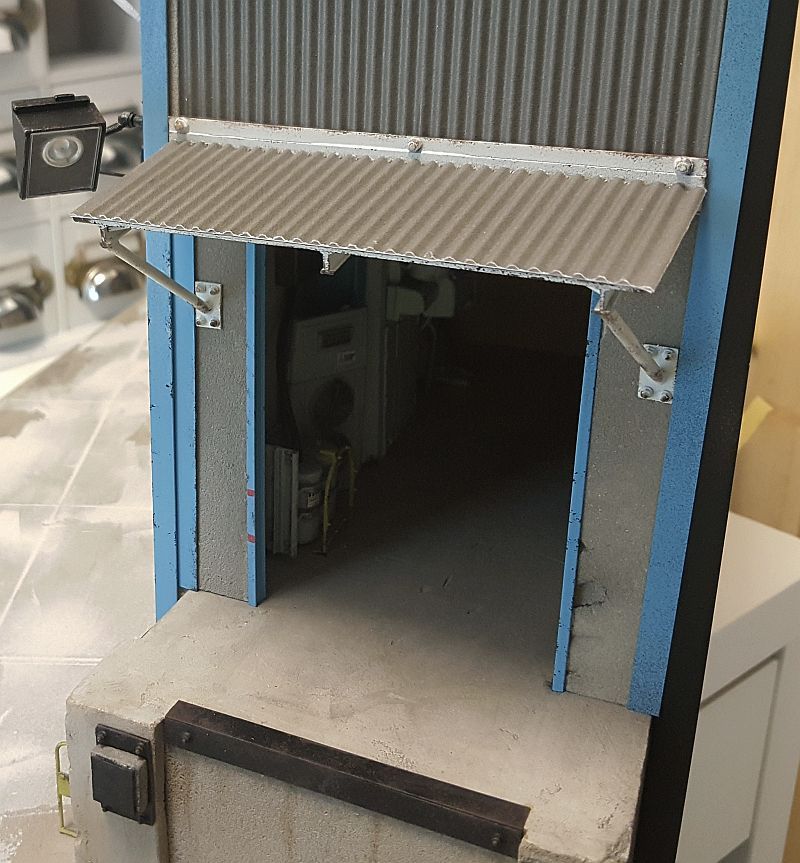
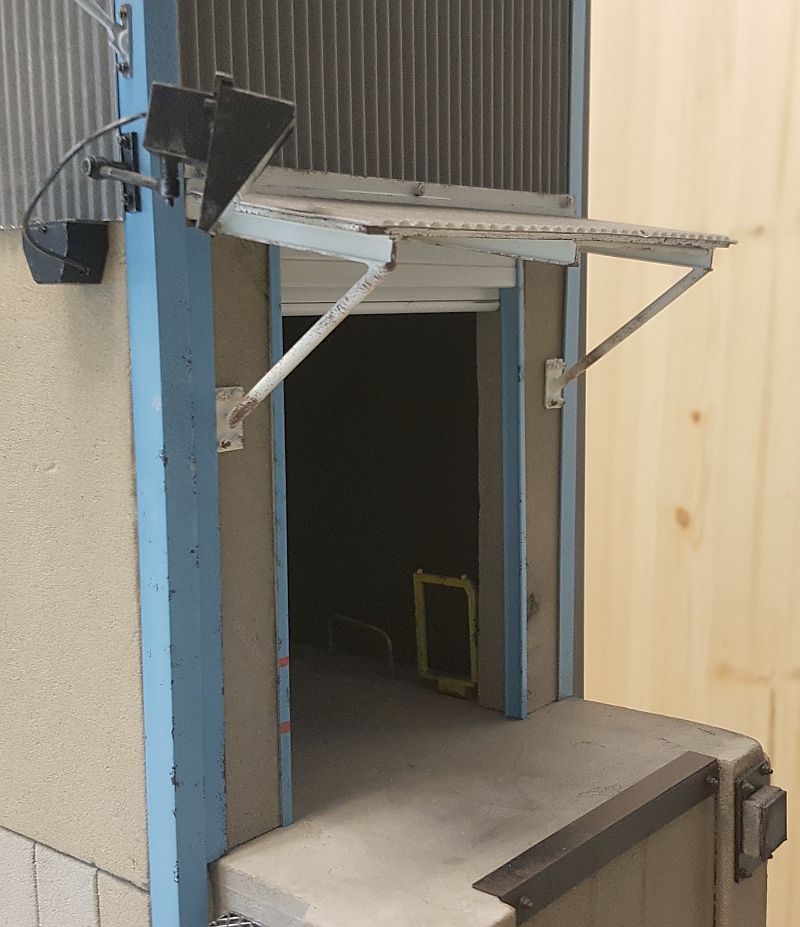
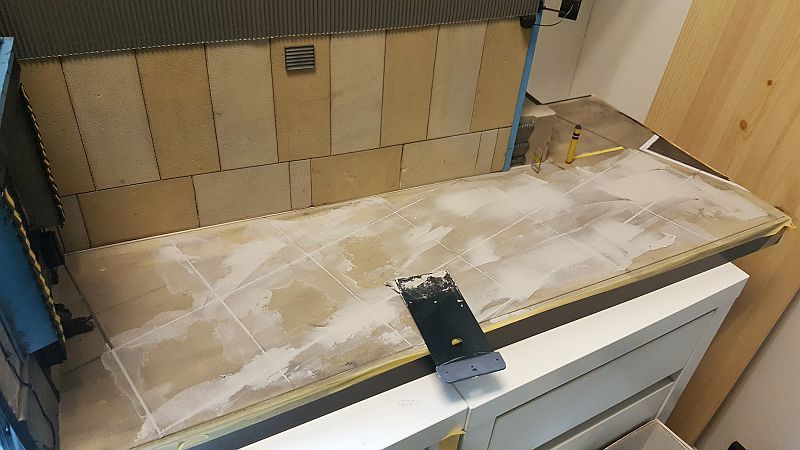
More details added. Will be adding a bay gate( not sure what they are called) and some minor other details.


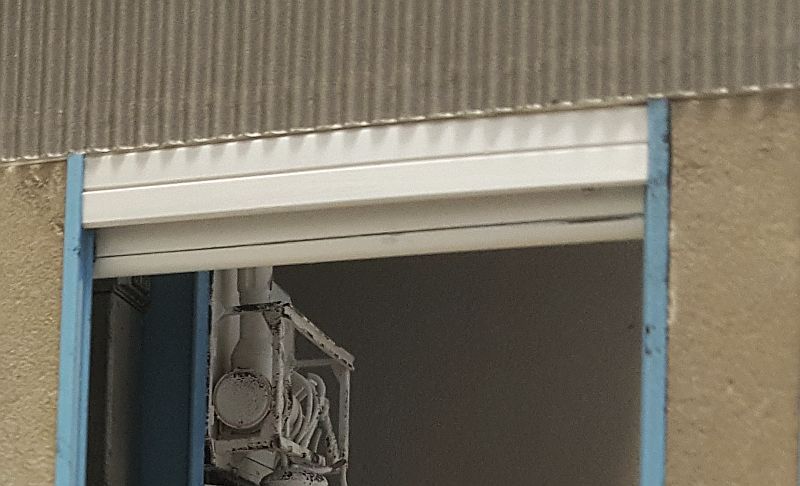
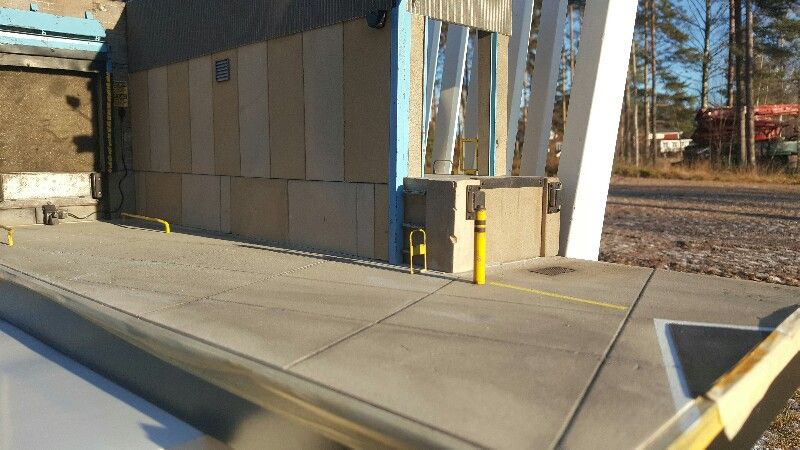
I took some out door photos(not really good ones, as it was still early in the morning), but the results were enough to let me know it looks good in the outdoors. ;)


grumpa

SMF Supporter
Joined
Jan 14, 2015
Messages
4,691
Points
113
First Name
Jim
PHENOMINAL! What exactly is that contraption? All scratch built I presume?
 
0

0ne48thtel

Guest
one word STUNNING!! this looks sooo real looking forward to seeing the rest.
 

tiking

SMF Supporter
Joined
Jul 18, 2006
Messages
1,337
Points
113
First Name
Charles
PHENOMINAL! What exactly is that contraption? All scratch built I presume?

Hahaha! I knew someone would finally ask that question. That is a good question. when I was putting it together, I just thought I would put something together, that will make the area, seen through the bay doors, look interesting. Maybe some kind of industrial, öcooling system or a hydralic, electrical system. The area I used to take photo will be closed.
 

monica

“When there's no more room in hell, the dead will
SMF Supporter
Joined
Oct 30, 2013
Messages
15,111
Points
113
Location
Melbourne
First Name
monica
looks great,in the early morning light,Charles,thi is just so well done,
will look forward to seeing more wok on this,;)
 

yambam26

SMF Supporter
Joined
Mar 18, 2011
Messages
720
Points
63
First Name
Ben
Just Wow, Your work is definitely inspiring and your attention to detail is superb as per usual!!!!!

Cheers
 

tiking

SMF Supporter
Joined
Jul 18, 2006
Messages
1,337
Points
113
First Name
Charles
looks great,in the early morning light,Charles,thi is just so well done,
will look forward to seeing more wok on this,;)

Thank you kindly Monica.
 

tiking

SMF Supporter
Joined
Jul 18, 2006
Messages
1,337
Points
113
First Name
Charles
I Made the docking bay door out some pieces of styrene.

bay_door_parts_zpsylr17ye1.jpg


bay_door_parts_complete_zpsnag2thnp.jpg


The final bay door in place:

bay_door_parts_installed_zpsw1ipnbdn.jpg


I then painted some thin white styrene stripes blue, for the trimming at the top edge of the building.

blue_strips_zpsygrwtsmb.jpg


blue_strips2_zpsvfatrhil.jpg


The bay door 'open & close' mechanism. I used a small piece I found in my 'box of tricks' and sliced up thin round styrene rod for the buttons.


bay_door_mechanism_zpsdyj9avyj.jpg


The finished mechanism.

bay_door_mechanism2_zpspp1v1lvd.jpg
 
0

0ne48thtel

Guest
This is just getting better and better Charles your eye for detail is so inspiring.
 

monica

“When there's no more room in hell, the dead will
SMF Supporter
Joined
Oct 30, 2013
Messages
15,111
Points
113
Location
Melbourne
First Name
monica
great detailing work,Charles,;)
 

tiking

SMF Supporter
Joined
Jul 18, 2006
Messages
1,337
Points
113
First Name
Charles
I apologies for the bad pics. But when the diorama is completed, I will take better ones. These are just WIP as you can see:

The bay door 'open & close' mechanism painted and ready to mount on the inside wall:

up_and_down_bay_door_mechanism_zpsz0gwffxm.jpg


I scratch built a drainage pipe that will be mount between both, the brick and concrete bay walls:

Drainage_pipe_zps1x7rvgdw.jpg


Drainage_pipe2_zpsfjlfx8ta.jpg


I have added side roof strips to all sides of the front facing building and painted them blue:

blue_strips3_zpsbhdgjw71.jpg


I scratch built a canopy for the second docking bay. I thought it was necessary and adds interest to the rest of the scene.


bay_door_canopy_zps3pxjdofd.jpg


bay_door_canopy2_zps0hmy4kmo.jpg


bay_door_canopy3_zps86nd6buk.jpg


I used cardboard corrugated roofing which made the job easy and simple. This was later glued onto the styrene piece that was the canopy.


bay_door_canopy4_zpszhmzvuue.jpg


bay_door_canopy5_zpsec2twqu5.jpg


I used my trusty nuts and bolts for the areas that were going to be mounted to the wall. As you can also see, I made some bracing as well.:

bay_door_canopy7_zpsxpbxelna.jpg


bay_door_canopy6_zpsepwd4tfb.jpg


bay_door_canopy8_zpsnbgmmmjr.jpg


bay_door_canopy9_zpst6ujlsxx.jpg


bay_door_canopy10_zpsj1nu9pxg.jpg


The canopy mounted in place. I think it looks ok.

bay_door_canopy_mounted_zpssd2xdk7a.jpg


bay_door_canopy_mounted2_zps64pq3pke.jpg


I decided to redo the concrete tarmac. I knew the ground did not look right, and this I was told should be perpendicular to the building and not at an angle as it is now. So I am trying to see if I can rectify my mistake by hiding those grooves. We'll see if it works.

filling_the_concrete_space_zpsvhqu51cd.jpg
 

rocko4346

SMF Supporter
Joined
May 25, 2016
Messages
18
Points
13
First Name
Robert
WOW!.......I think I'm gonna quit modeling after seeing your work lol;)
 
Top