- Joined
- Aug 3, 2007
- Messages
- 197
- Points
- 28
- First Name
- Peter
Hi,
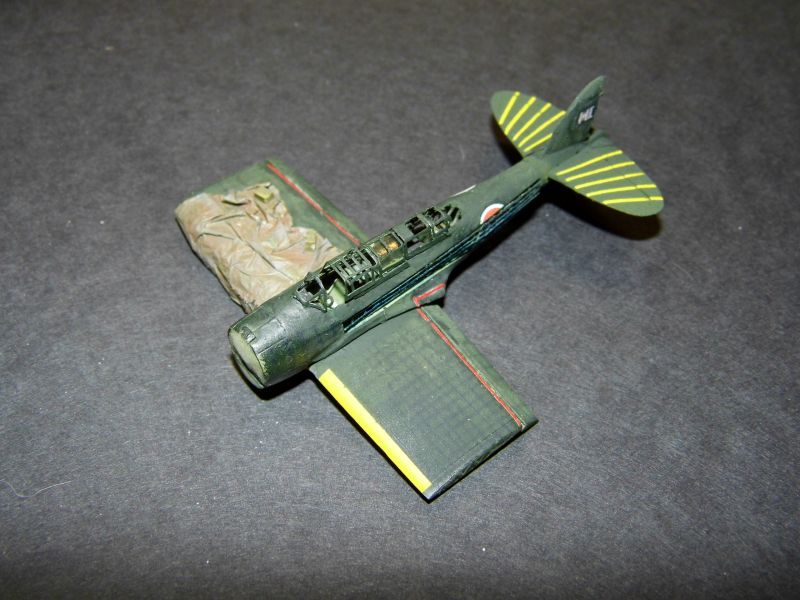
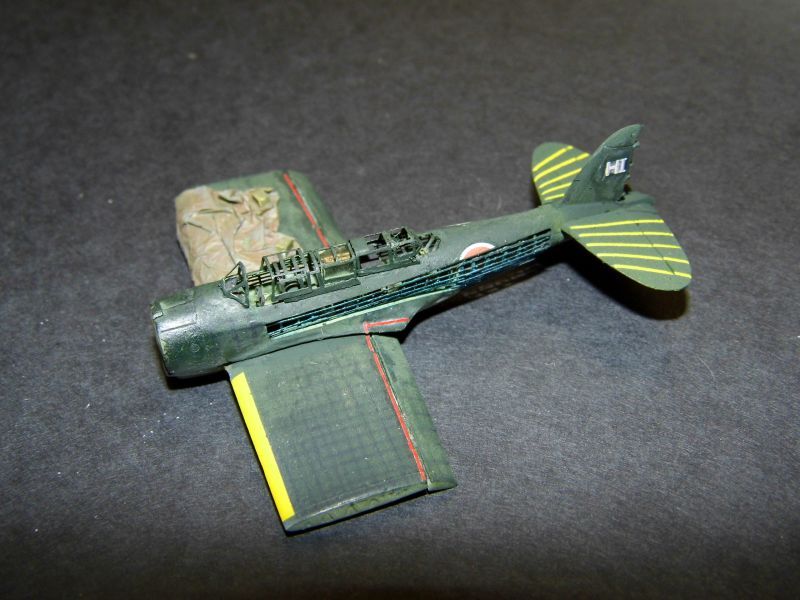
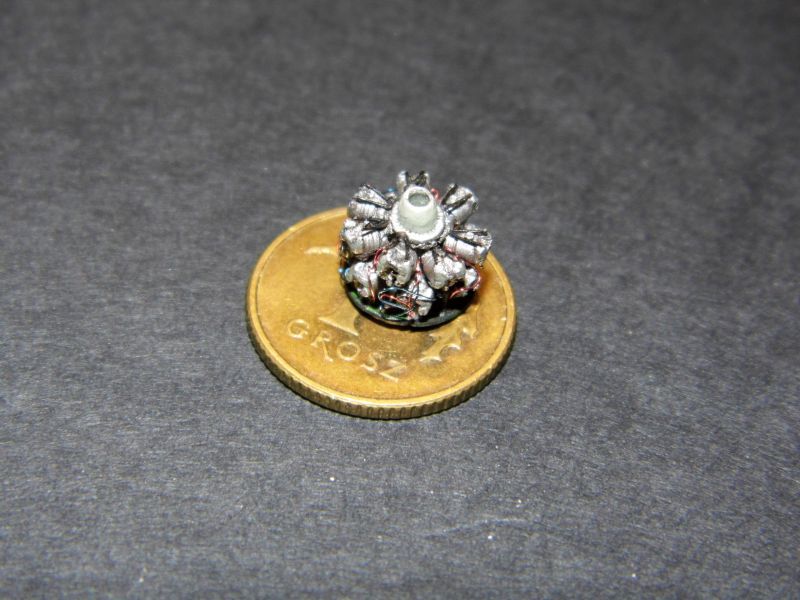
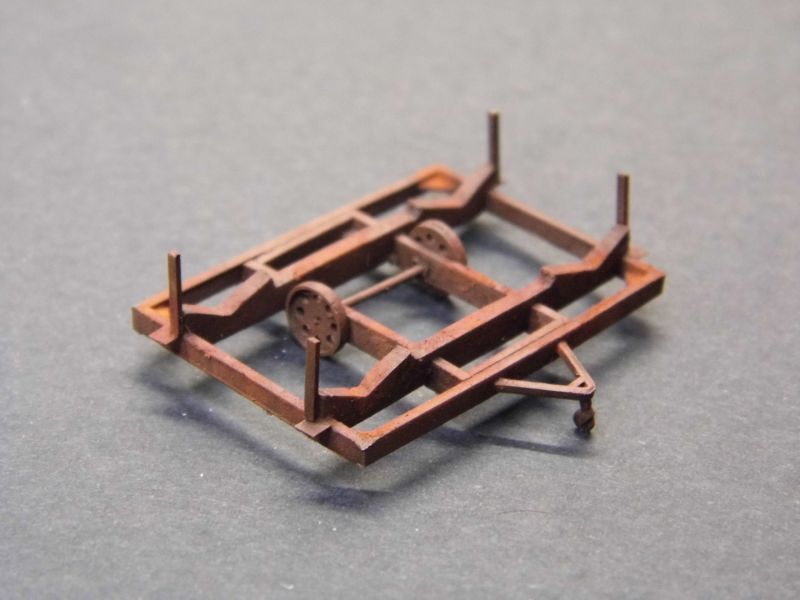
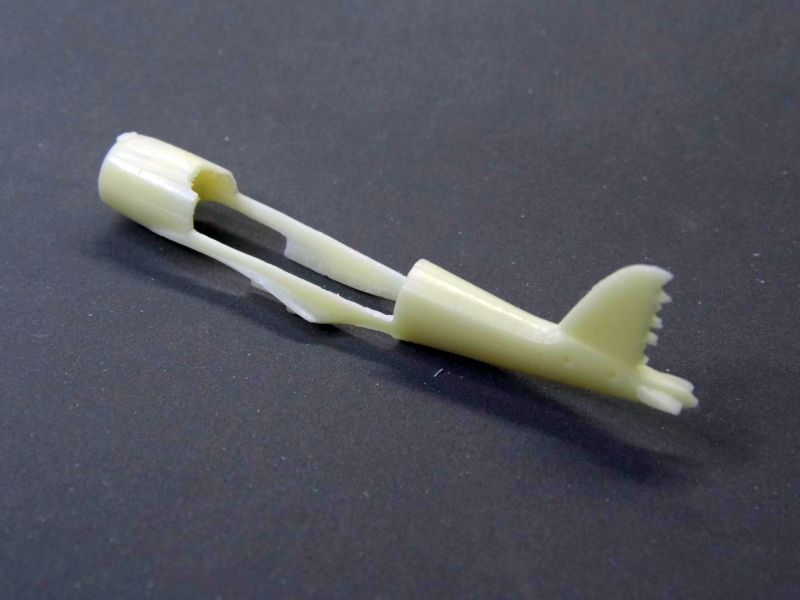
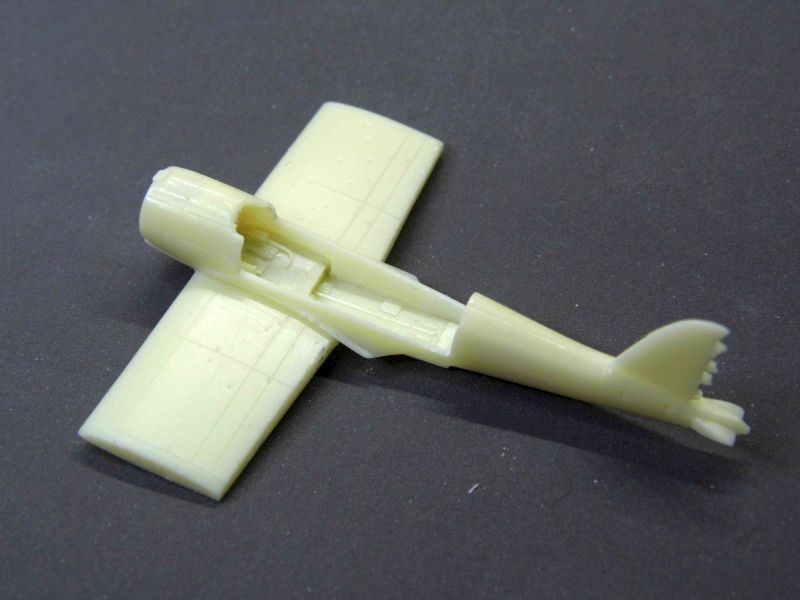
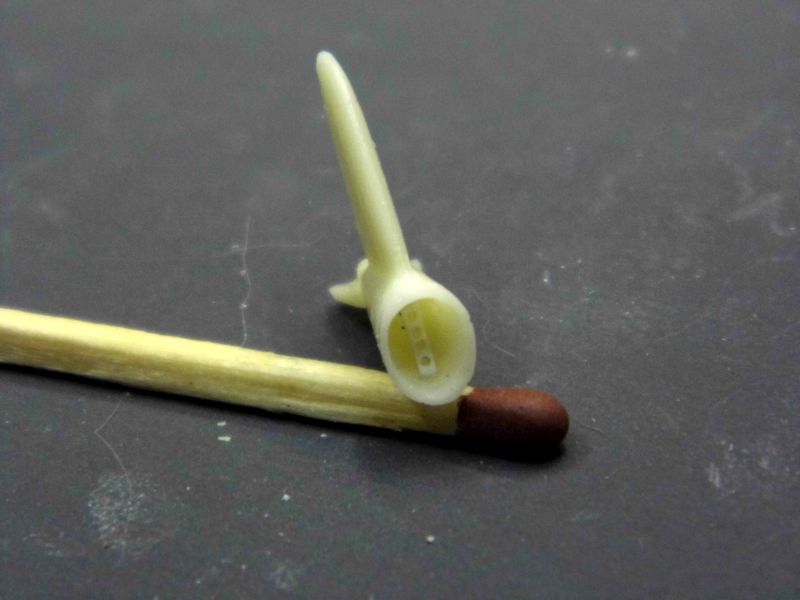
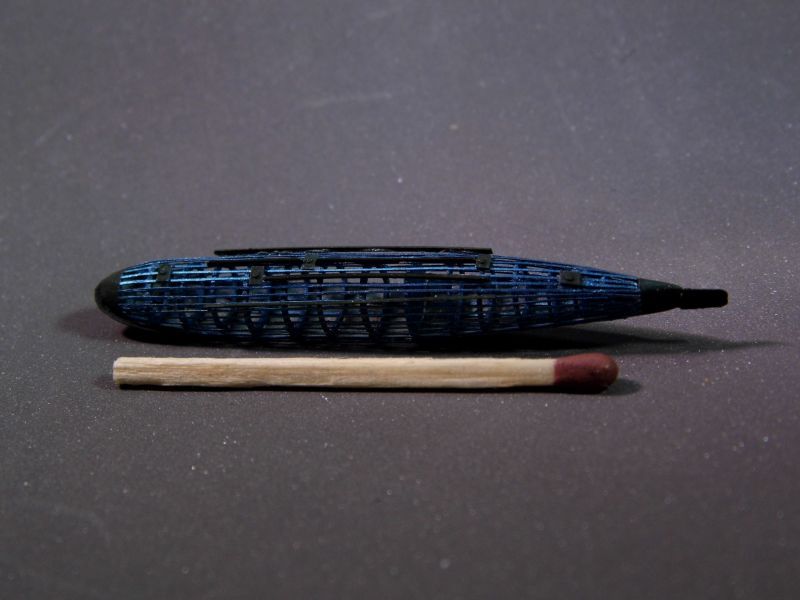
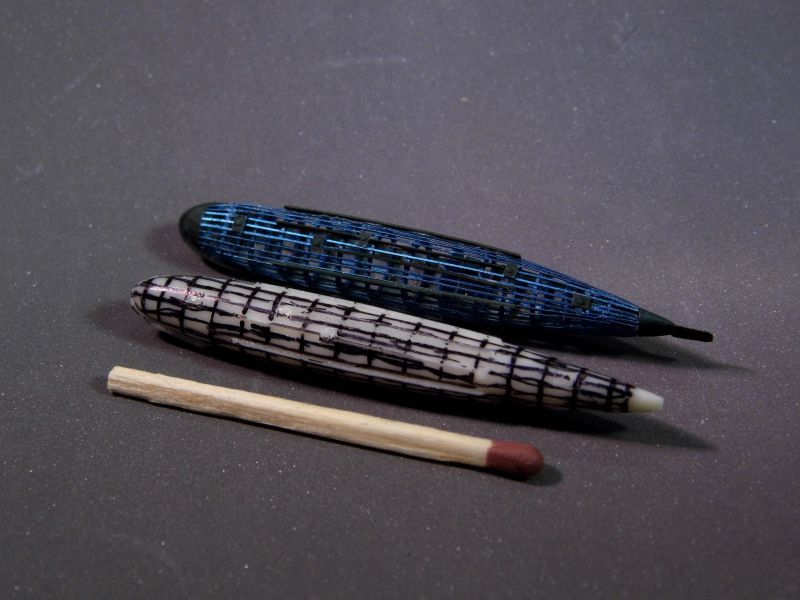
Some time ago I made a 1:144 resin kit of Aichi E13A1 Jake. Although there are some kits ot his plane available, I wanted one with some additional detail like wing fold, vac-formed canopy and interior. If you want to see creation process of this kit, than click here or visit the gallery. But in this thread I am going to show how I use the resin parts to make a 1:144 Jake with some panels removed.
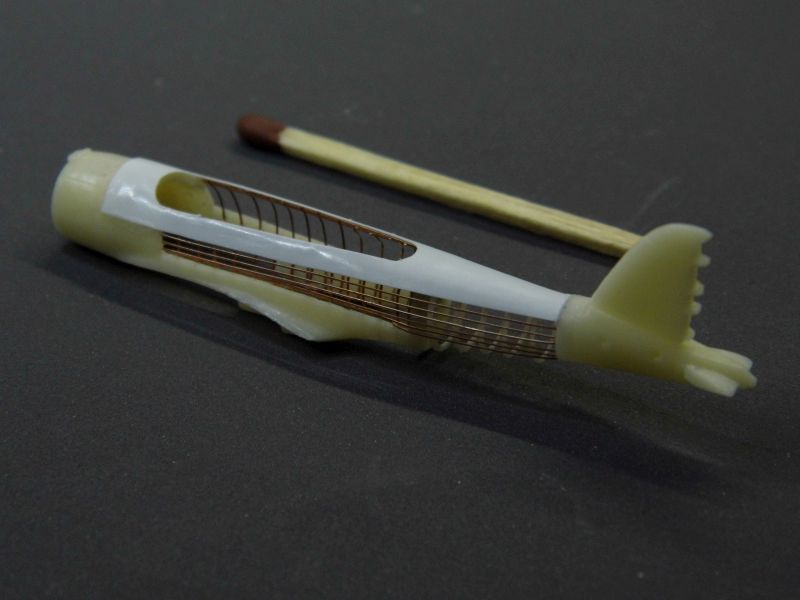
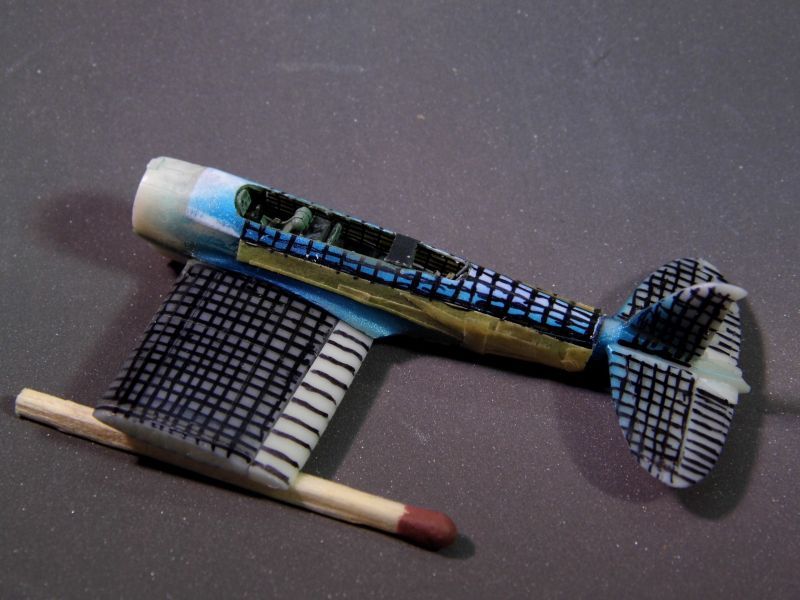
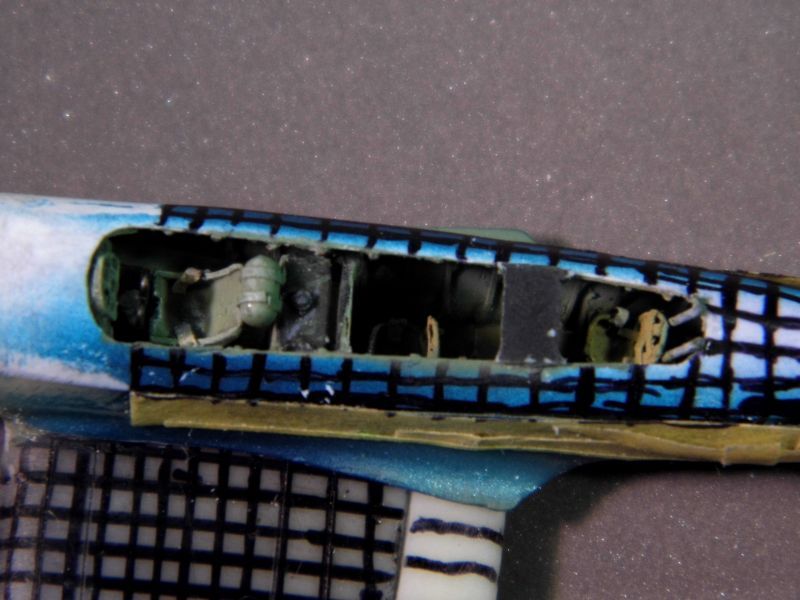
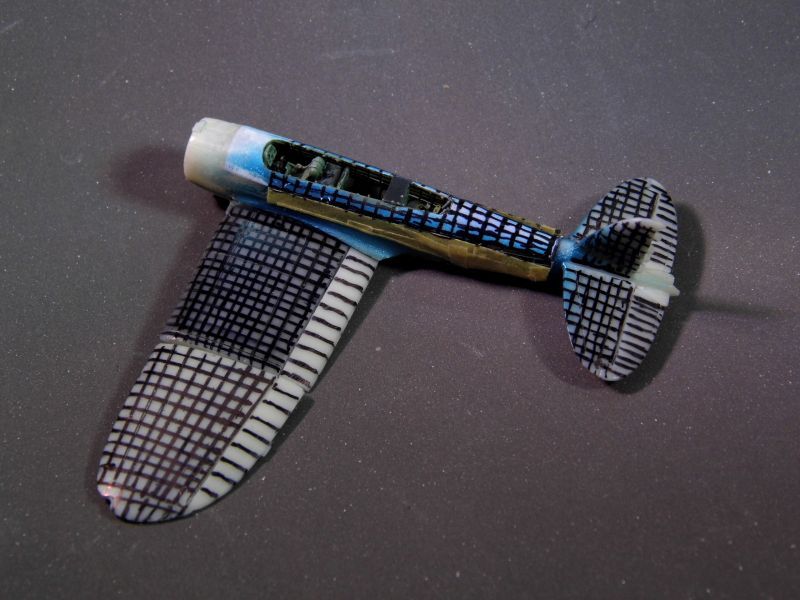
This is what I plan to do. I've marked red those areas where internal structure will be visible.
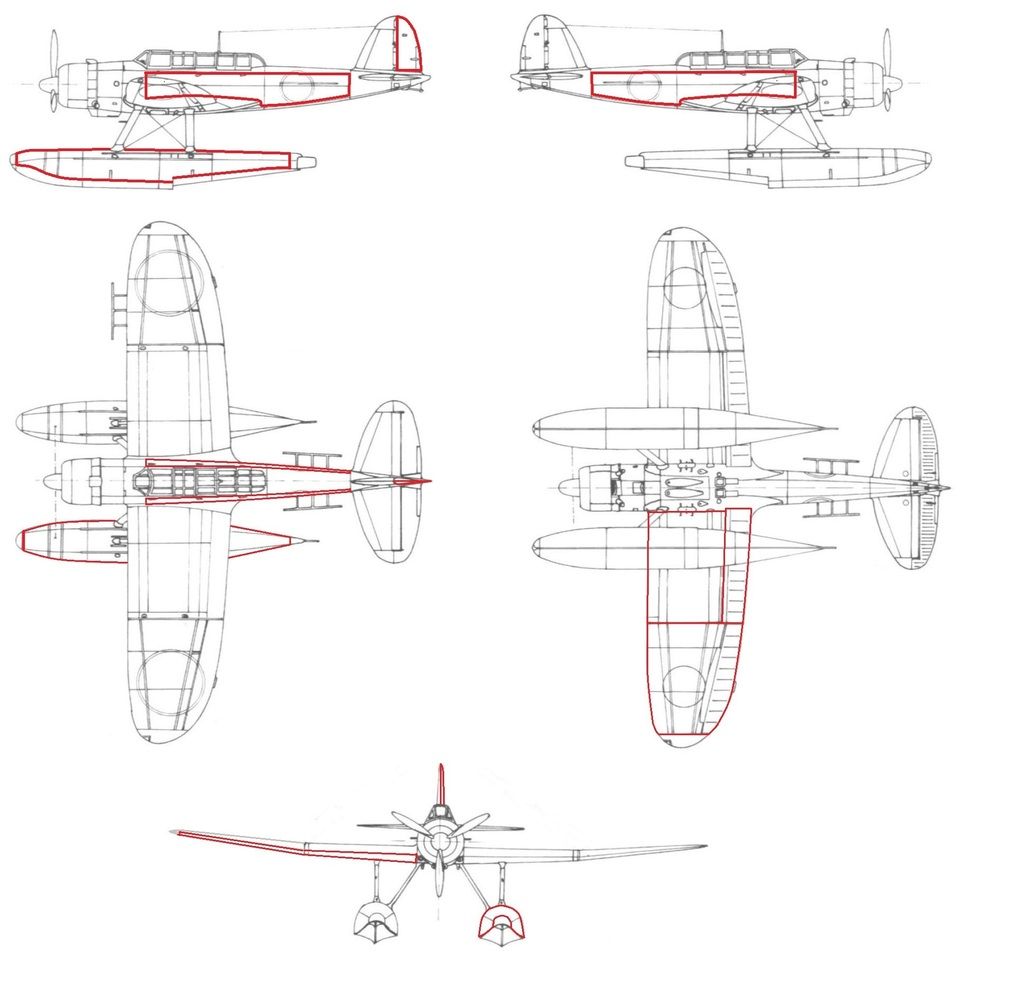
I know that such configuration was impossible to observe on any war theatres, but my aim is to show internal structure of the airframe.
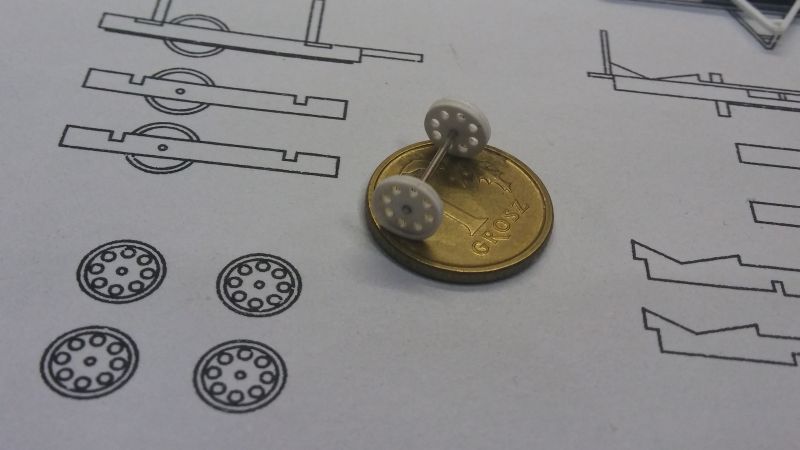
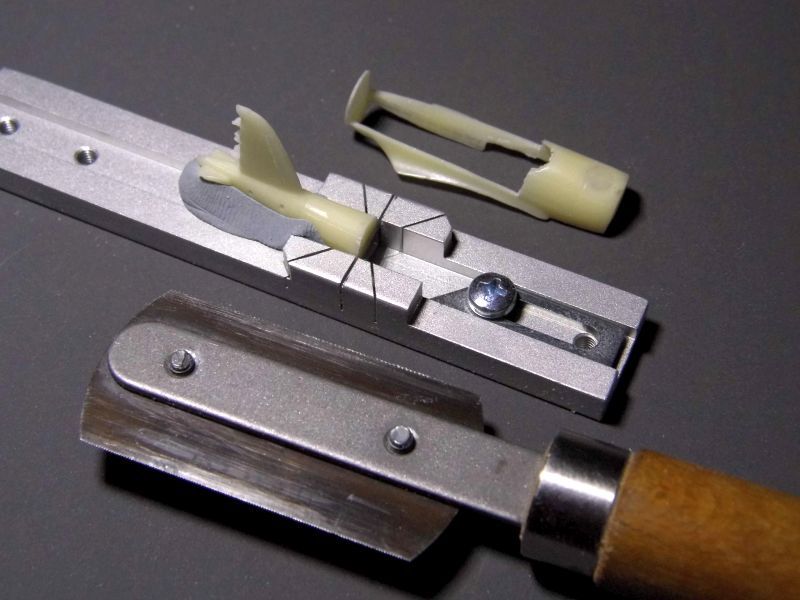
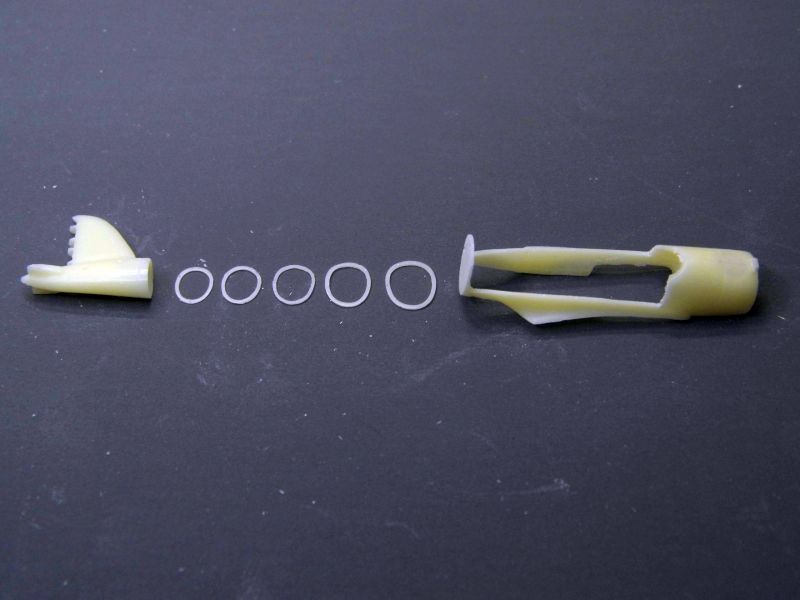
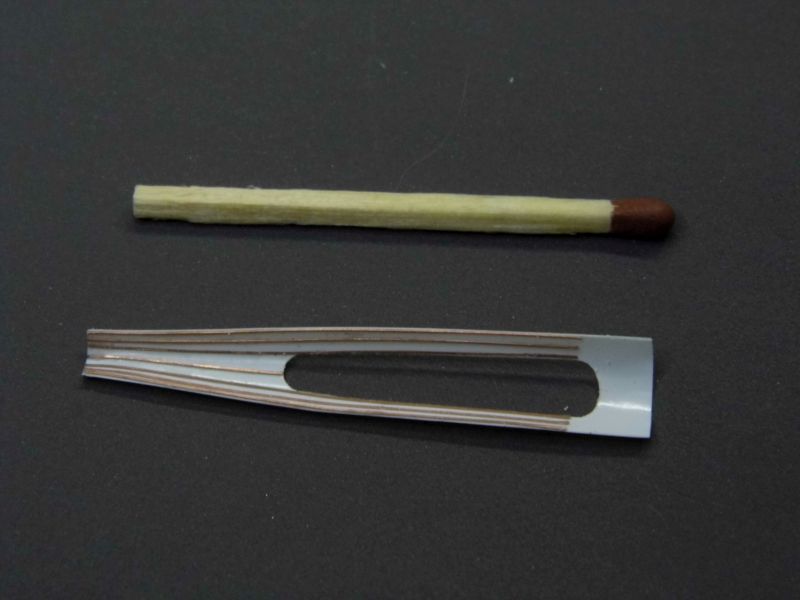
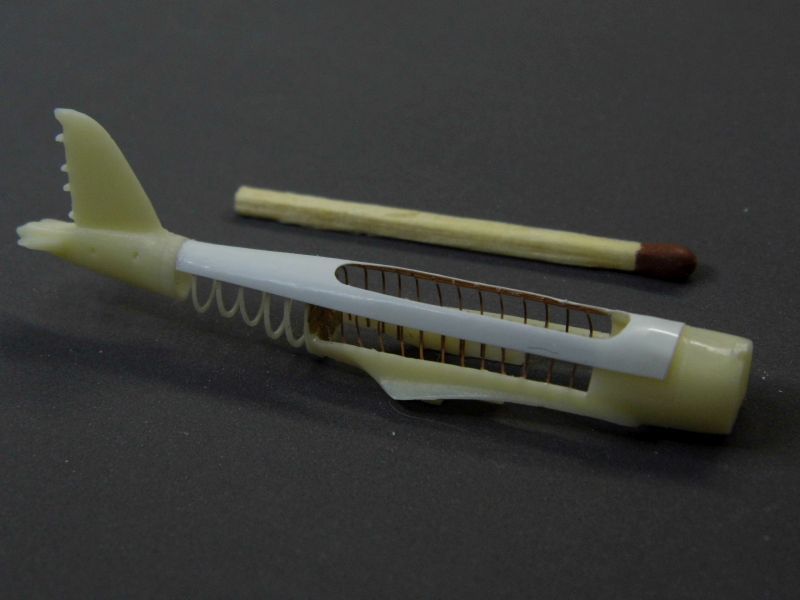
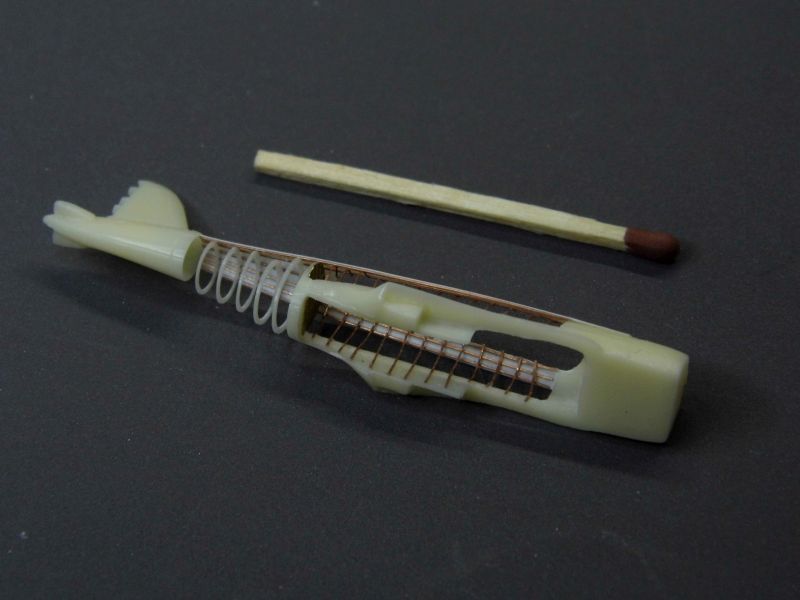
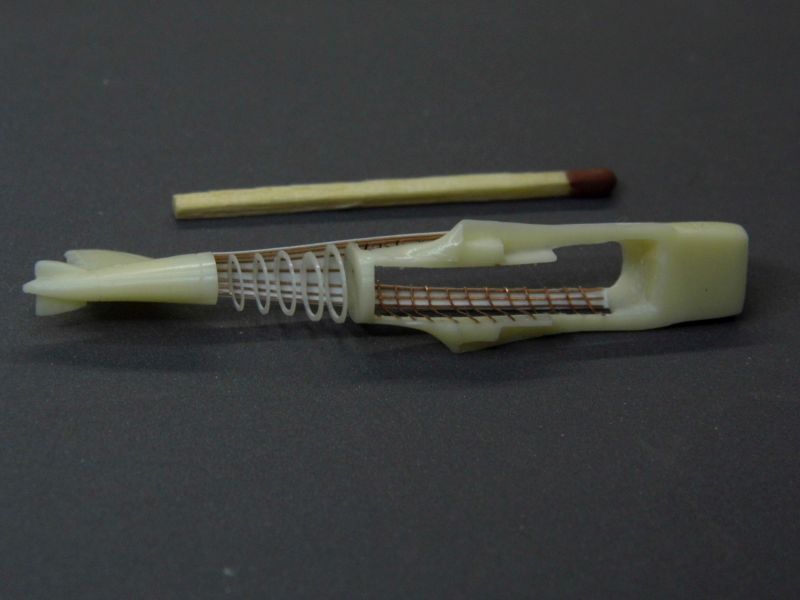
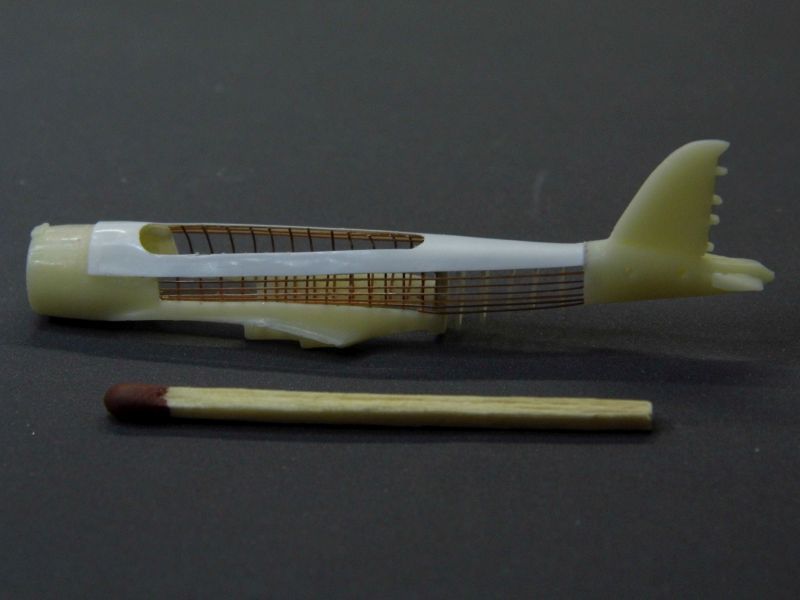
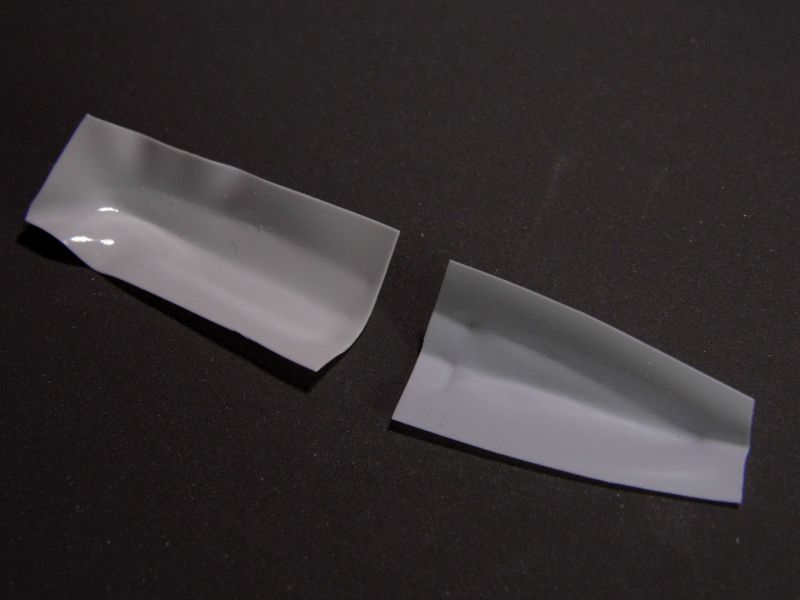
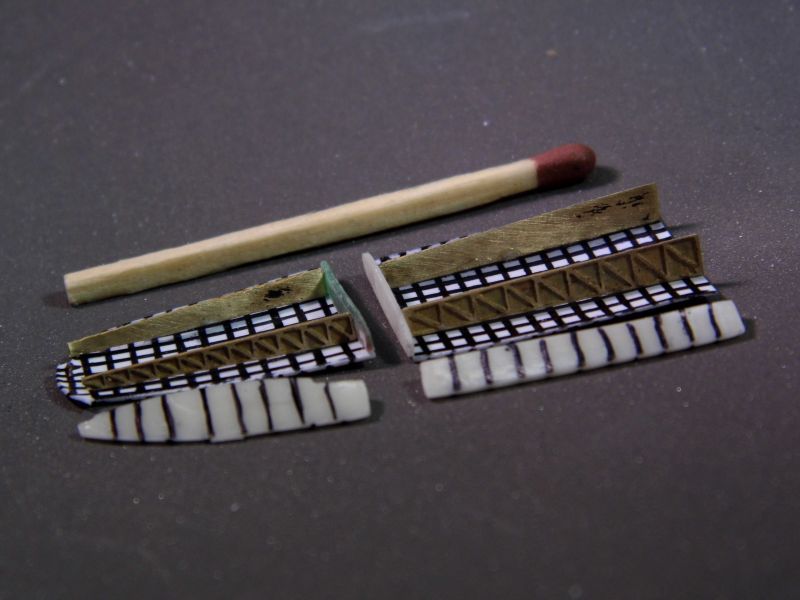
So here is how I started:
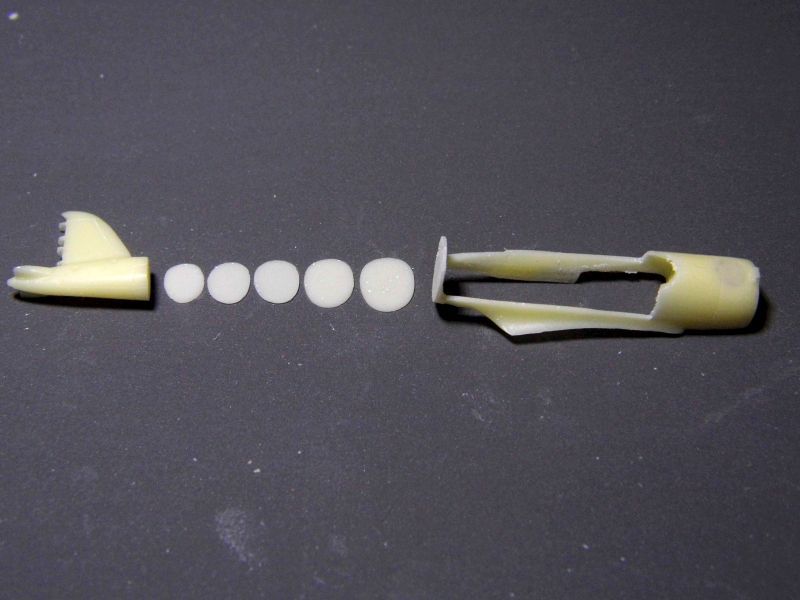
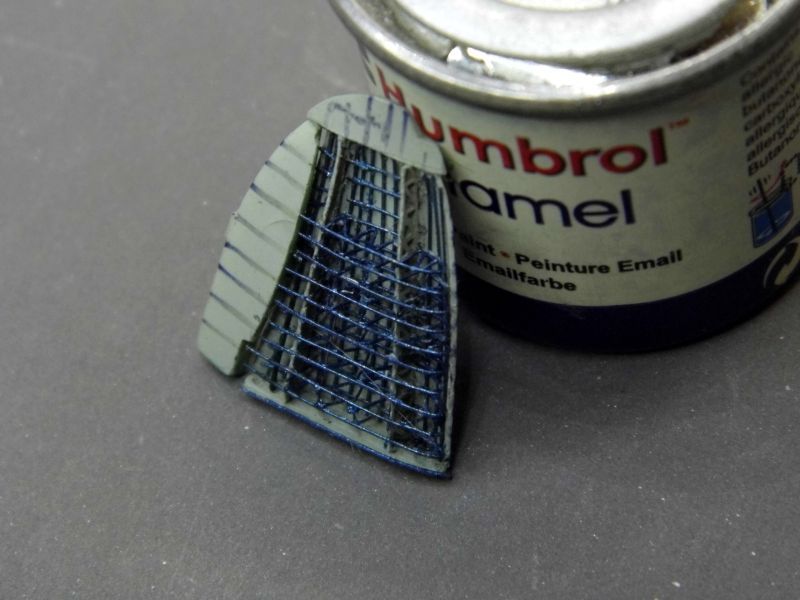
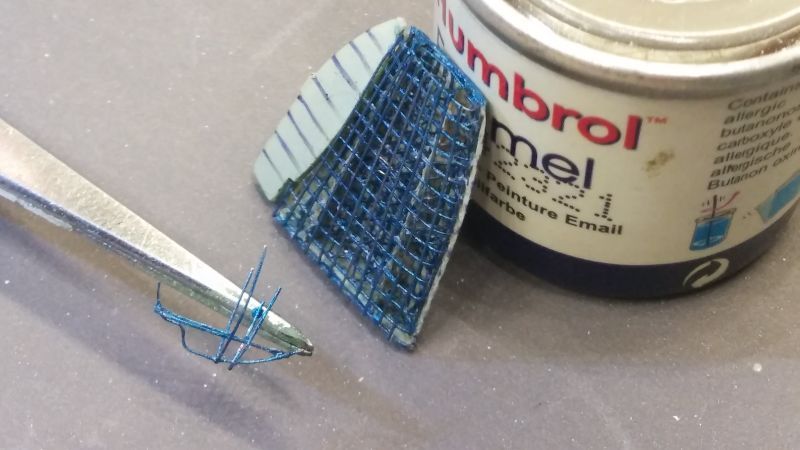
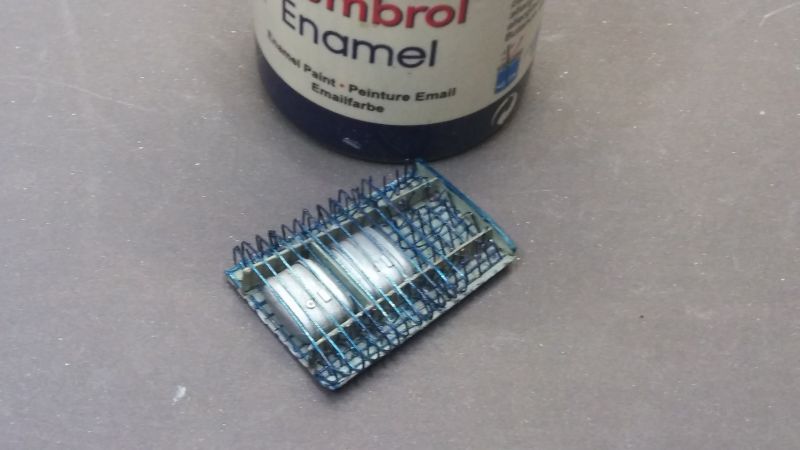
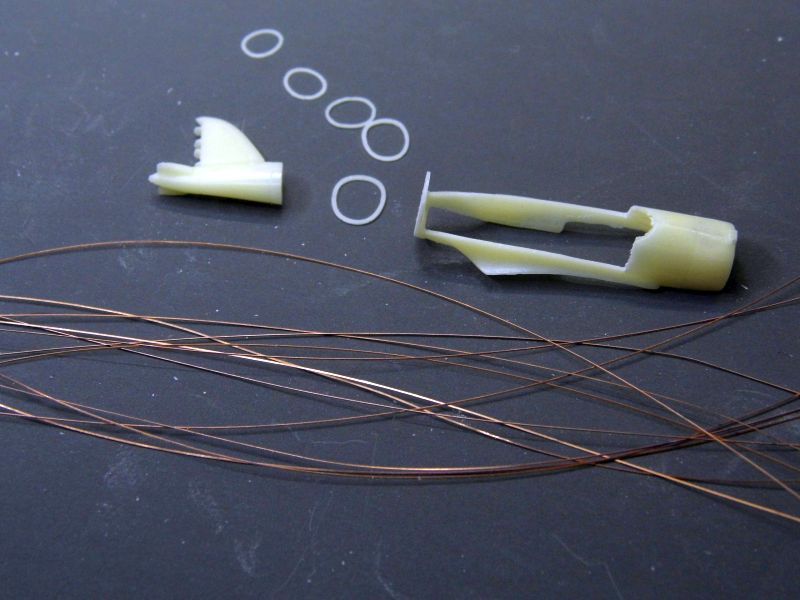
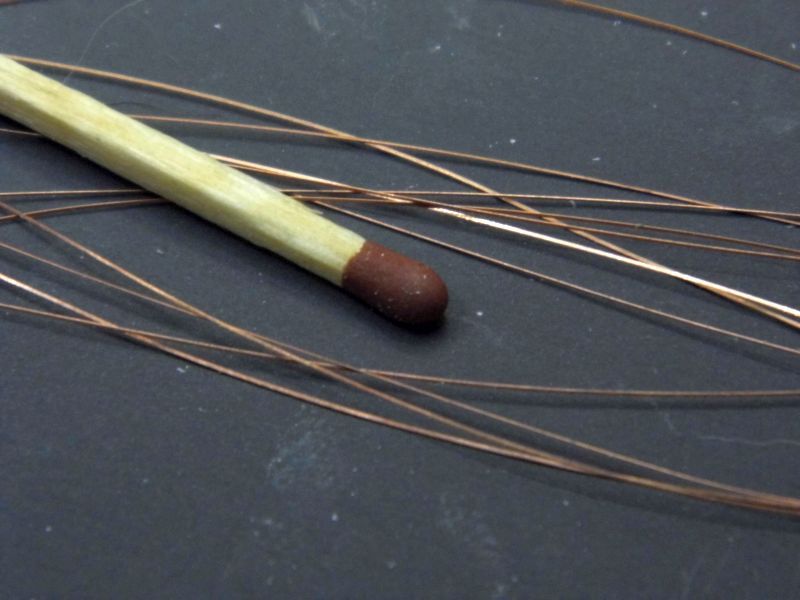
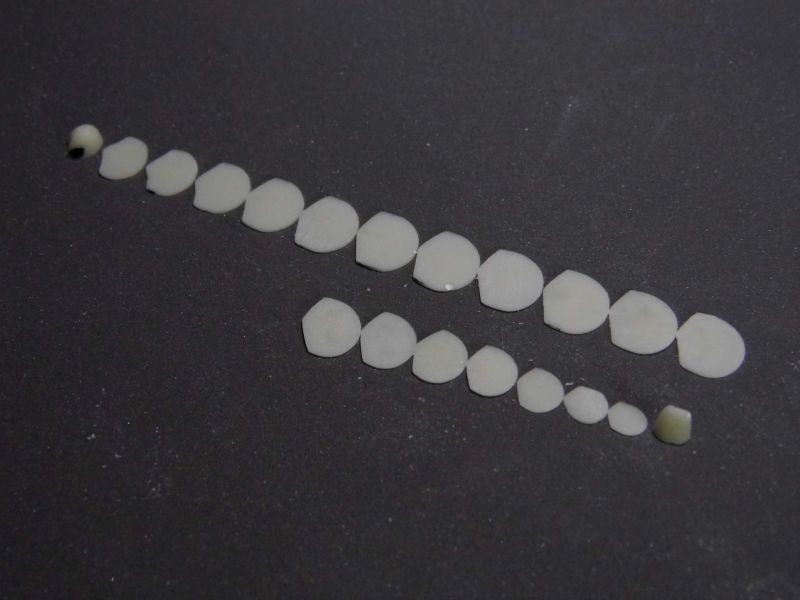
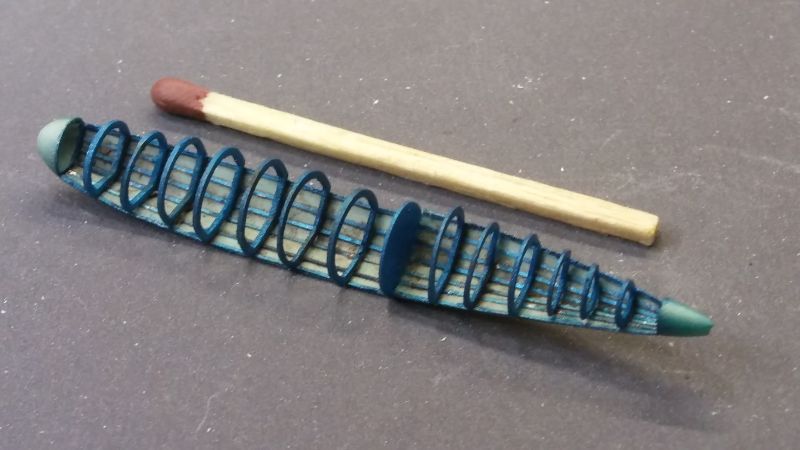
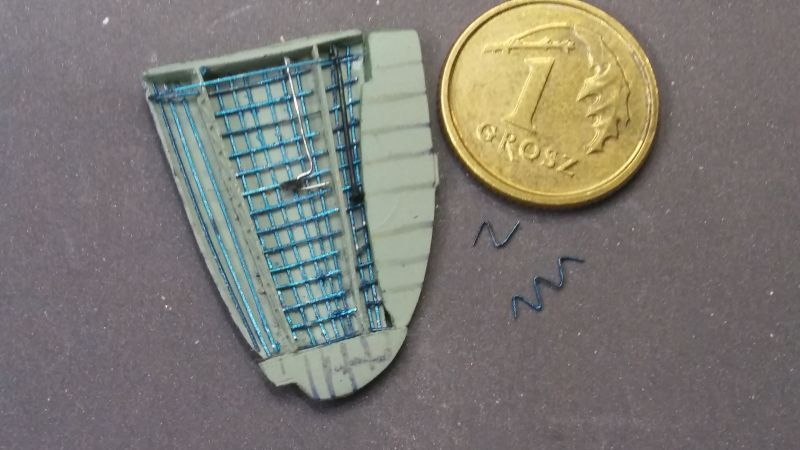
Lengths of rolled copper wire are going to pretend the stringers.
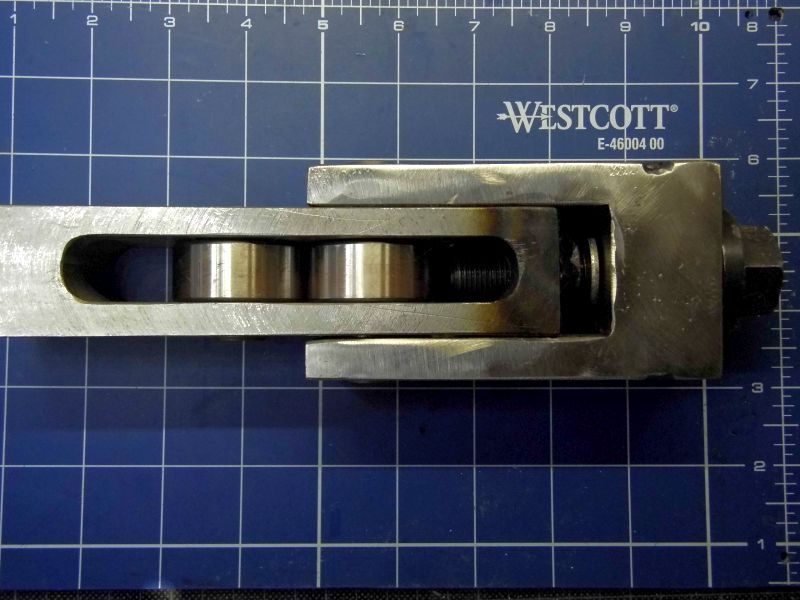
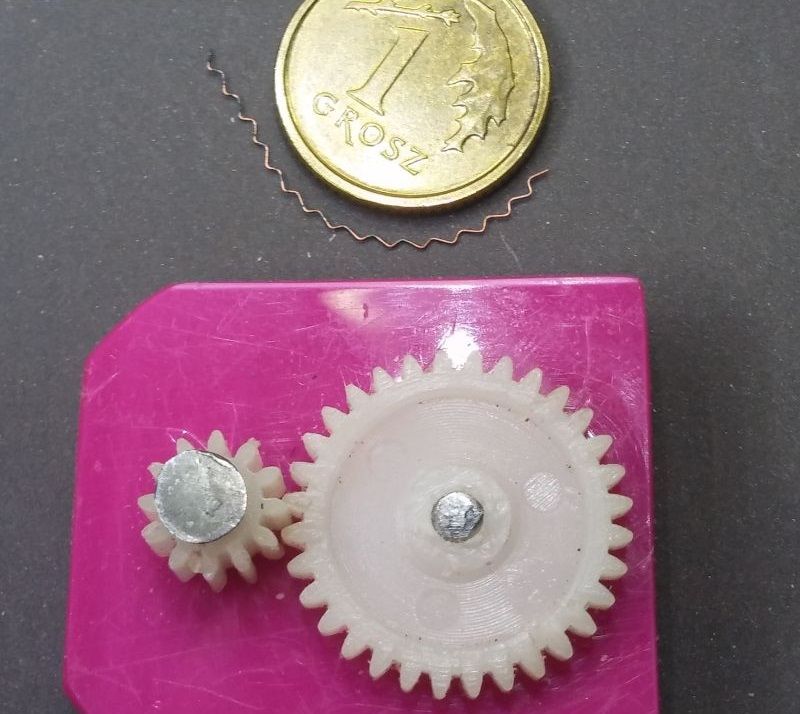
And here is the roller I got from a friend locksmith:
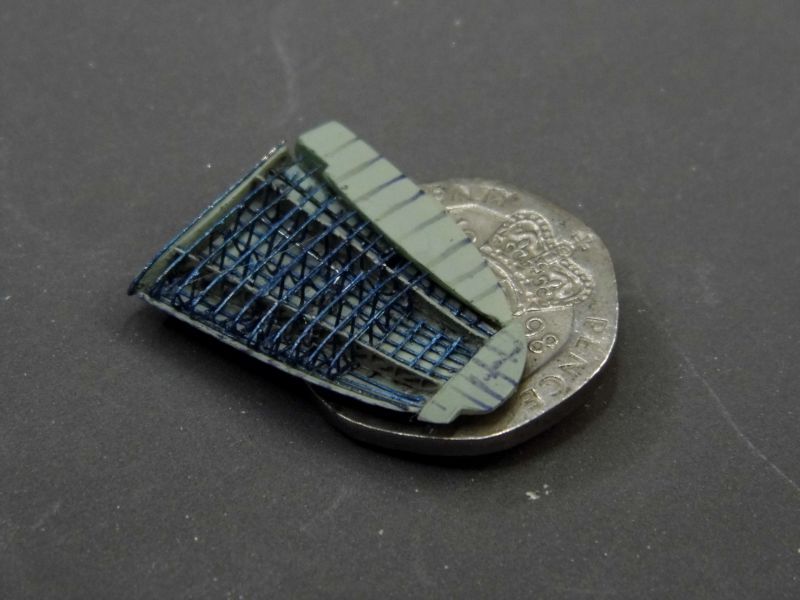
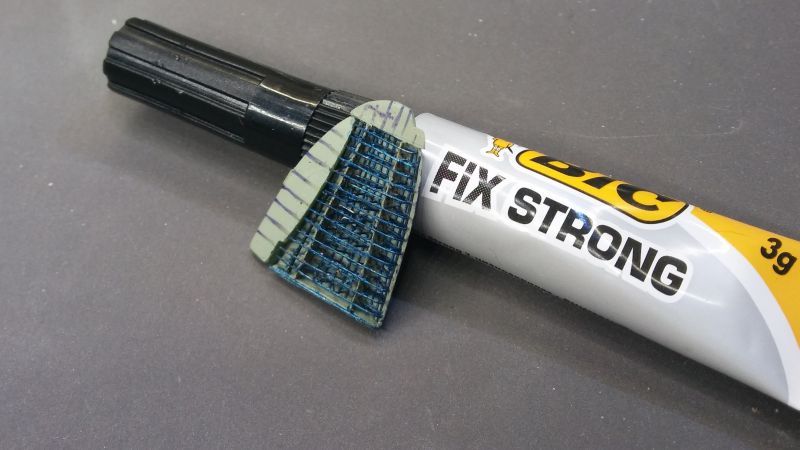
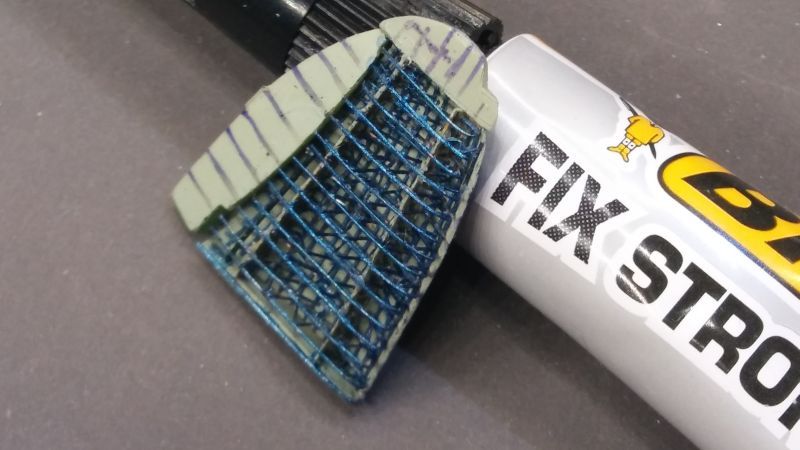
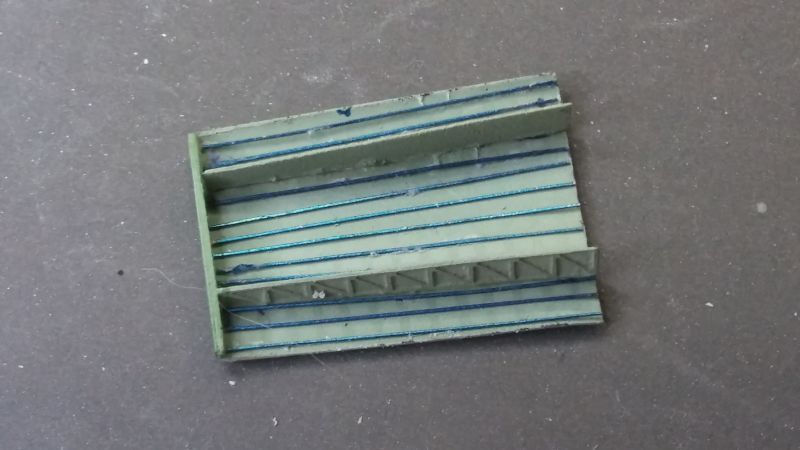
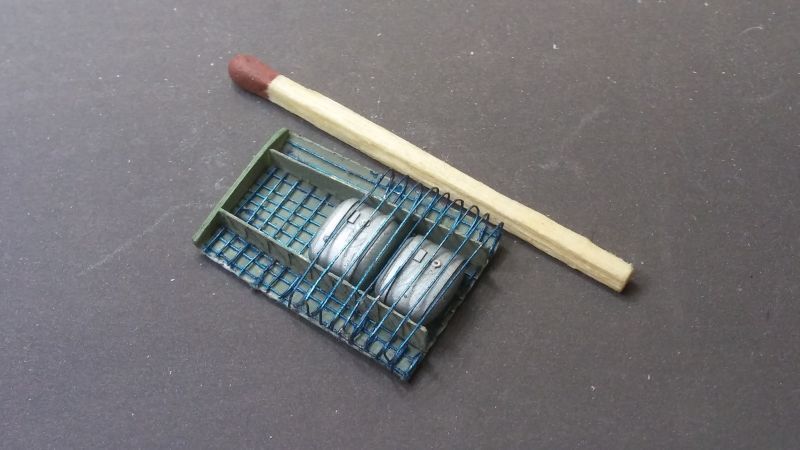
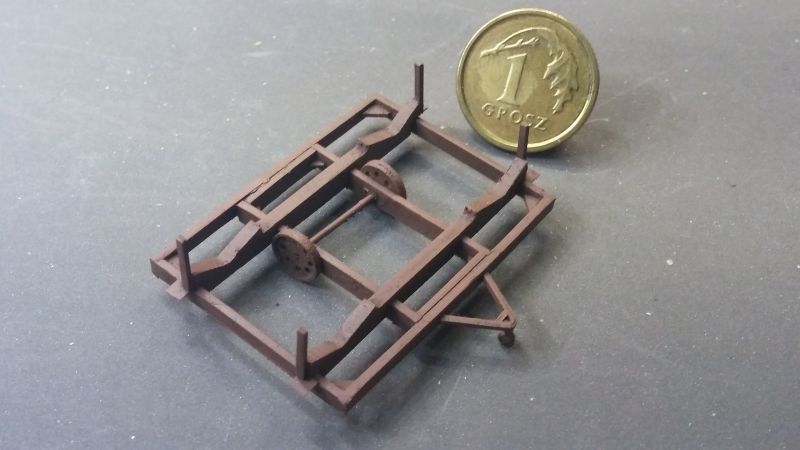
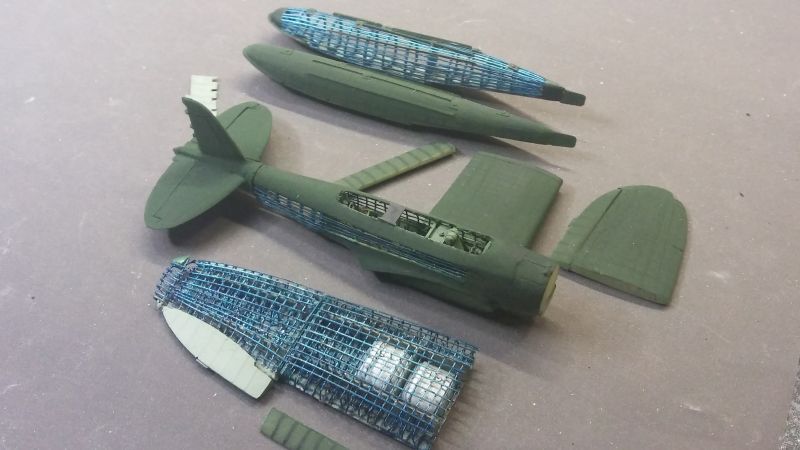
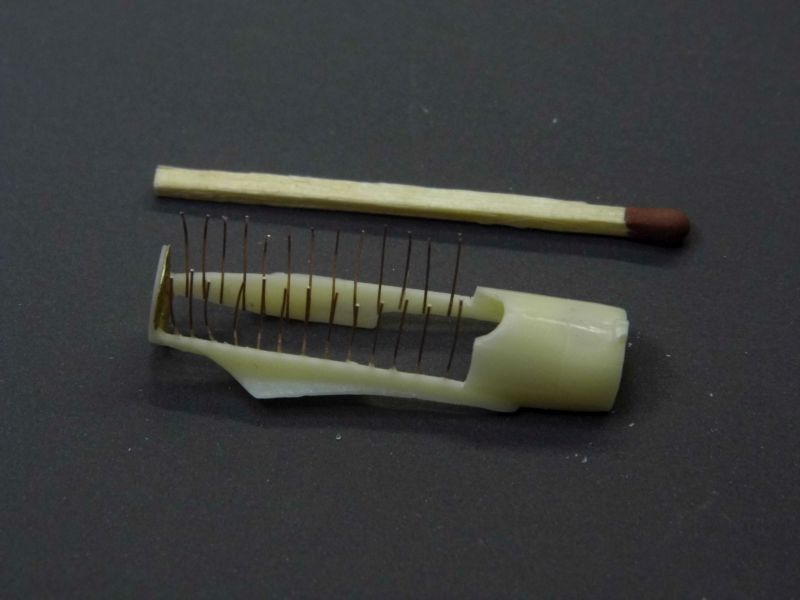
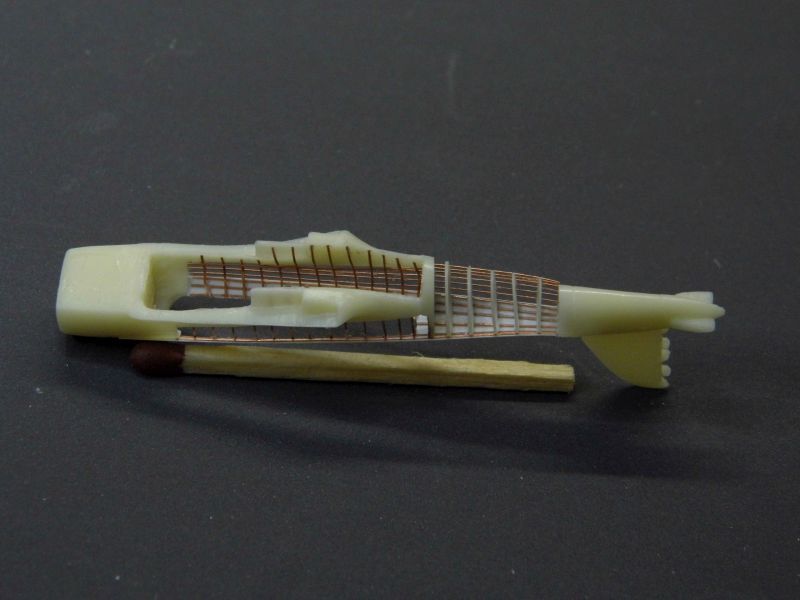
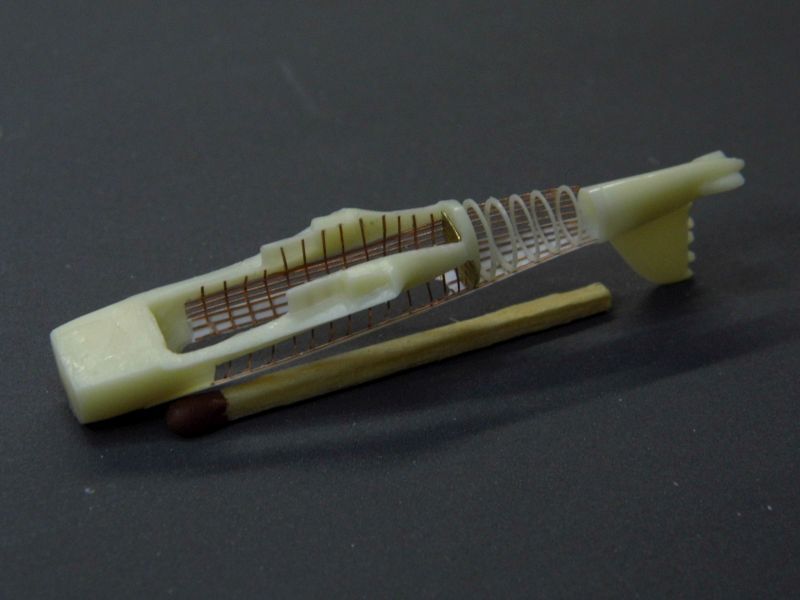
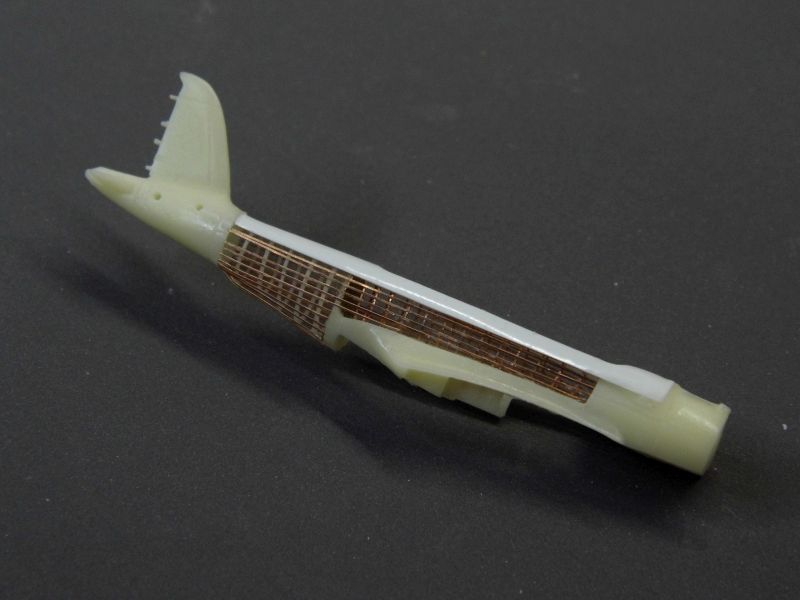
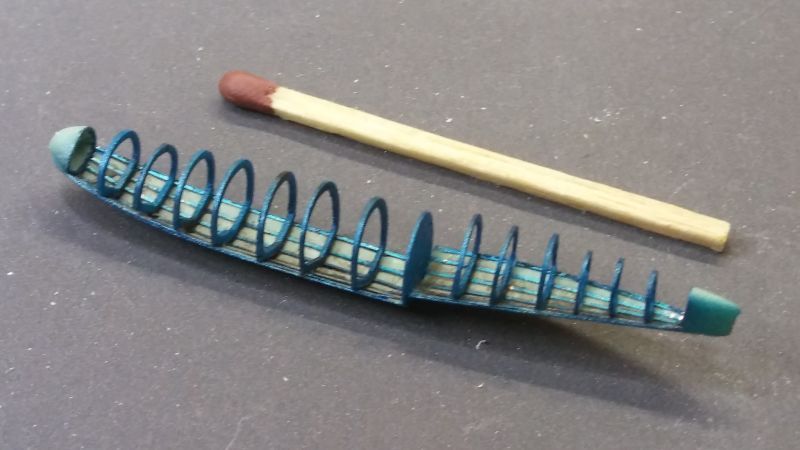
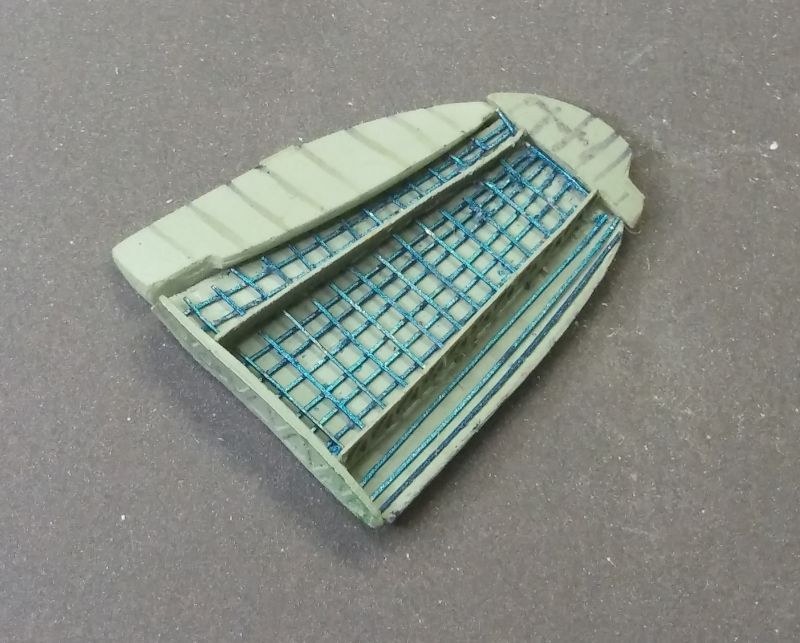
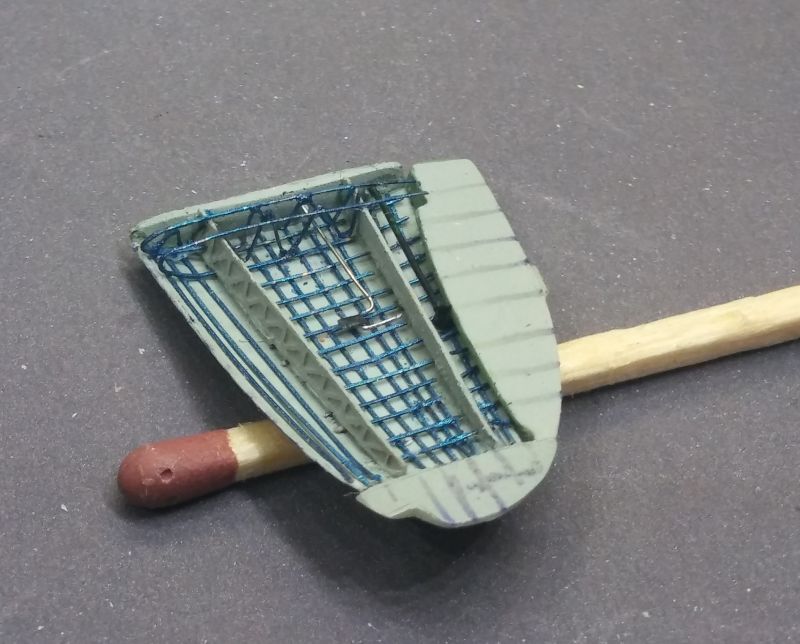
Work goes on:
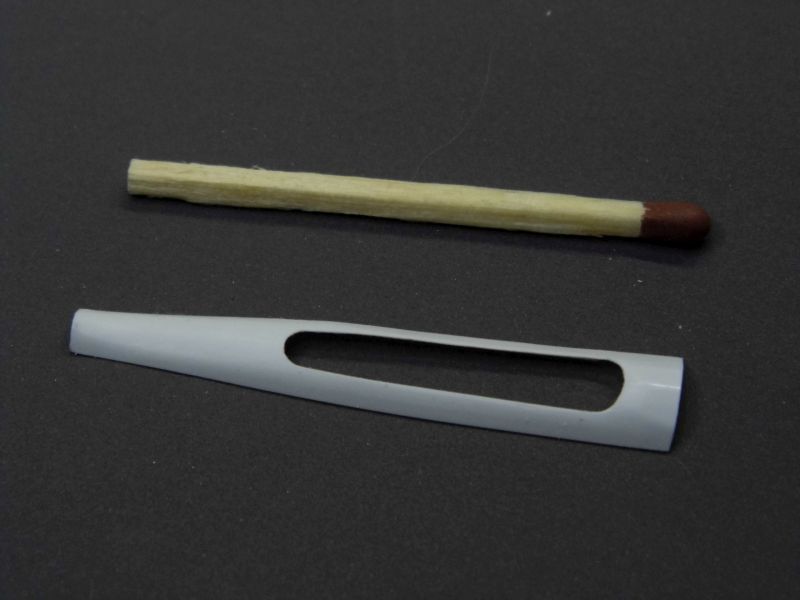
Some time ago I made a 1:144 resin kit of Aichi E13A1 Jake. Although there are some kits ot his plane available, I wanted one with some additional detail like wing fold, vac-formed canopy and interior. If you want to see creation process of this kit, than click here or visit the gallery. But in this thread I am going to show how I use the resin parts to make a 1:144 Jake with some panels removed.
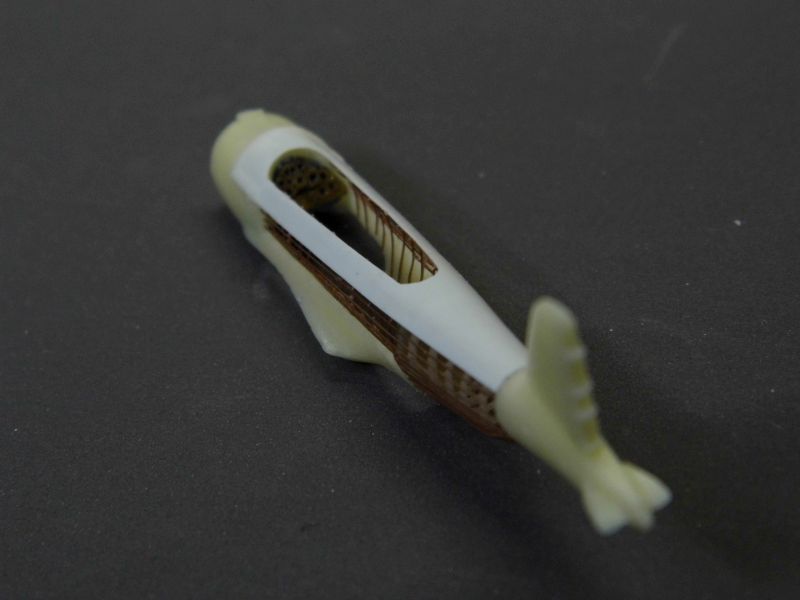
This is what I plan to do. I've marked red those areas where internal structure will be visible.
I know that such configuration was impossible to observe on any war theatres, but my aim is to show internal structure of the airframe.
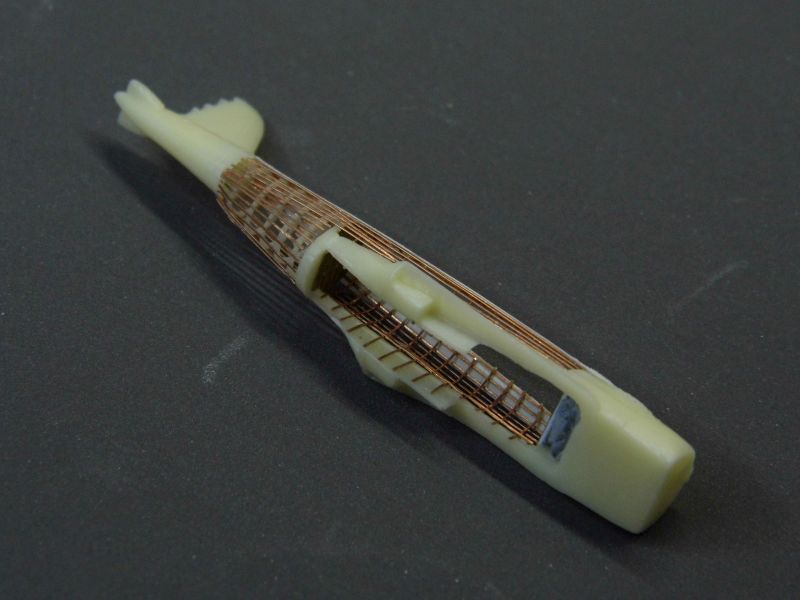
So here is how I started:
Lengths of rolled copper wire are going to pretend the stringers.
And here is the roller I got from a friend locksmith:
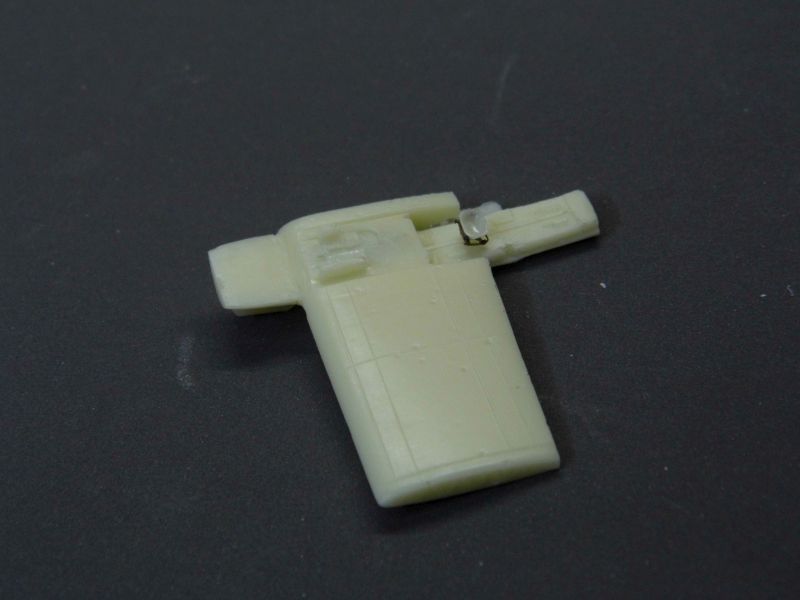
Work goes on:

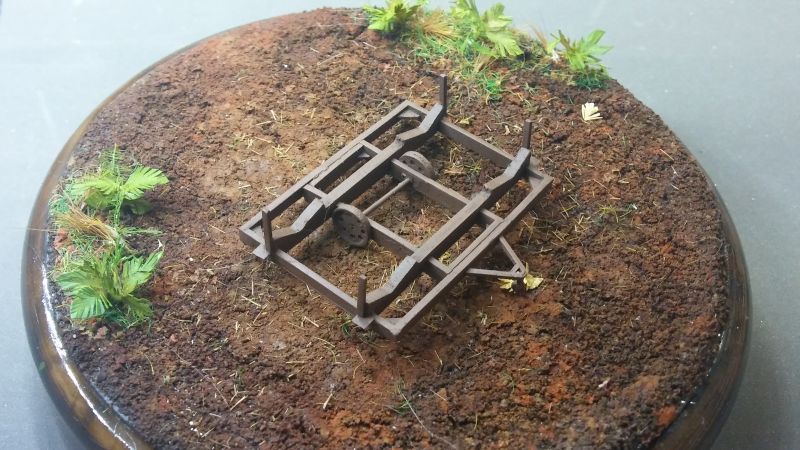
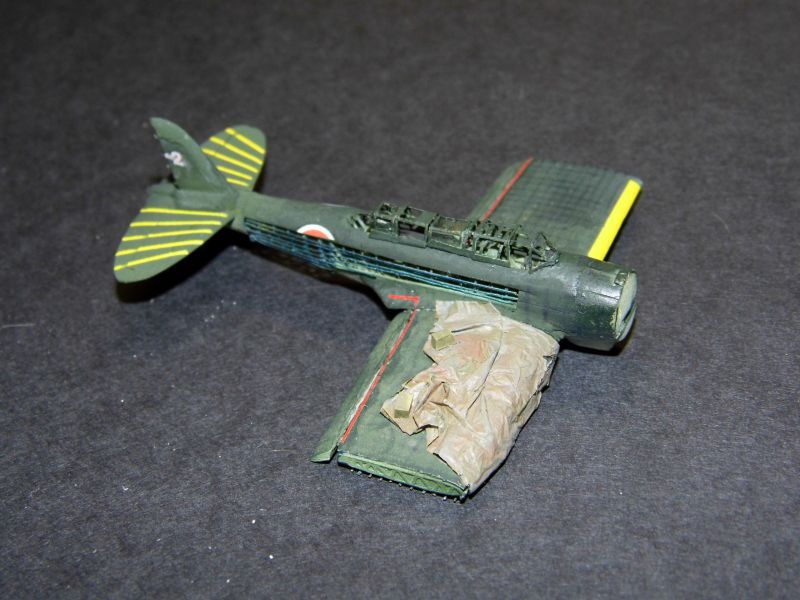
 Unfortunatelly my insanity can't be cured and more stripped seaplanes are on my wicked mind :D