davecov
SMF Supporter
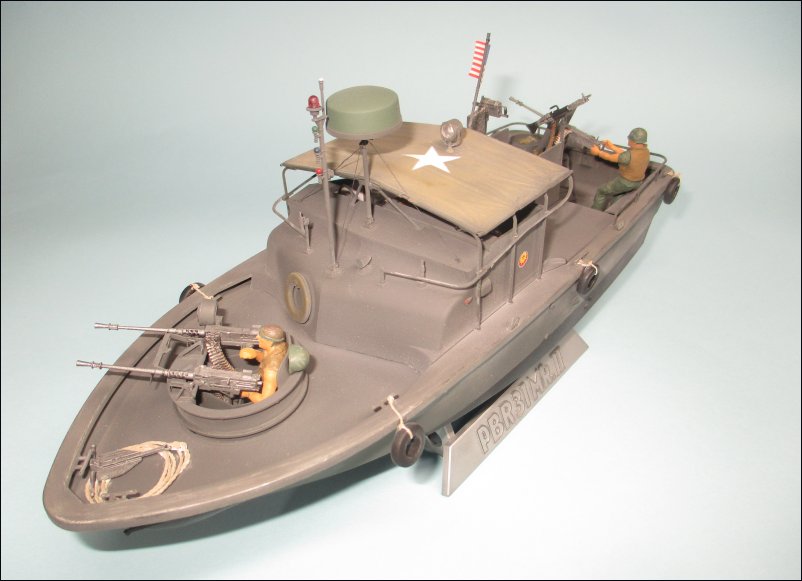
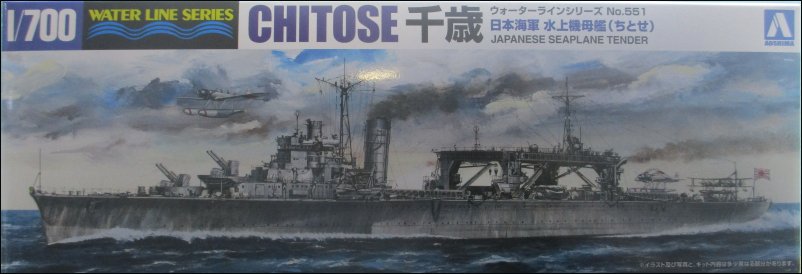
Unbelievably, although I am in my Sixties, this is the first time I have ever made a Japanese warship. I will be building the Aoshima 1/700 IJN Seaplane Tender Chitose (00123).
IJN Chitose was launched in 1936 as a seaplane tender and her sister ship IJN Chiyoda was launched the following year. IJN Chitose was commissioned in July 1938. Early in 1941, IJN Chitose was modified to carry midget submarines by having large doors cut into the stern. After successful trials, IJN Chiyoda was similarly converted in July 1941. It is not certain if IJN Chitose carried midget submarines operationally but her sister ship did. Following the Battle of Midway, in December 1942/January 1943 both ships were converted to light carriers with IJN Chiyoda completing in October 1943 and IJN Chitose in January 1944. Both ships were lost on 25th October 1944 off Cape Engano during the Battles of Leyte Gulf.
Aoshima tooled their original 1/700 IJN Chitose in 1979 but there was a later release with re-tooled parts - including photo etch in 2013. However, my boxing is later than 2013 and does not have the photo etch. The model doesn't appear to have stern doors so I would hazard a guess that it shows IJN Chitose as she was between 1938-1941. BTW, Aoshima also make a model of IJN Chitose after her conversion to a fully-fledged light carrier so that would make for an interesting comparison build.
The GB start date is still a week away, I have to show some restraint and just display the box contents and aftermarket bits and bobs now.
Box artwork:
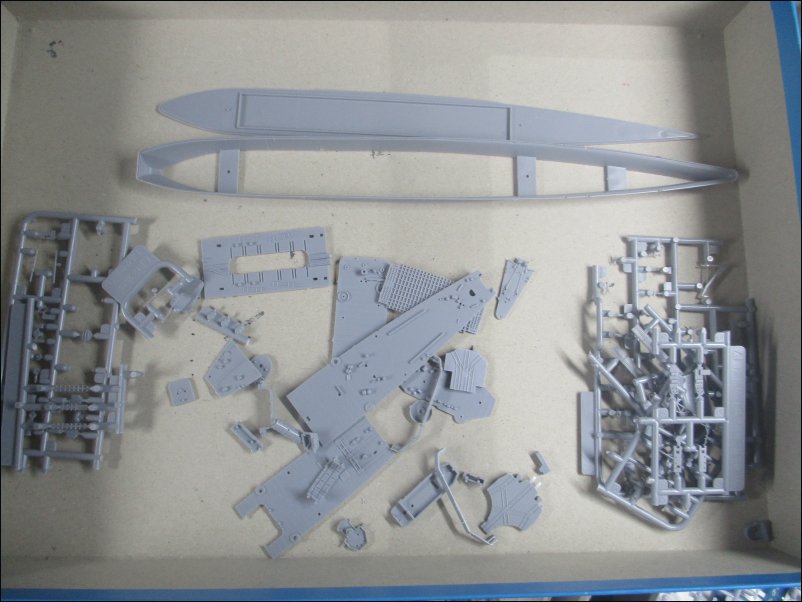
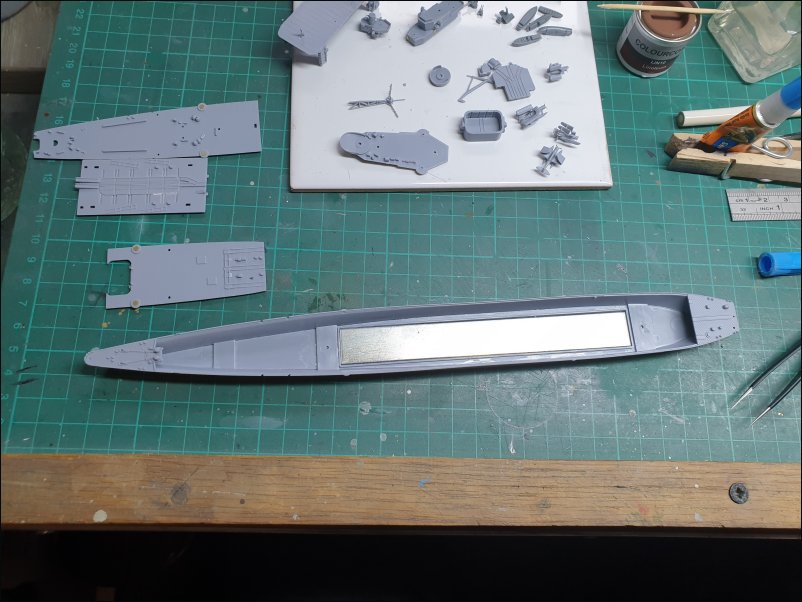
The box is jam-packed with parts crisply moulded in grey plastic. They come in many bags and there is also a strip of metal to glue inside the hull as ballast:
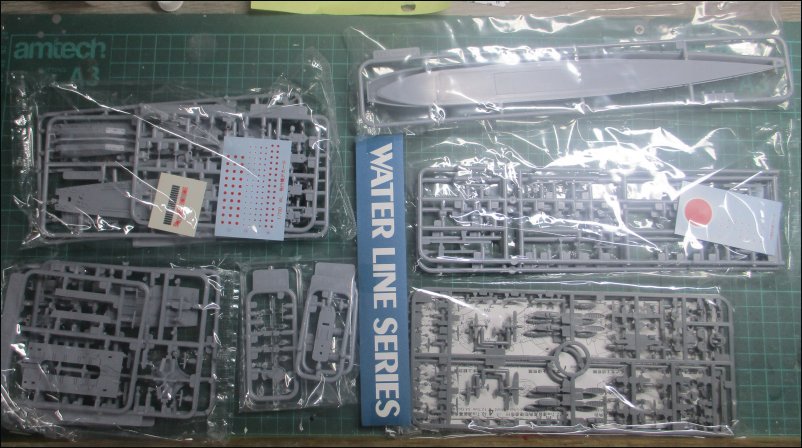
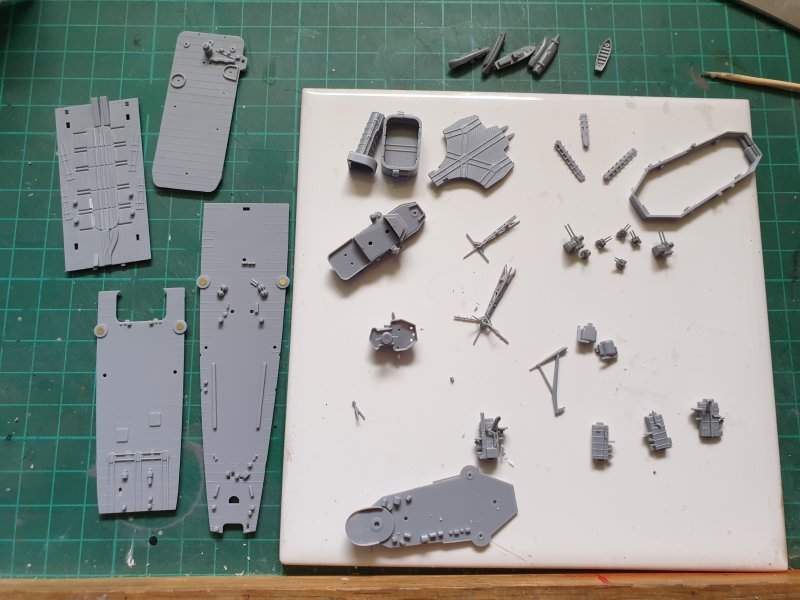
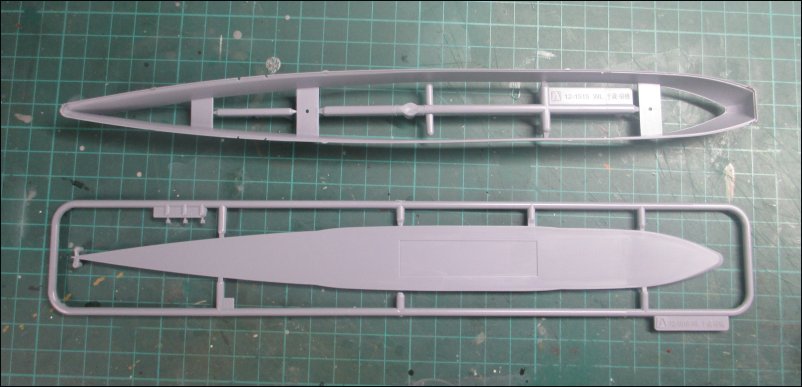
Hull pieces:
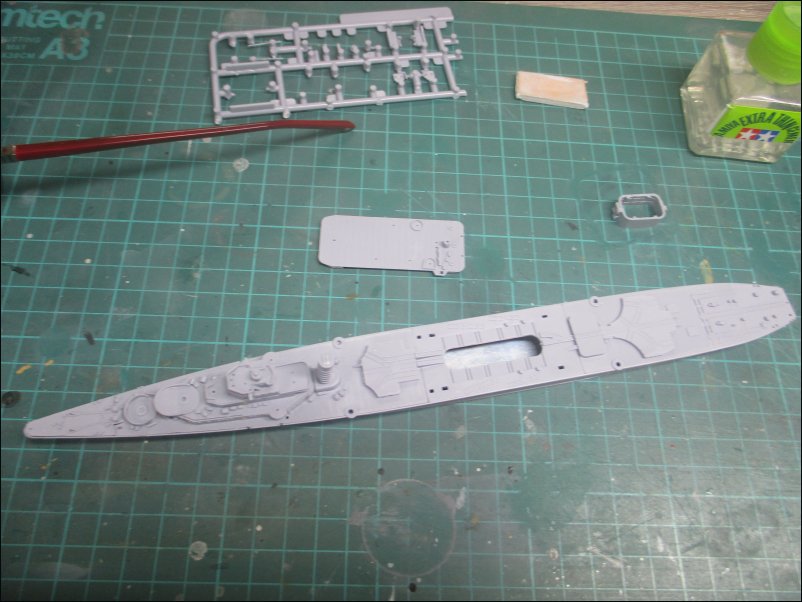
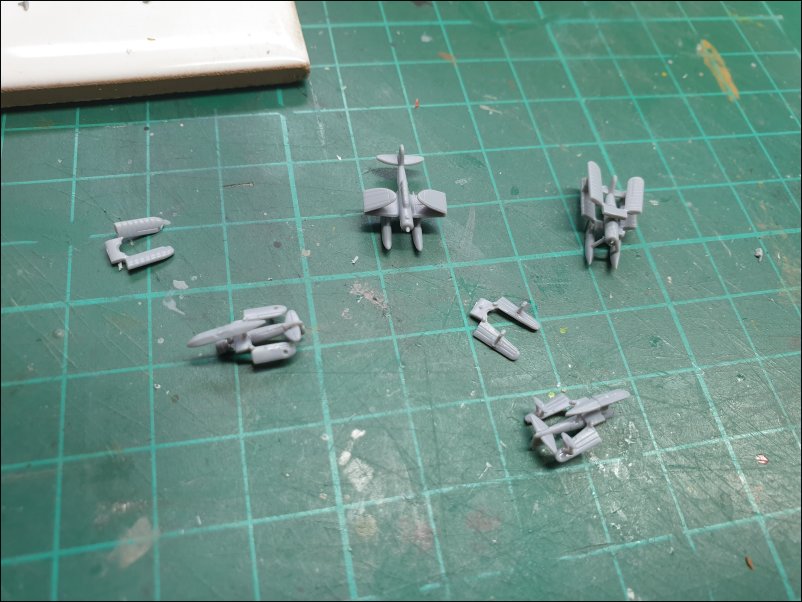
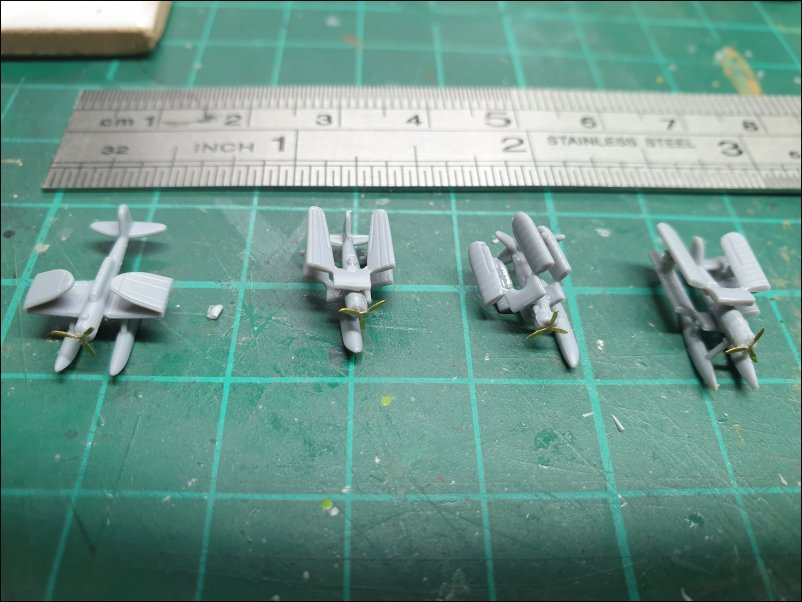
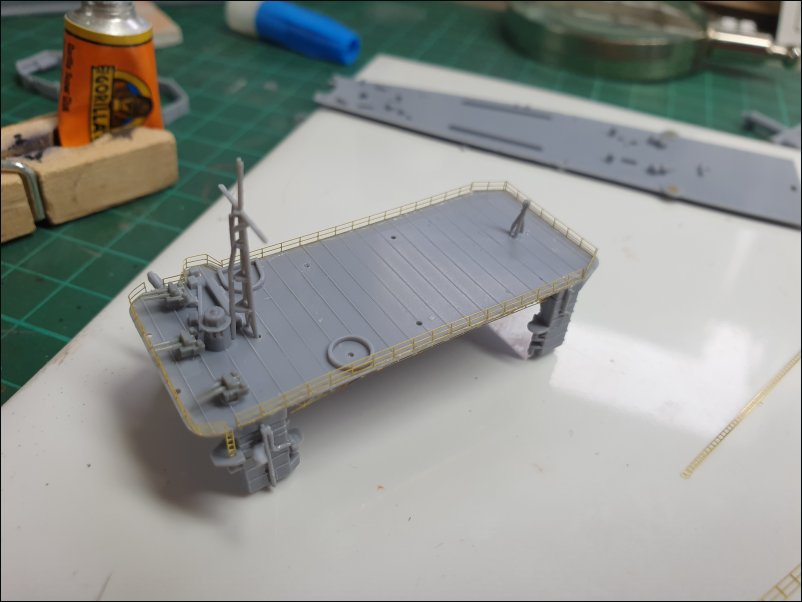
The aft deck sections. Parts for various seaplanes. Note that all have folded wings:
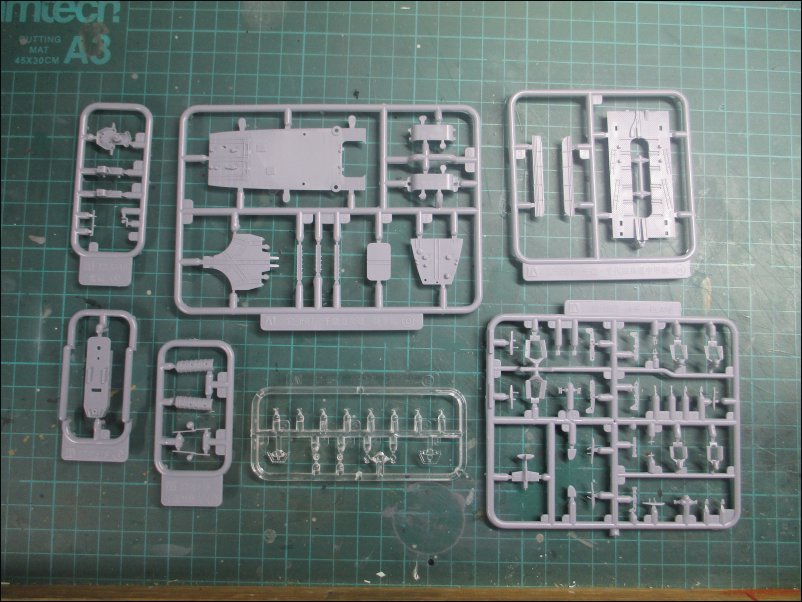
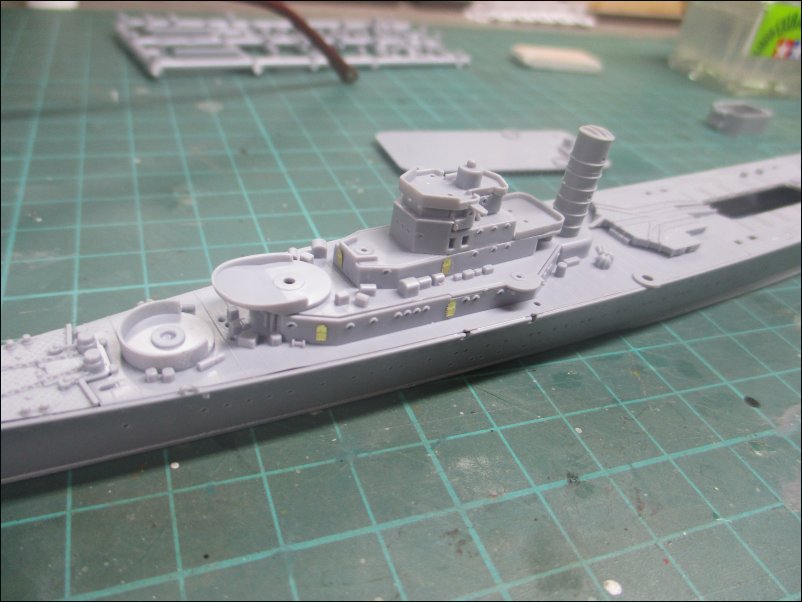
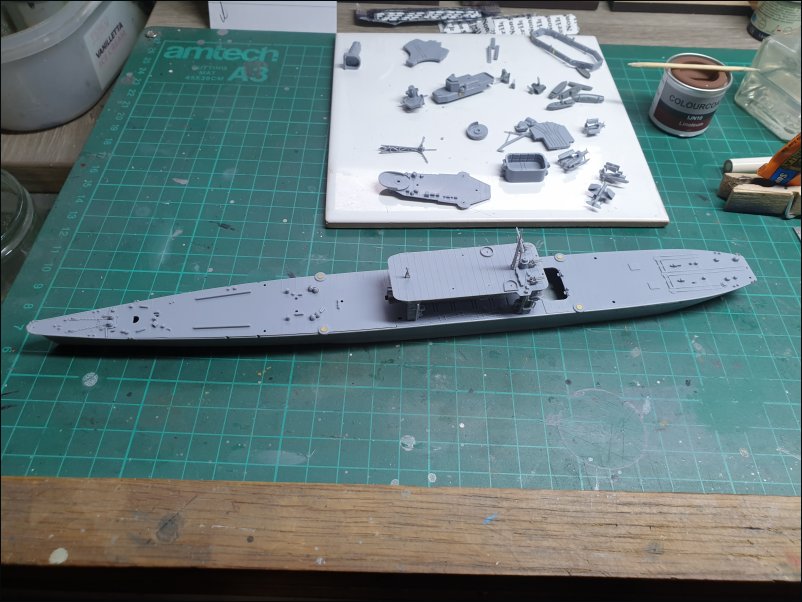
Forward deck sections and superstructure parts:
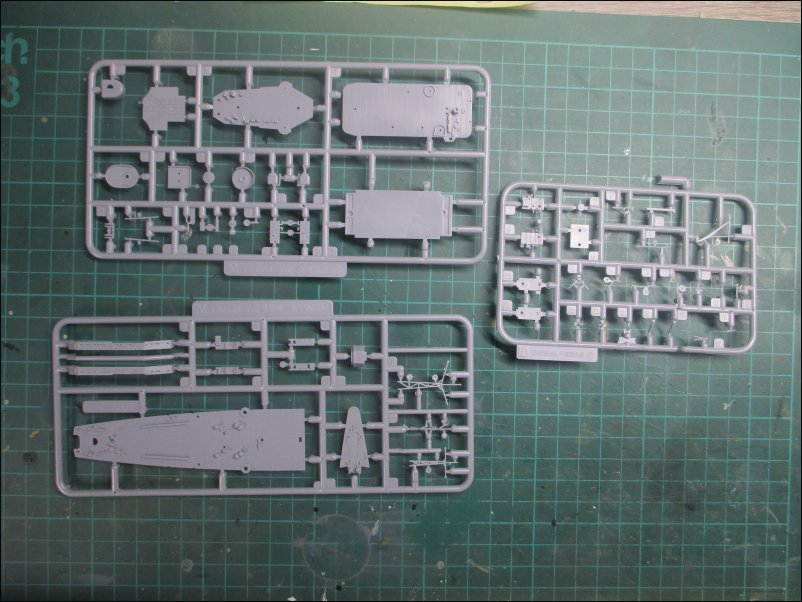
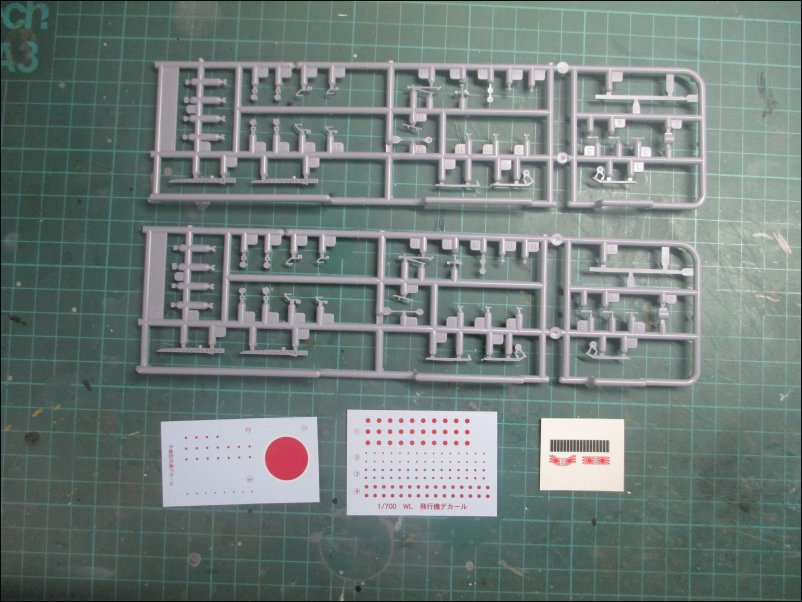
Cranes, davits and various decals. The large meatball decal will not be used as that was not present during the period that my build is set:
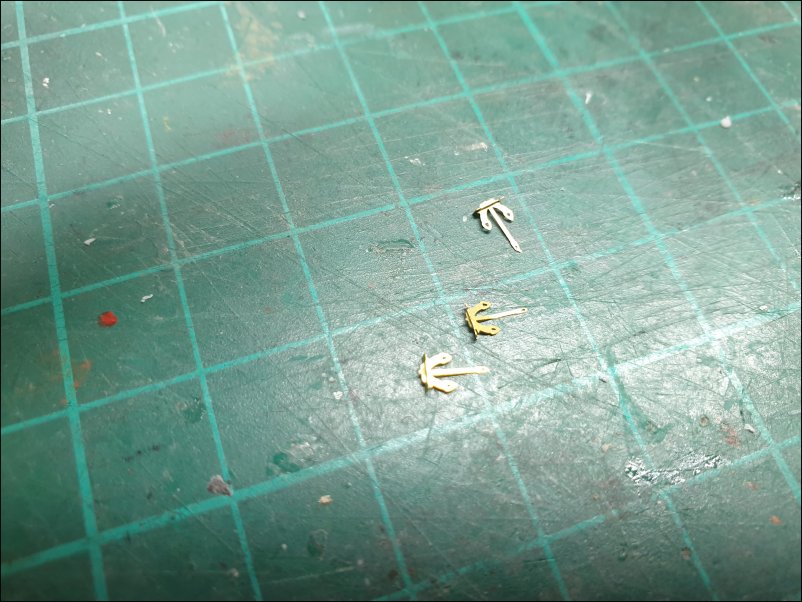
Ship's boats, armament and some more aircraft but these have unfolded wings:
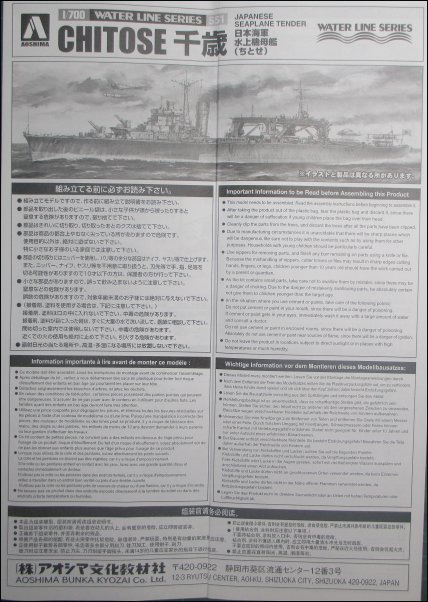
Instructions Page 1 - Assembly Tips:
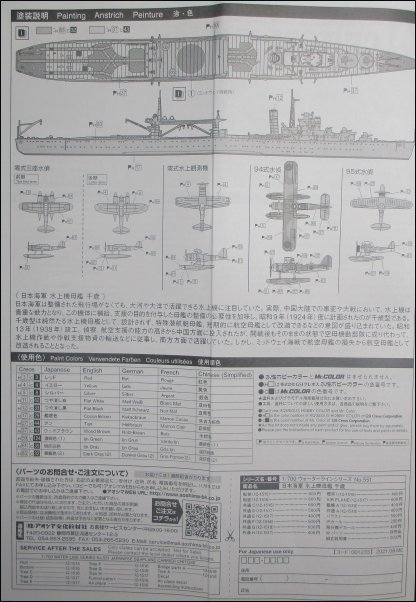
Instructions Page 2 - Painting and decalling profile for ship and planes:
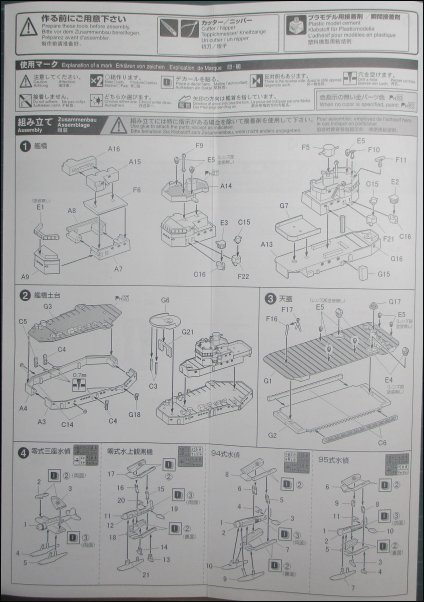
Instructions Page 3 - Assembly Sections 1 to 4:
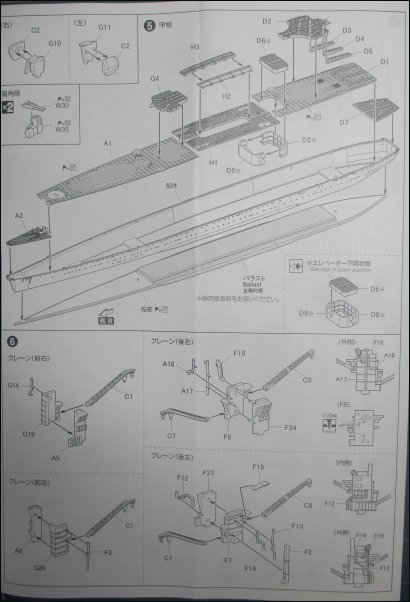
Instructions Page 4 - Assembly Sections 5 to 6:
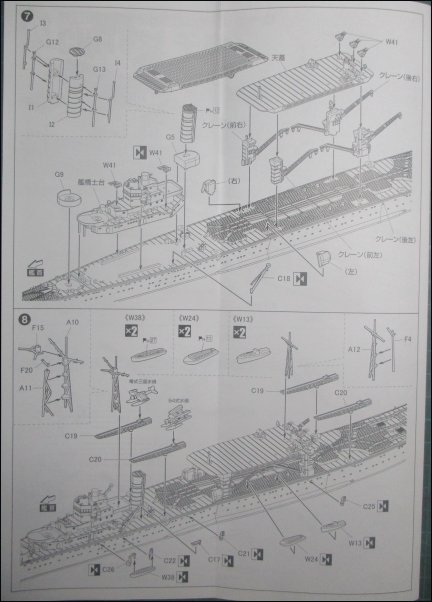
Instructions Page 5 - Assembly Sections 7 to 8:
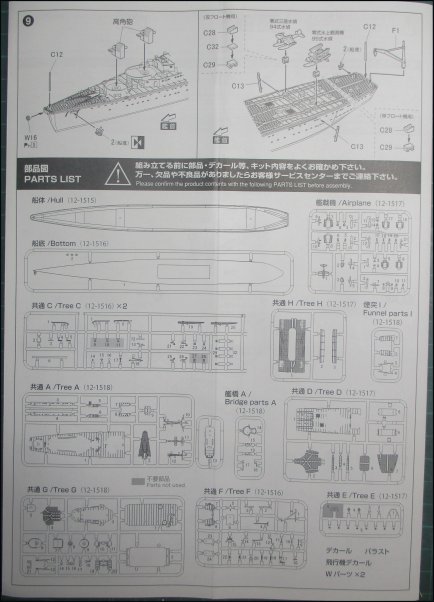
Instructions Page 6 - Assembly Section 9 and Parts List:
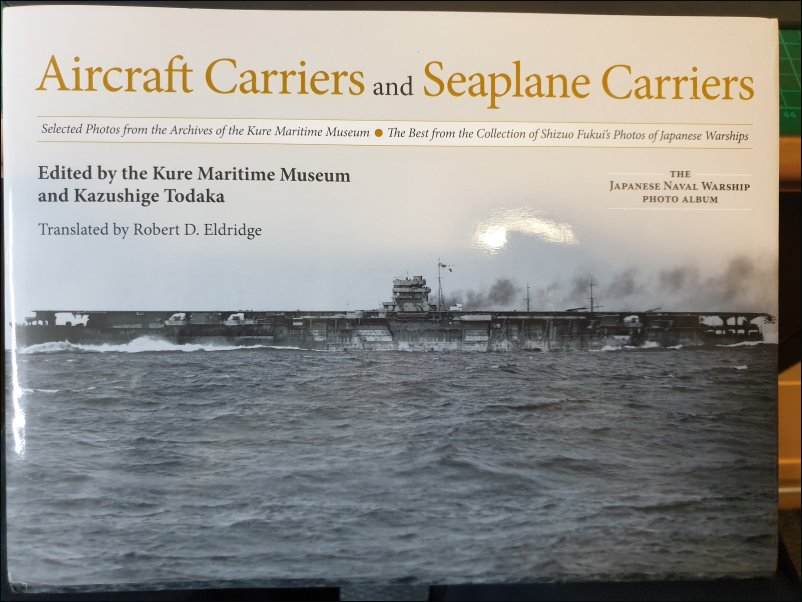
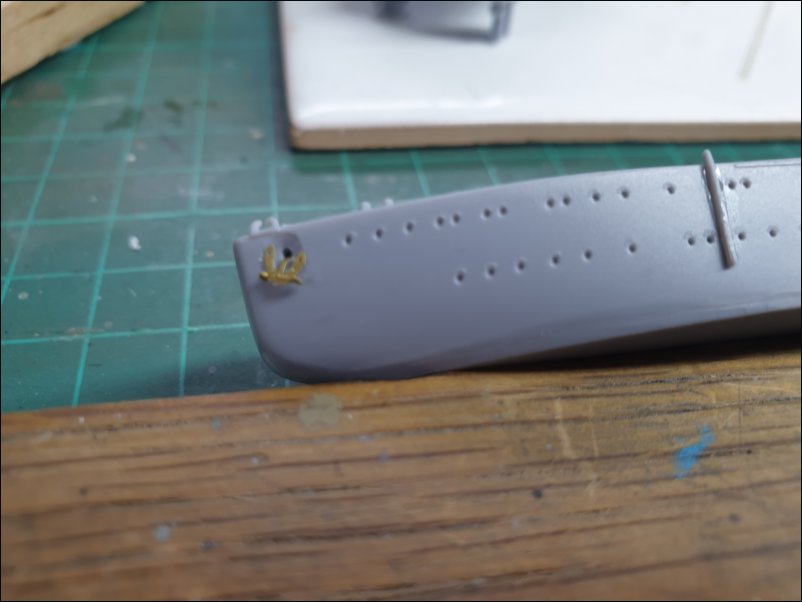
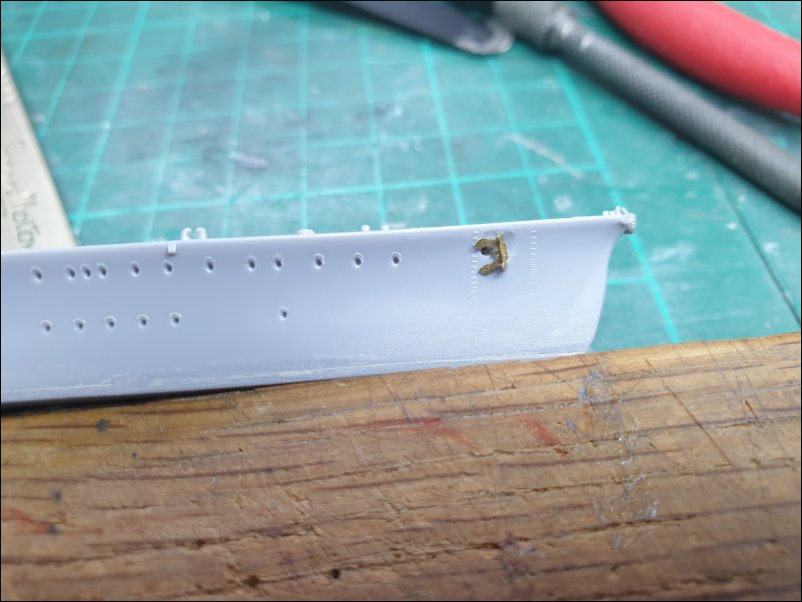
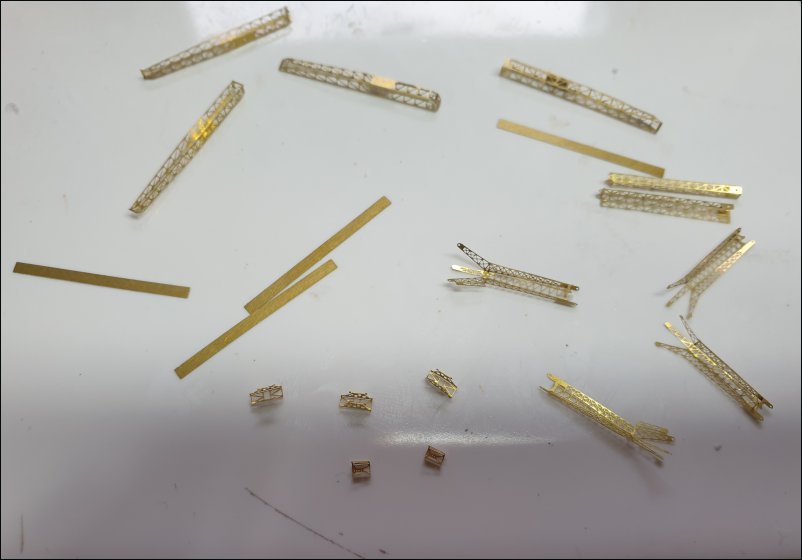
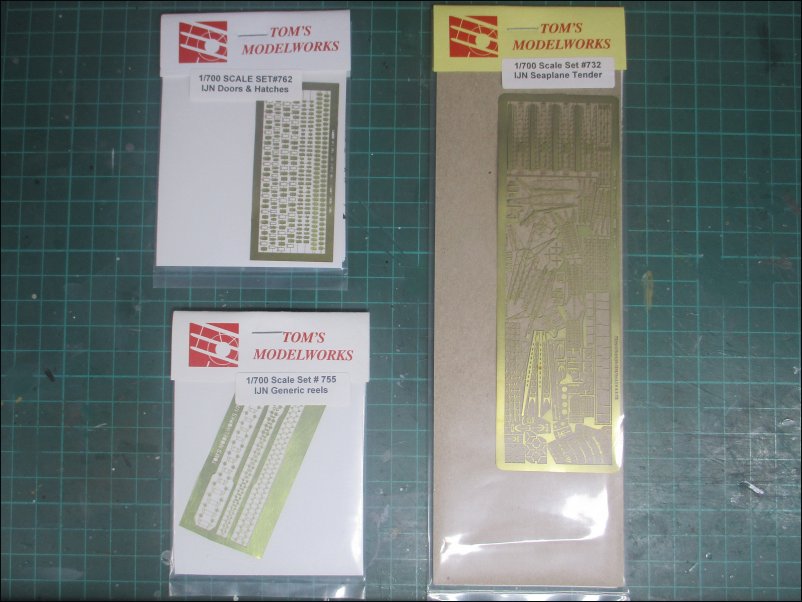
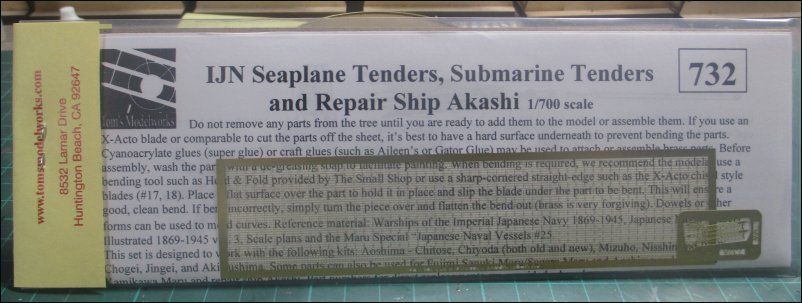
Here are the aftermarket bits and bobs I am using. They all come from Tom's Modelworks - Set #732 IJN Seaplane Tender, Set #762 IJN Doors & Hatches and Set #755 IJN Generic Reels:
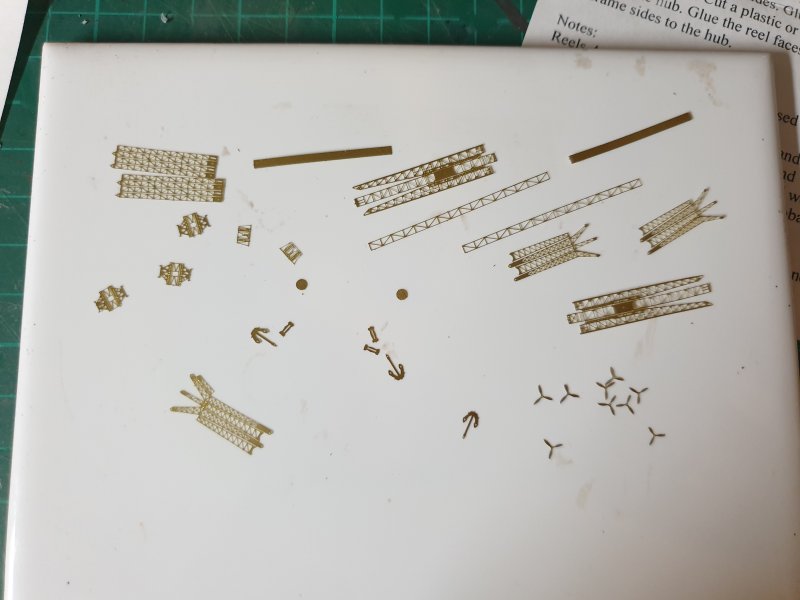
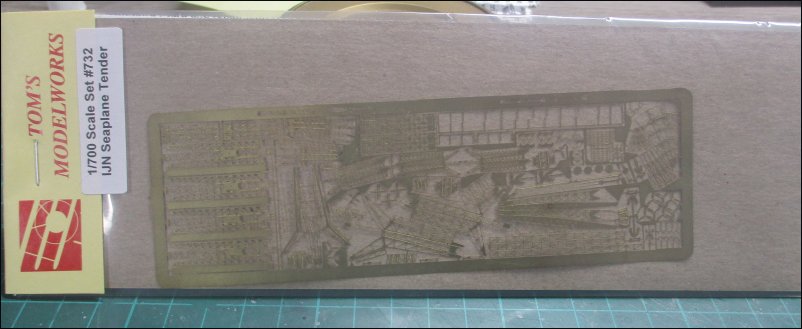
Close up of the IJN Seaplane Tender Set frets. The main fret has parts applicable to many classes of IJN Tenders so not all parts are required for this particular build:
A second fret has railings (which I hate using) and a third fret has a crane although I do not know yet if that will be used in this build:
That is all for now. Just waiting for the starting gun....
Dave
IJN Chitose was launched in 1936 as a seaplane tender and her sister ship IJN Chiyoda was launched the following year. IJN Chitose was commissioned in July 1938. Early in 1941, IJN Chitose was modified to carry midget submarines by having large doors cut into the stern. After successful trials, IJN Chiyoda was similarly converted in July 1941. It is not certain if IJN Chitose carried midget submarines operationally but her sister ship did. Following the Battle of Midway, in December 1942/January 1943 both ships were converted to light carriers with IJN Chiyoda completing in October 1943 and IJN Chitose in January 1944. Both ships were lost on 25th October 1944 off Cape Engano during the Battles of Leyte Gulf.
Aoshima tooled their original 1/700 IJN Chitose in 1979 but there was a later release with re-tooled parts - including photo etch in 2013. However, my boxing is later than 2013 and does not have the photo etch. The model doesn't appear to have stern doors so I would hazard a guess that it shows IJN Chitose as she was between 1938-1941. BTW, Aoshima also make a model of IJN Chitose after her conversion to a fully-fledged light carrier so that would make for an interesting comparison build.
The GB start date is still a week away, I have to show some restraint and just display the box contents and aftermarket bits and bobs now.
Box artwork:
The box is jam-packed with parts crisply moulded in grey plastic. They come in many bags and there is also a strip of metal to glue inside the hull as ballast:
Hull pieces:
The aft deck sections. Parts for various seaplanes. Note that all have folded wings:
Forward deck sections and superstructure parts:
Cranes, davits and various decals. The large meatball decal will not be used as that was not present during the period that my build is set:
Ship's boats, armament and some more aircraft but these have unfolded wings:
Instructions Page 1 - Assembly Tips:
Instructions Page 2 - Painting and decalling profile for ship and planes:
Instructions Page 3 - Assembly Sections 1 to 4:
Instructions Page 4 - Assembly Sections 5 to 6:
Instructions Page 5 - Assembly Sections 7 to 8:
Instructions Page 6 - Assembly Section 9 and Parts List:
Here are the aftermarket bits and bobs I am using. They all come from Tom's Modelworks - Set #732 IJN Seaplane Tender, Set #762 IJN Doors & Hatches and Set #755 IJN Generic Reels:
Close up of the IJN Seaplane Tender Set frets. The main fret has parts applicable to many classes of IJN Tenders so not all parts are required for this particular build:
A second fret has railings (which I hate using) and a third fret has a crane although I do not know yet if that will be used in this build:
That is all for now. Just waiting for the starting gun....
Dave

")