Tamiya 1/24 Ferrari F40 Competizione

Mr Bowcat

SMF Supporter
Joined
Dec 29, 2016
Messages
3,647
Points
113
Location
London
First Name
Bob
Good morning all.
:)


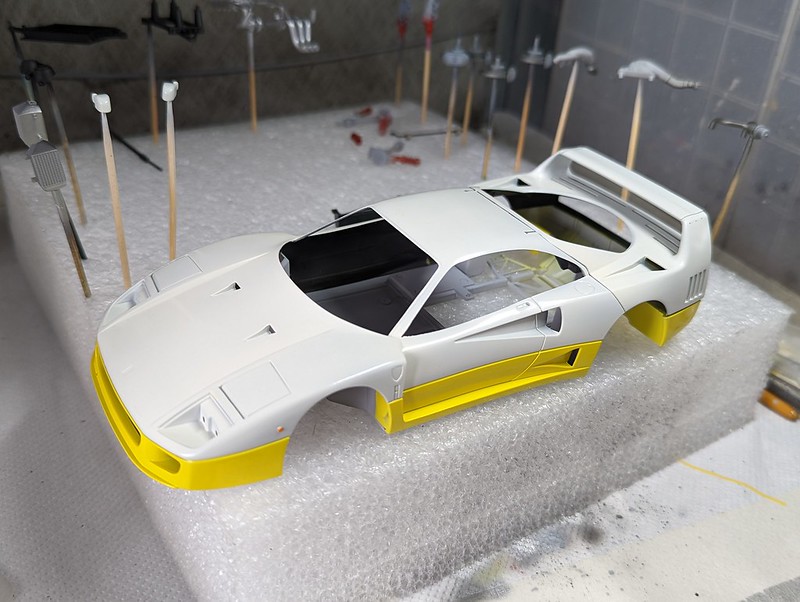
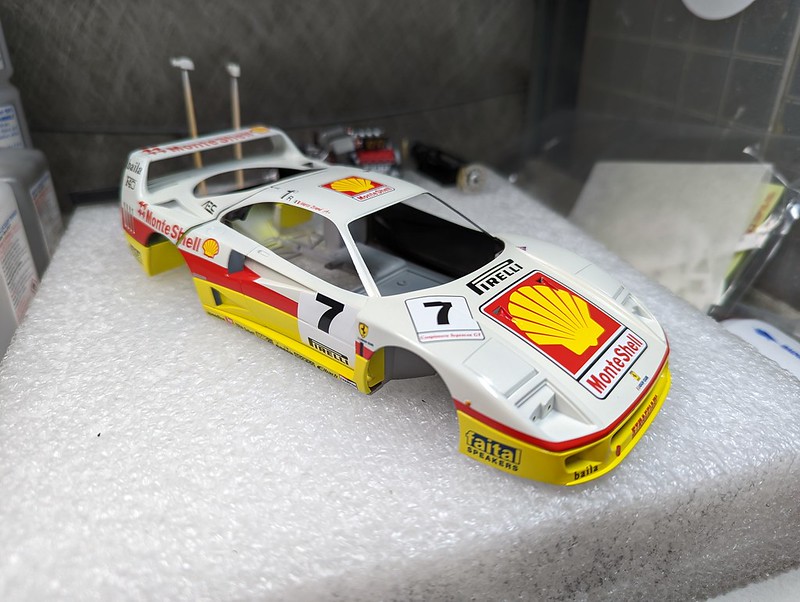
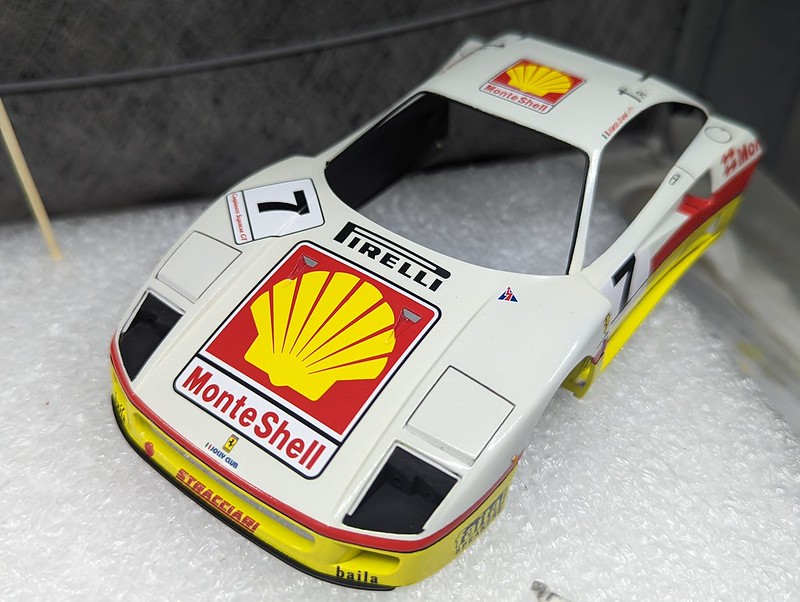
I bought this kit 2nd hand in January, and on opening the box realised that the roof was squashed and the A pillars bent.


52098118589_a2366eb660_c.jpg
52097890401_9d41343279_c.jpg


I tried to fix it with heat but it wasn't happening, so I had to order a spare from HobbyCo and was advised a 6 month wait. Luckily it wasn't quite that long and the new shell arrived this week.

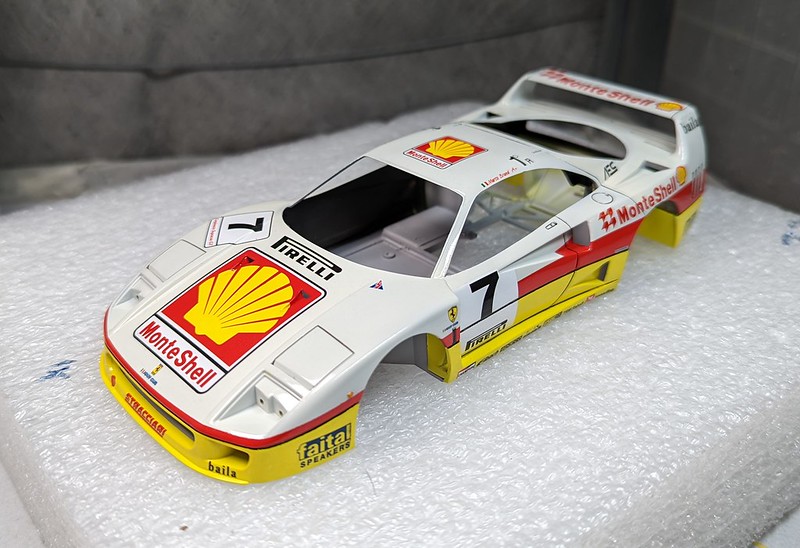
I started with prepping the shell and got the primer down, this is an older kit (2005) which is evident compared to more modern Tamiya kits. There are some quite pronounced seams on all the parts I have looked at so far, as well as some mold mismatching. Also the engine cover doesn't fit perfectly which is apparently a known issue with this kit.


52097909028_190ff3462f_c.jpg


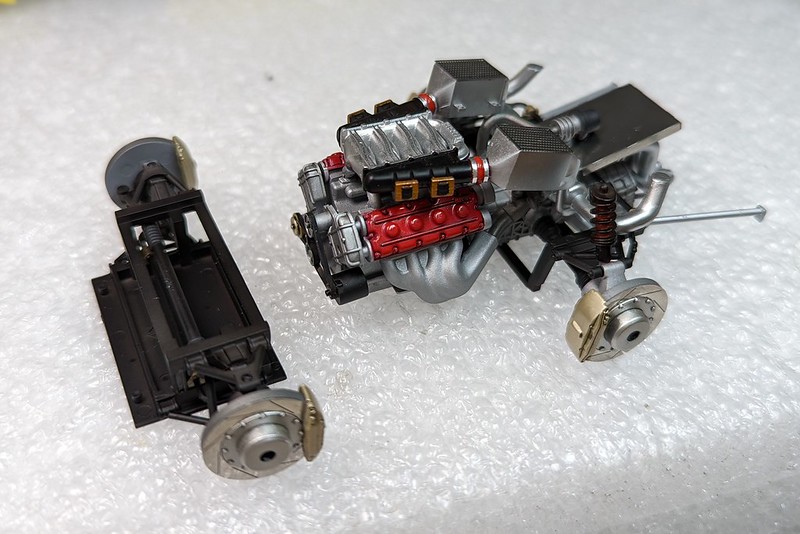
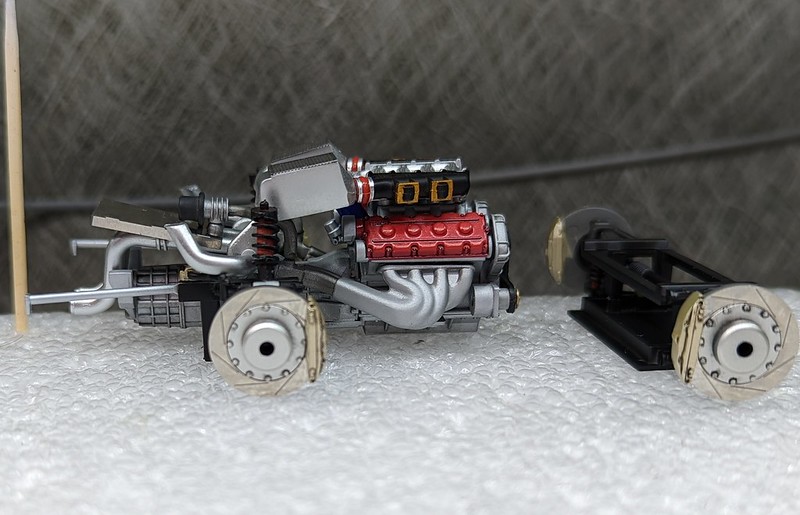
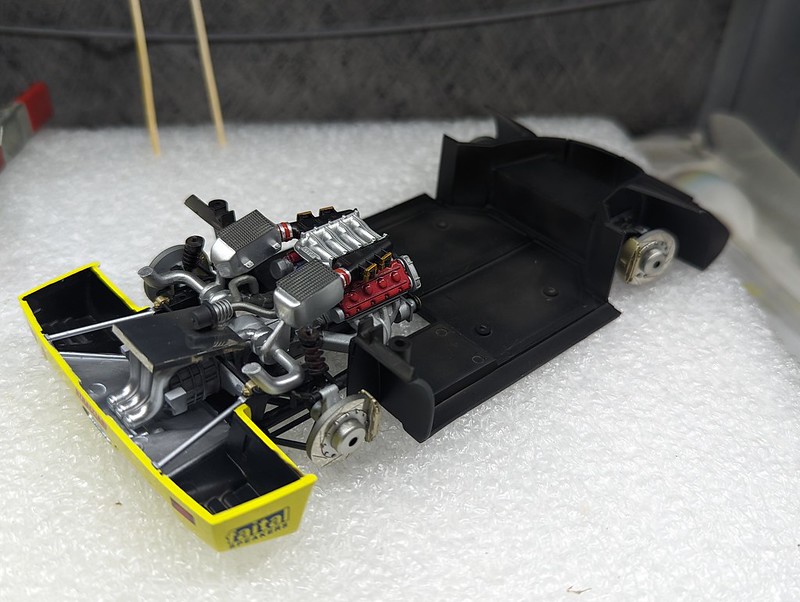
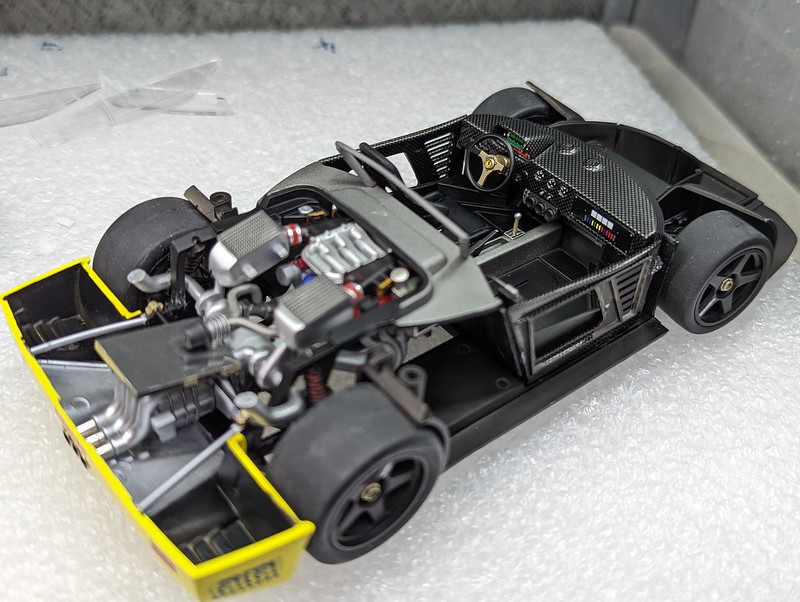
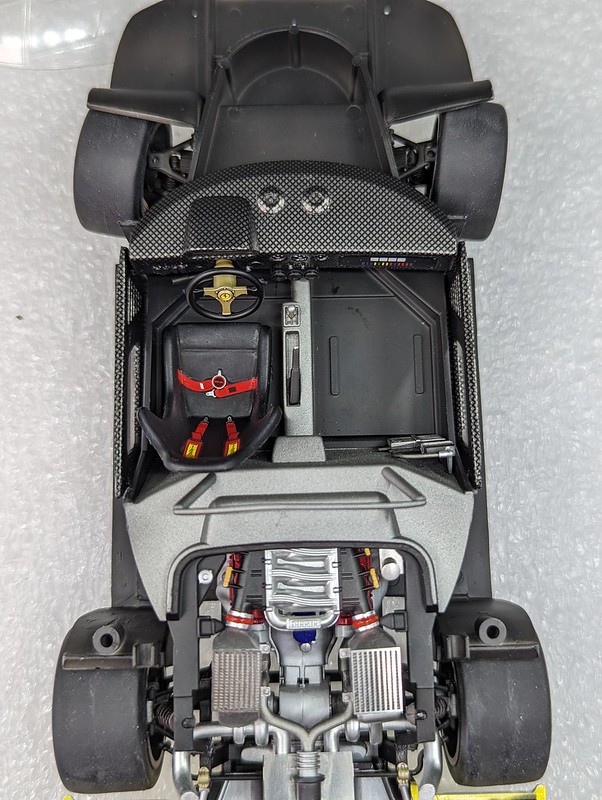
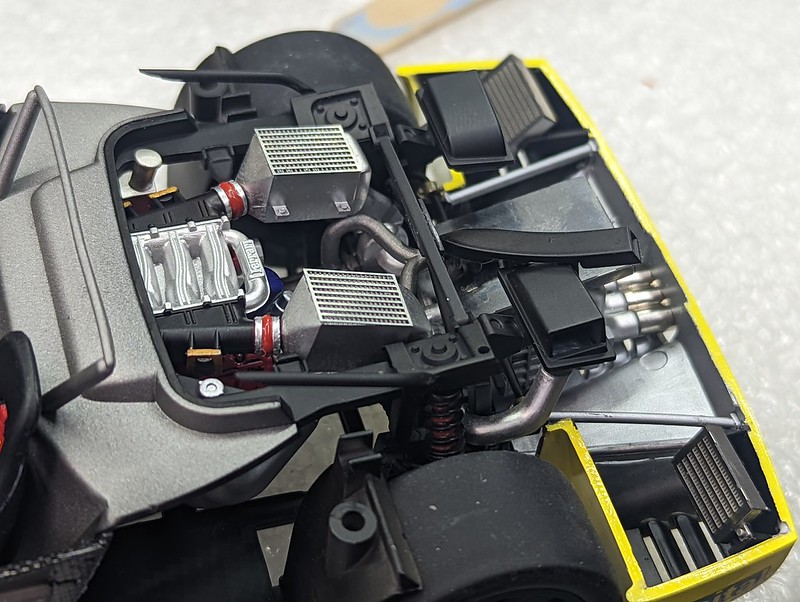
With that done I moved on to the engine. I've not gone too mad with this, normally I would fill the seam on the top of the gearbox but it's going to be covered by the exhaust so I've not bothered.


52098382220_df22540748_c.jpg


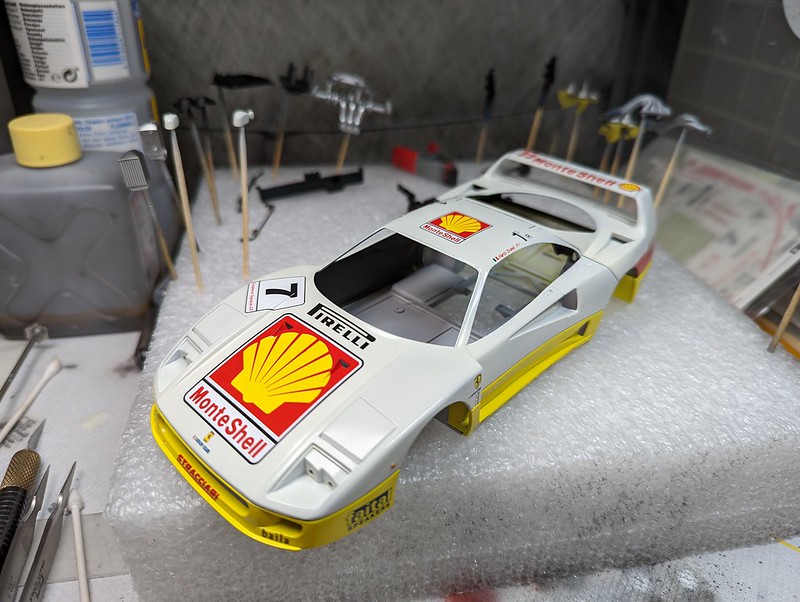
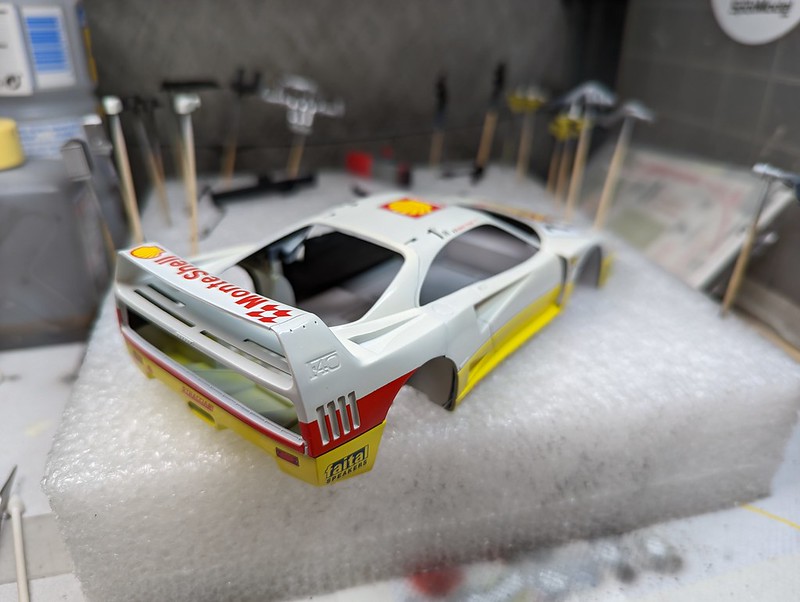
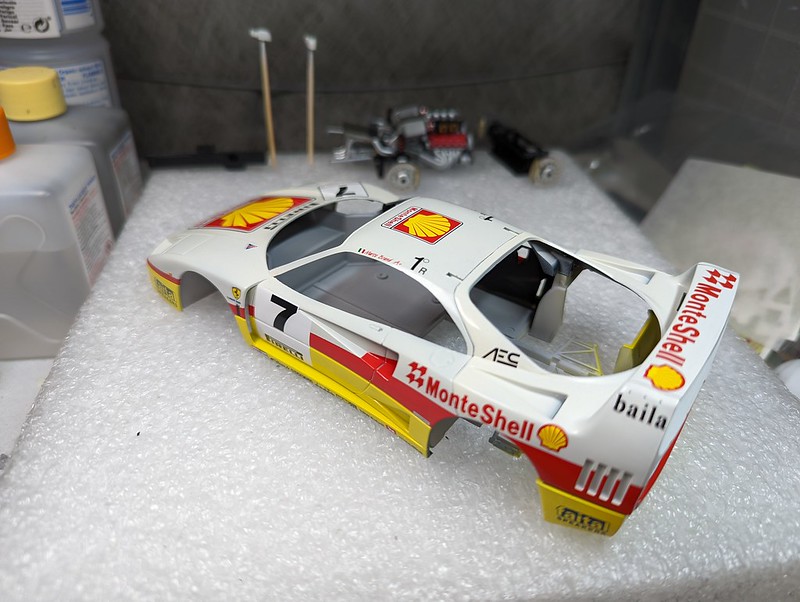
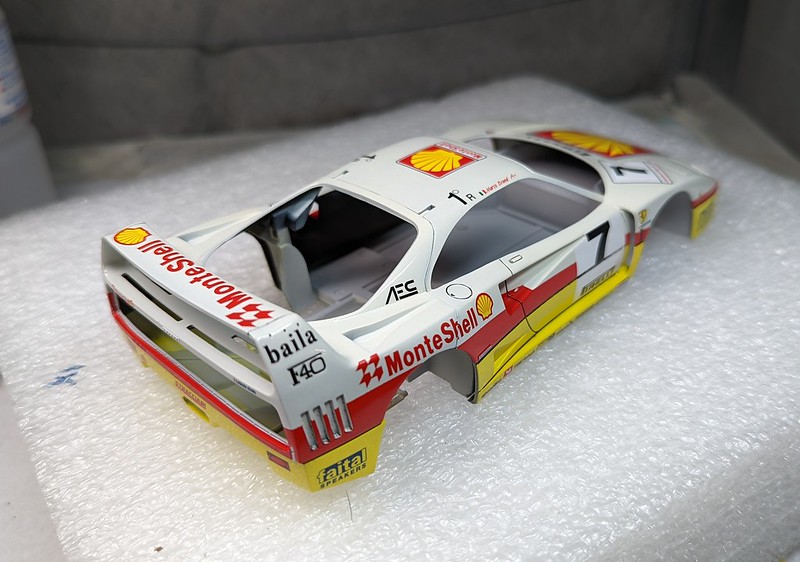
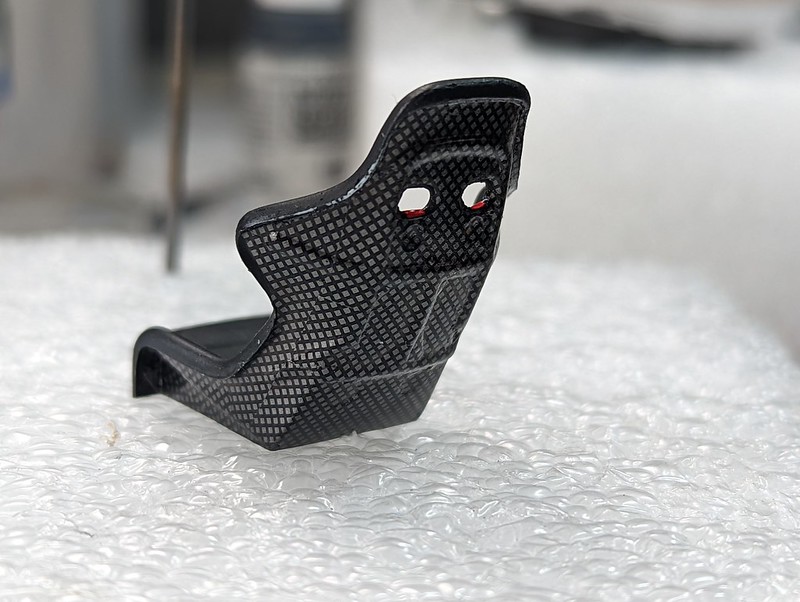
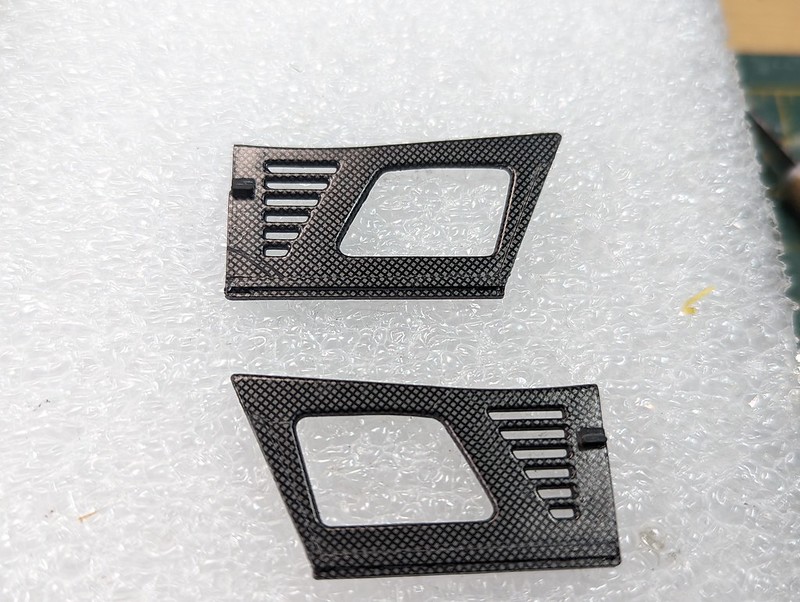
And with that all together I started cleaning up the rest of the parts for the back end ready for primer and paint.


52097876656_025655a6cc_c.jpg


That's all for now.
:)


B
 

Mr Bowcat

SMF Supporter
Joined
Dec 29, 2016
Messages
3,647
Points
113
Location
London
First Name
Bob
Morning all. :smiling3:

This weekend I have mostly been painting. Got the white and yellow down on the body and the rear part of the chassis.

52109287443_a4f476195a_c.jpg


With that done I started on the decals. I need to get these down and glossed before further painting of the shell and chassis. I'd decided to use Tamiyas Racing White which has a slight cream tone to it, but realised in retrospect it wasn't going to match the white parts of the decals. As it turns out it's not too bad.

The decals were typical older Tamiya, so quite thick, but went down OK with liberal use of softener and some heat.

52108230767_2ba821ee42_c.jpg

52109256046_0367e63536_c.jpg


Other than that I've painted the rest of the drivetrain parts. Some of these needed 4 seperate colours, I'll post pics once the parts are together.
 

tigersteve

SMF Supporter
Joined
Jan 29, 2018
Messages
511
Points
93
First Name
Steve
That is looking really nice already - will be following along !
 

colin m

Moderator
Staff member
Moderator
SMF Supporter
Joined
Dec 26, 2008
Messages
8,604
Points
113
Location
Stafford, UK
First Name
Colin
looking great Bob. That's a very effective metal finish you have on the gearbox.
 

Jim R

SMF Supporter
Joined
Apr 27, 2018
Messages
13,744
Points
113
Location
Shropshire
First Name
Jim
Hi Bob
Good that Tamiya were able to provide s new body. We would have had an F40 convertible otherwise. Off to a good start, looking good already.
Jim
 

Mr Bowcat

SMF Supporter
Joined
Dec 29, 2016
Messages
3,647
Points
113
Location
London
First Name
Bob
Cheers Jim. :smiling3:

Finished off the decals last night, all went pretty smoothly. I managed to get a small crack in one of the door placards where it goes into a larger panel line, but the panel line wash should hide it. The 2nd pic shows the misalignment of the engine cover, so I will either have to display the model with the engine showing, or glue it shut.

52114172226_5c0f032048_c.jpg


52114210288_2f24a69c5d_c.jpg


I also finished painting the engine, drive train & running gear and got everything glued together. No major problems, a bit of misalignment on the exhaust headers. The PE disks are nice.

52114419364_cd0e590b8f_c.jpg


52114680075_72816214cf_c.jpg


Hoping to get the panel line wash done tonight and the gloss tomorrow. :smiling3:
 

adt70hk

I know its a bit sad but I like quickbuild kits!!!
SMF Supporter
Joined
Sep 4, 2019
Messages
9,506
Points
113
First Name
Andrew
Coming on nicely Bob! That really is looking the business.

All the best.

Andrew
 

scottie3158

SMF Supporter
Joined
Apr 27, 2018
Messages
12,722
Points
113
Location
Spalding
First Name
Paul
Bob,
That is looking very nice mate, the body and drive train are spot on.
 

Mr Bowcat

SMF Supporter
Joined
Dec 29, 2016
Messages
3,647
Points
113
Location
London
First Name
Bob
Cheers Ian. :smiling3:

Finished off the last of the body painting over the weekend, it was just the front splitter, headlight internals and windscreen rubber, and I also flatted and polished the paintwork.

52142998344_0dd9a3189b_c.jpg


Also painted the rest of the chassis and installed the engine and running gear.

52142777418_15bebbb95b_c.jpg


Onto the interior next, it's fairly sparse being a race car, but I think I'm going to try and pimp it out with a little carbon fibre. :smiling3:
 

Mr Bowcat

SMF Supporter
Joined
Dec 29, 2016
Messages
3,647
Points
113
Location
London
First Name
Bob
Cheers dude. It's nice doing an uncomplicated OOB build for a change.
 

Mr Bowcat

SMF Supporter
Joined
Dec 29, 2016
Messages
3,647
Points
113
Location
London
First Name
Bob
Morning all. :smiling3:

Been working on the interior for the last few days. I bought a sheet of carbon fibre decal (Studio 27 I think) I while back, but so far have only used it on flat surfaces. I decided it was time to try it on some more complex shapes and this interior was the perfect candidate.

52159929364_8c5e7ee2fe_c.jpg


52160180960_7e8ec1e21e_c.jpg


52160180890_2a21c98e90_c.jpg


It's 1/12 pattern so over scale, but a least it should show up through the windows. I'm fairly happy with how it came out, it's far from perfect but for a first attempt I'm pleased.

With those parts done I got the tub installed in the chassis and added all the other bits, along with some more engine components.

52160180935_a6e7b4a4af_c.jpg


52158666627_33642c48c1_c.jpg


52159692528_d0460ef2e9_c.jpg
 
Top