- Home
- Forums
- Civilian Vehicles
- Civilian vehicles Under Construction
- Civilian Motorcycles under construction
You are using an out of date browser. It may not display this or other websites correctly.
You should upgrade or use an alternative browser.
You should upgrade or use an alternative browser.
Tamiya 1/6 Honda CRF1000L Africa Twin.
- Thread starter outrunner
- Start date
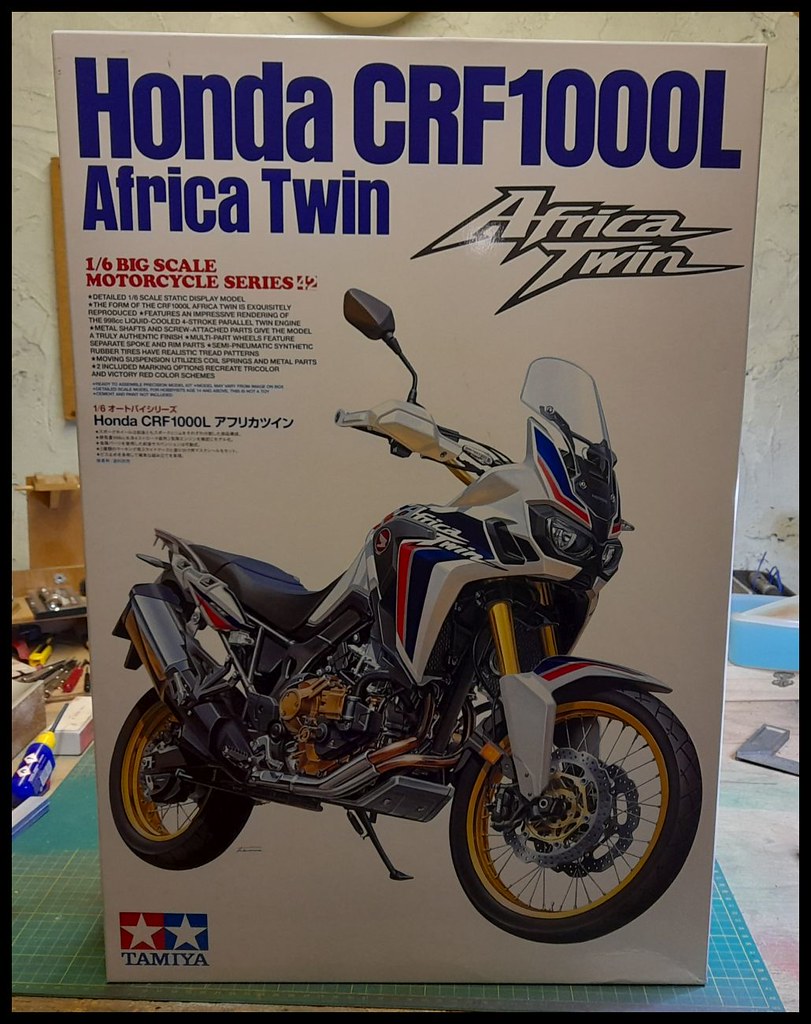

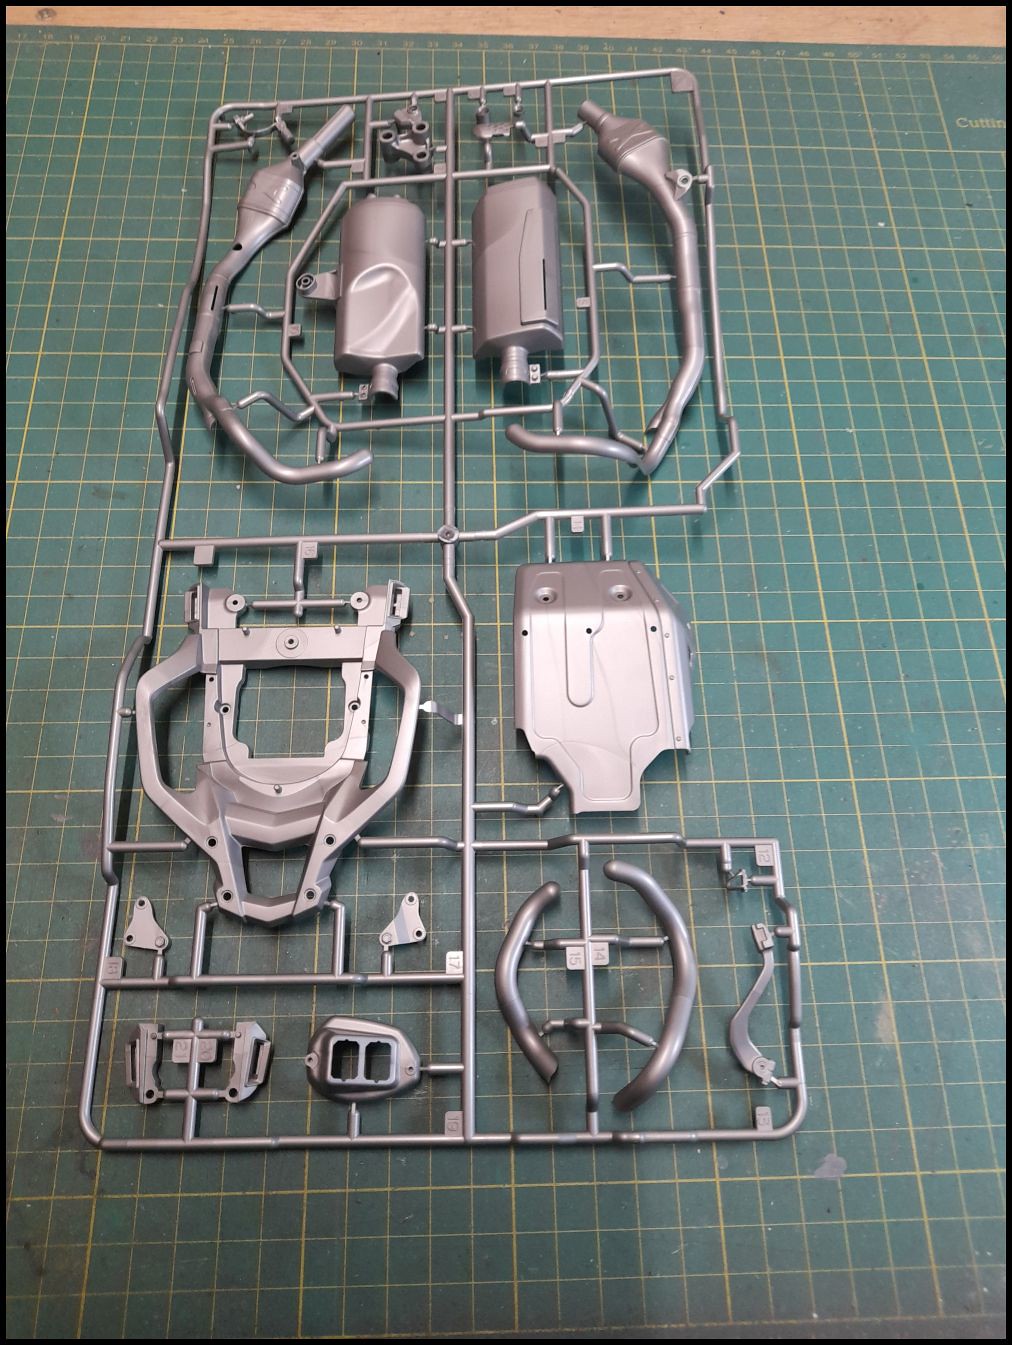


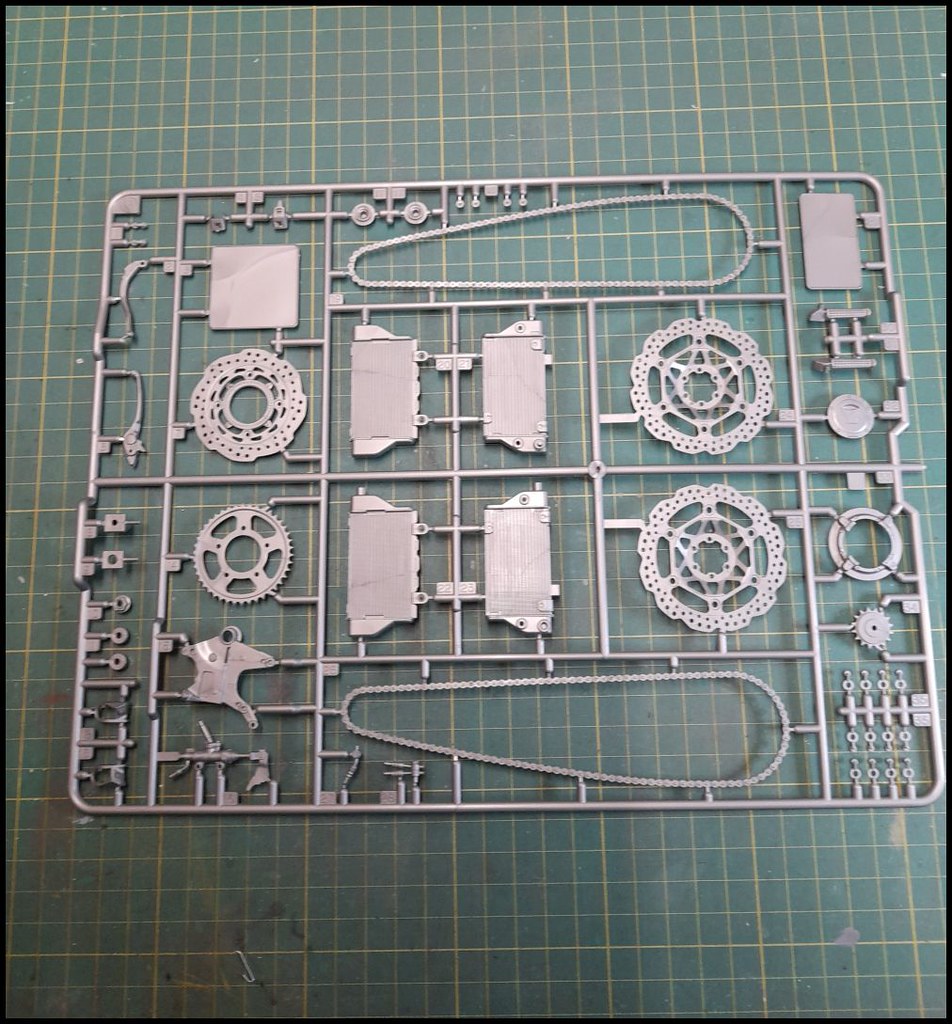
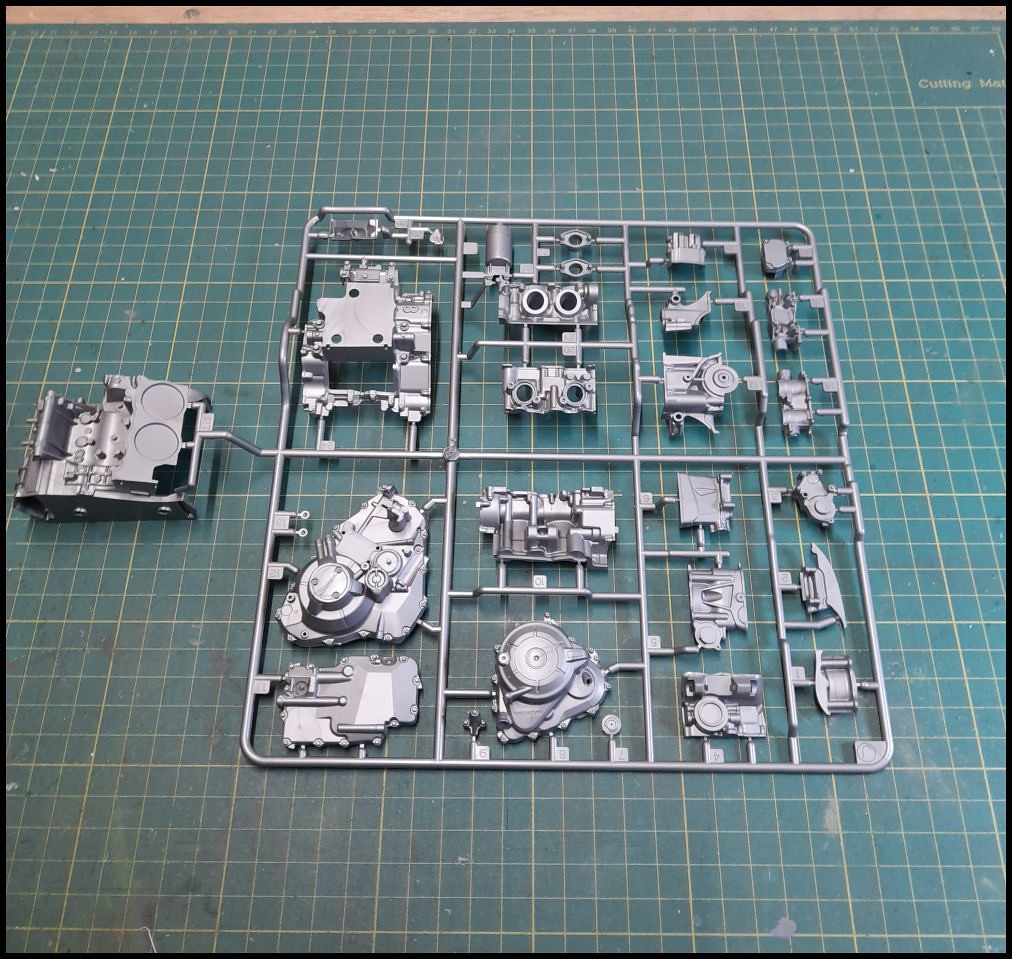
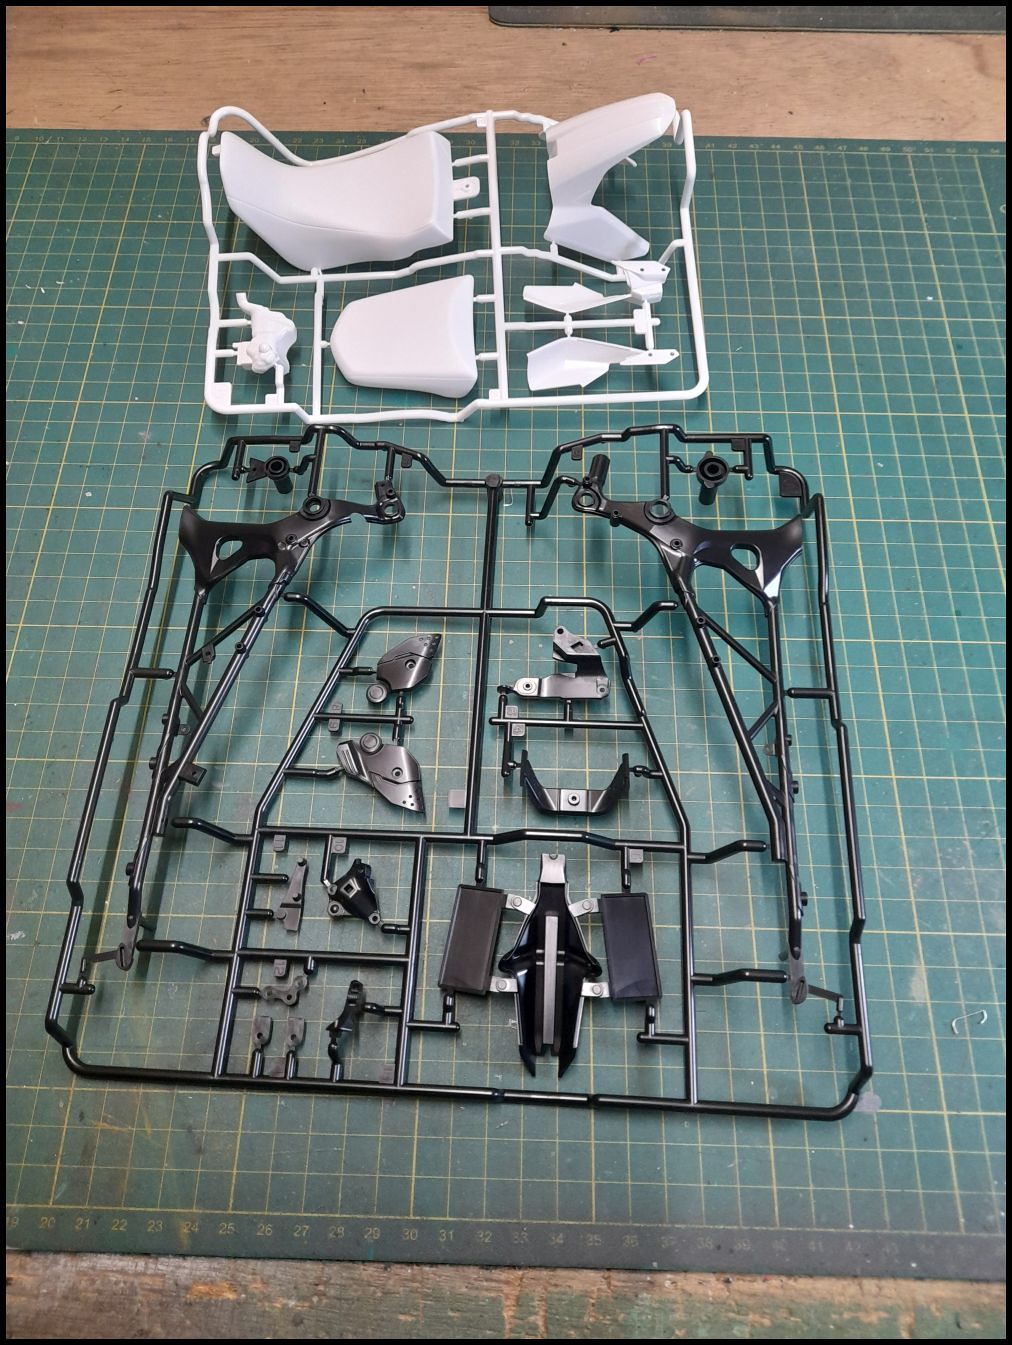
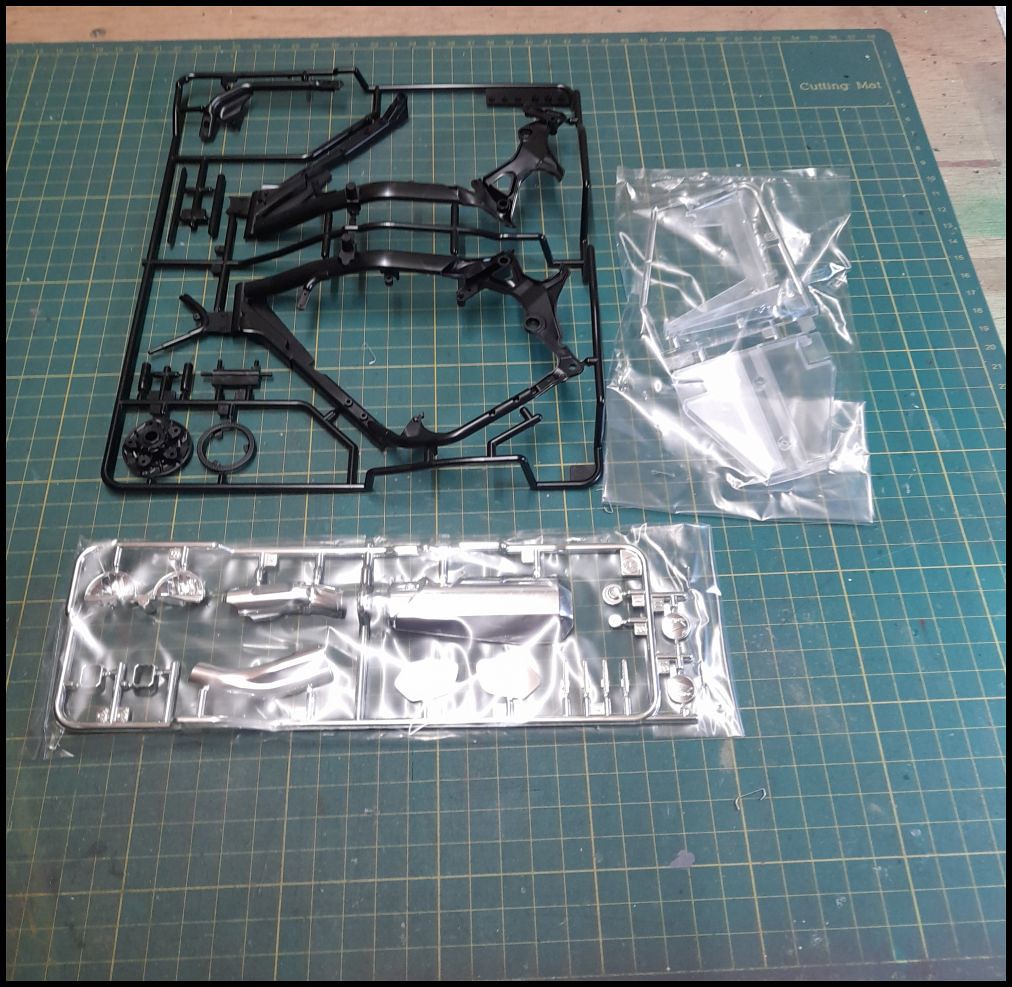

I would say that since I came back to building models this is the best quality kit I have seen, the plastic is faultless, no flash, no ejector pin marks that will be seen and it has a really good instruction book, not a printed sheet like some others. The front forks are anodised metal,a large bag of screws and nuts to assemble some parts and there is even a jig to build the wheels properly, the decal sheet includes masks although you have to cut them out yourself and the decal sheet looks great, mind you, it is Tamiya so we shall see.
Andy.
Andy.
Mark1
SMF Supporter
Looks like a nice kit.
Nice. Quite fancied one of these.
Jim R
SMF Supporter
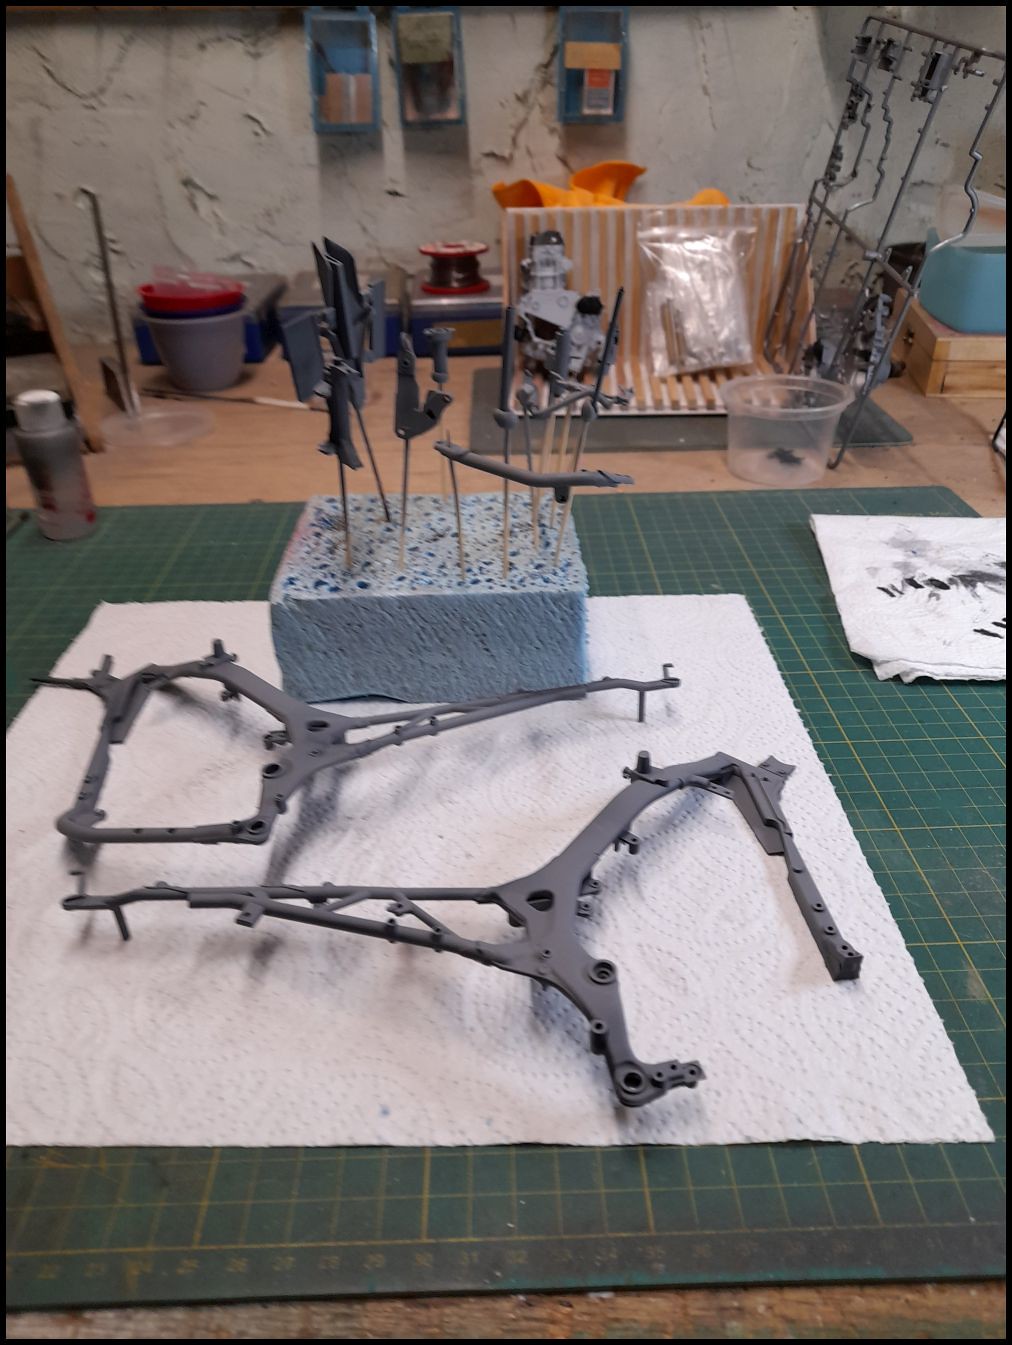

I painted all the frame parts last night and also the engine side casings but leaving them until tonight before lacquering them. Not too sure about the casings though, just don't look to be the right colour although I used the mix specified on the instructions.
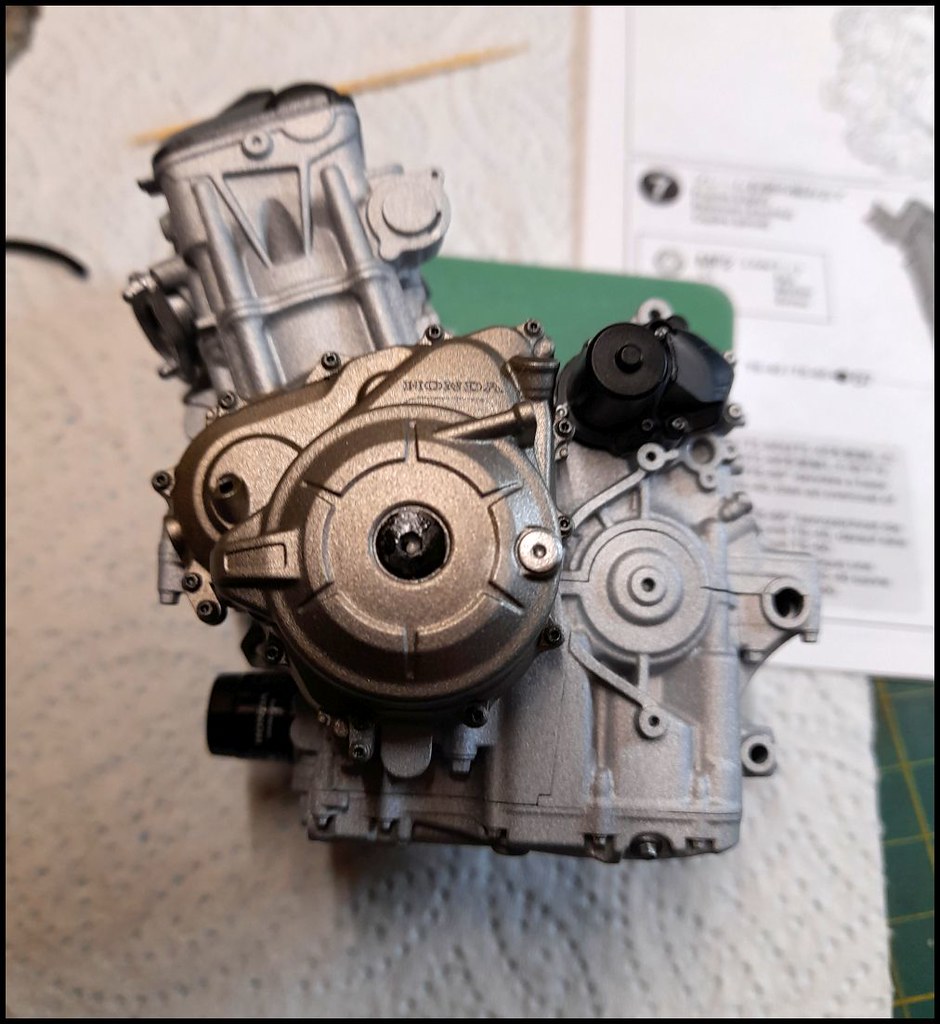
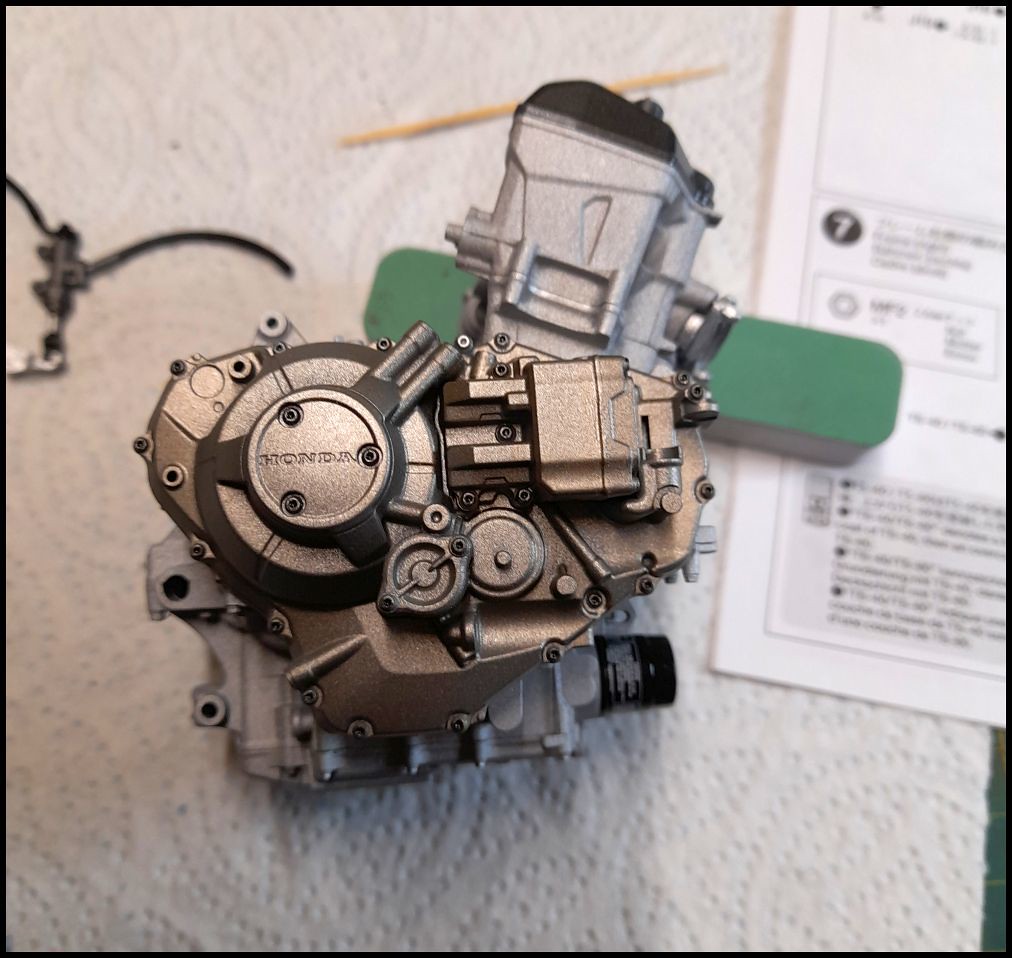
Maybe I should have primed them with black, or used a bit more of the gold paint? anyway, I will have a think about it as it will not be hard to redo as the casings are not yet glued on.
Andy.
Maybe I should have primed them with black, or used a bit more of the gold paint? anyway, I will have a think about it as it will not be hard to redo as the casings are not yet glued on.
Andy.
tigersteve
SMF Supporter
- Joined
- Jan 29, 2018
- Messages
- 511
- Points
- 93
- First Name
- Steve
Great start - and the best colour scheme I reckon, have fun !
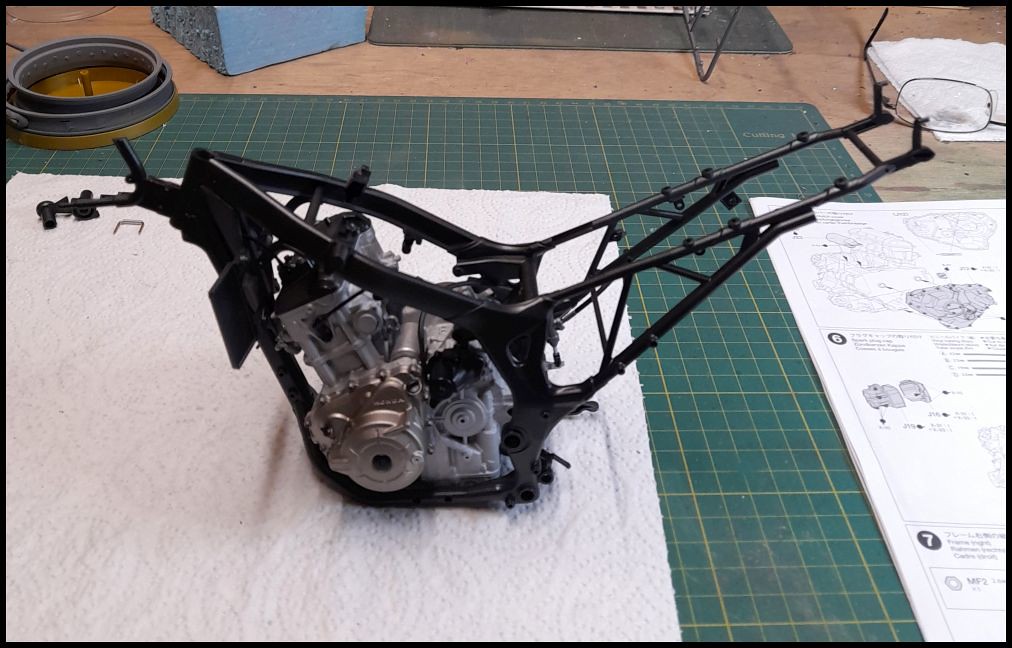
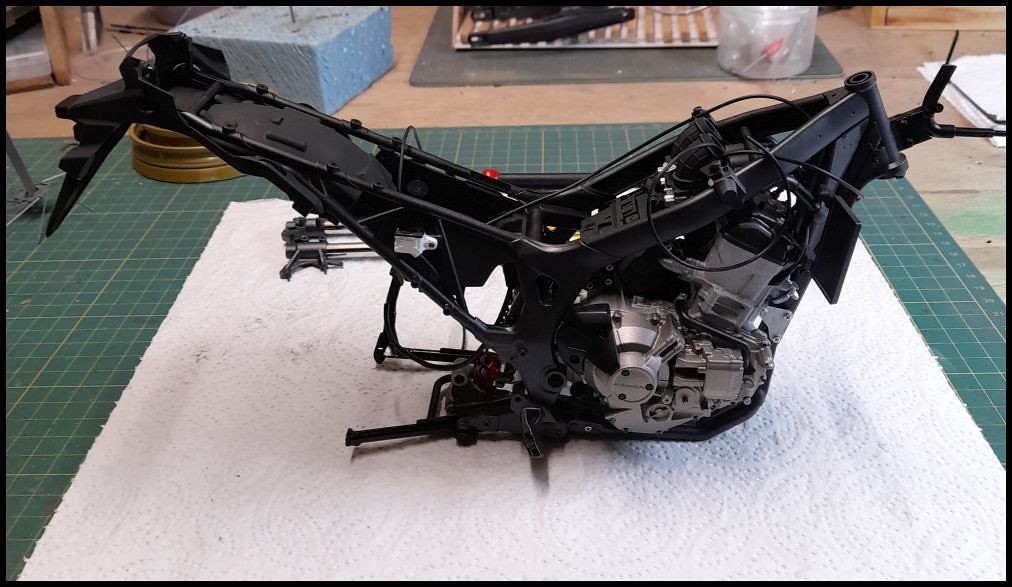
Did not do a lot today as the weather tuned nice about mid day so I went out on the bike. This evening however I did get the frame built and the engine fitted in, it's not fixed yet as it was getting late and I could not be bothered with hunting out all the tiny screws that hold the motor to the frame.
Andy.
Andy.
A bit more done this evening, engine fixed into the frame with ignition coils and leads fitted, bit of a nightmare fitting the tubing that represents the plug leads but I got there eventually without too much swearing.

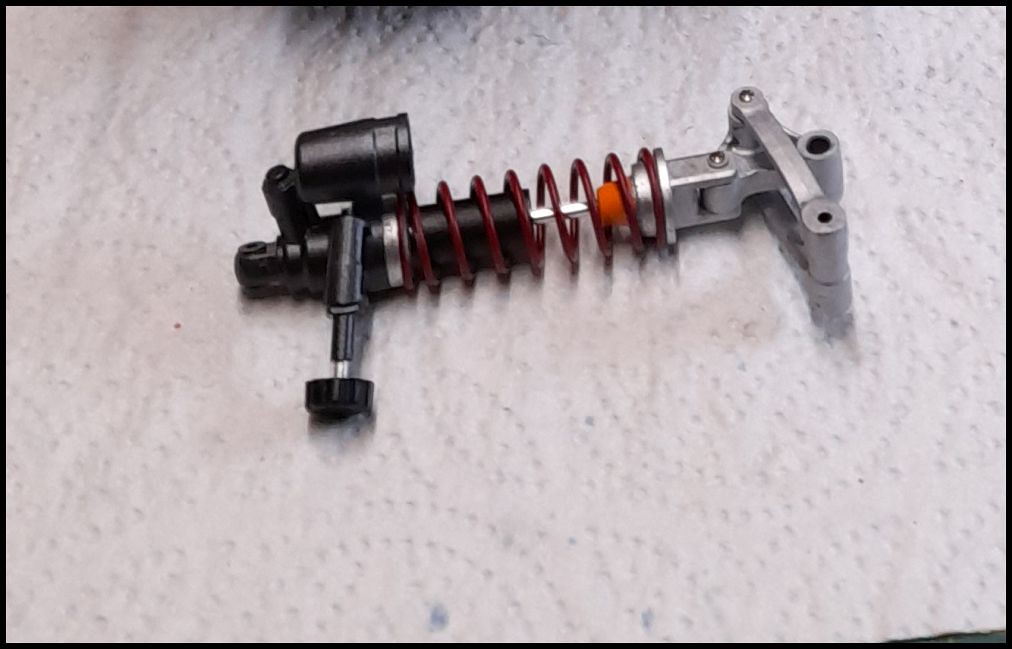
Rear shock assembled from 21 parts and 4 paint colours.
Quite a complex built this is so may take a while especially if the weather keeps improving as motorcycling is calling me.
Andy.
Rear shock assembled from 21 parts and 4 paint colours.
Quite a complex built this is so may take a while especially if the weather keeps improving as motorcycling is calling me.
Andy.
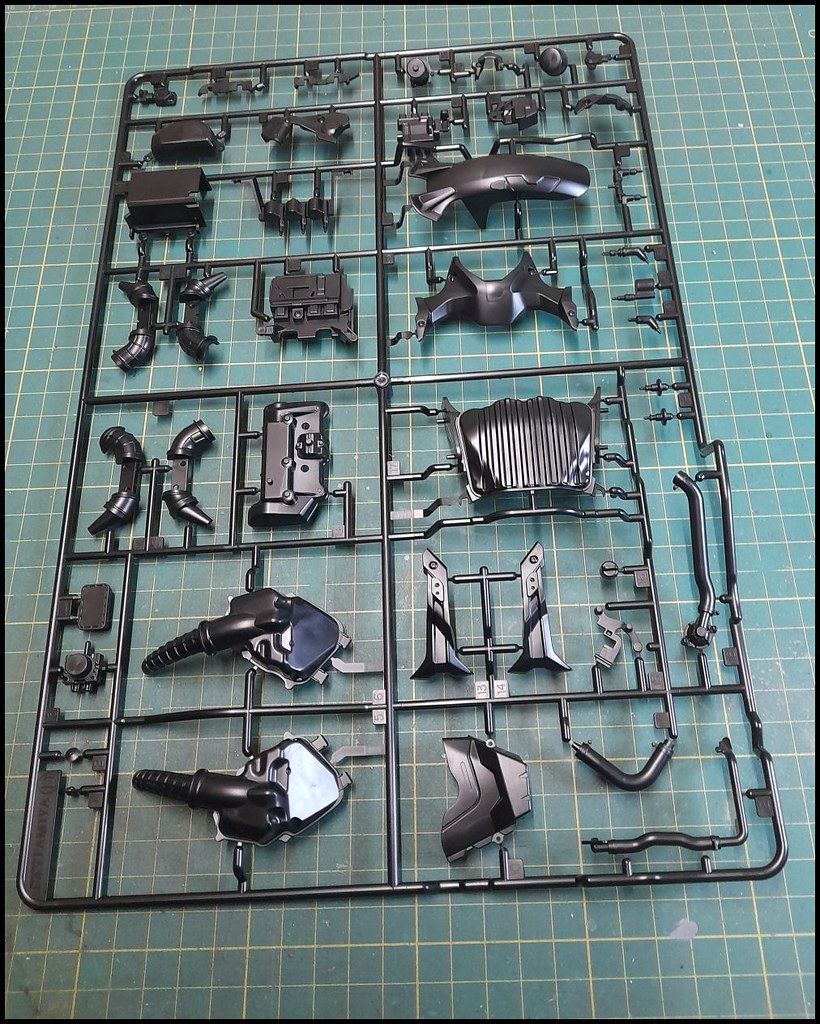
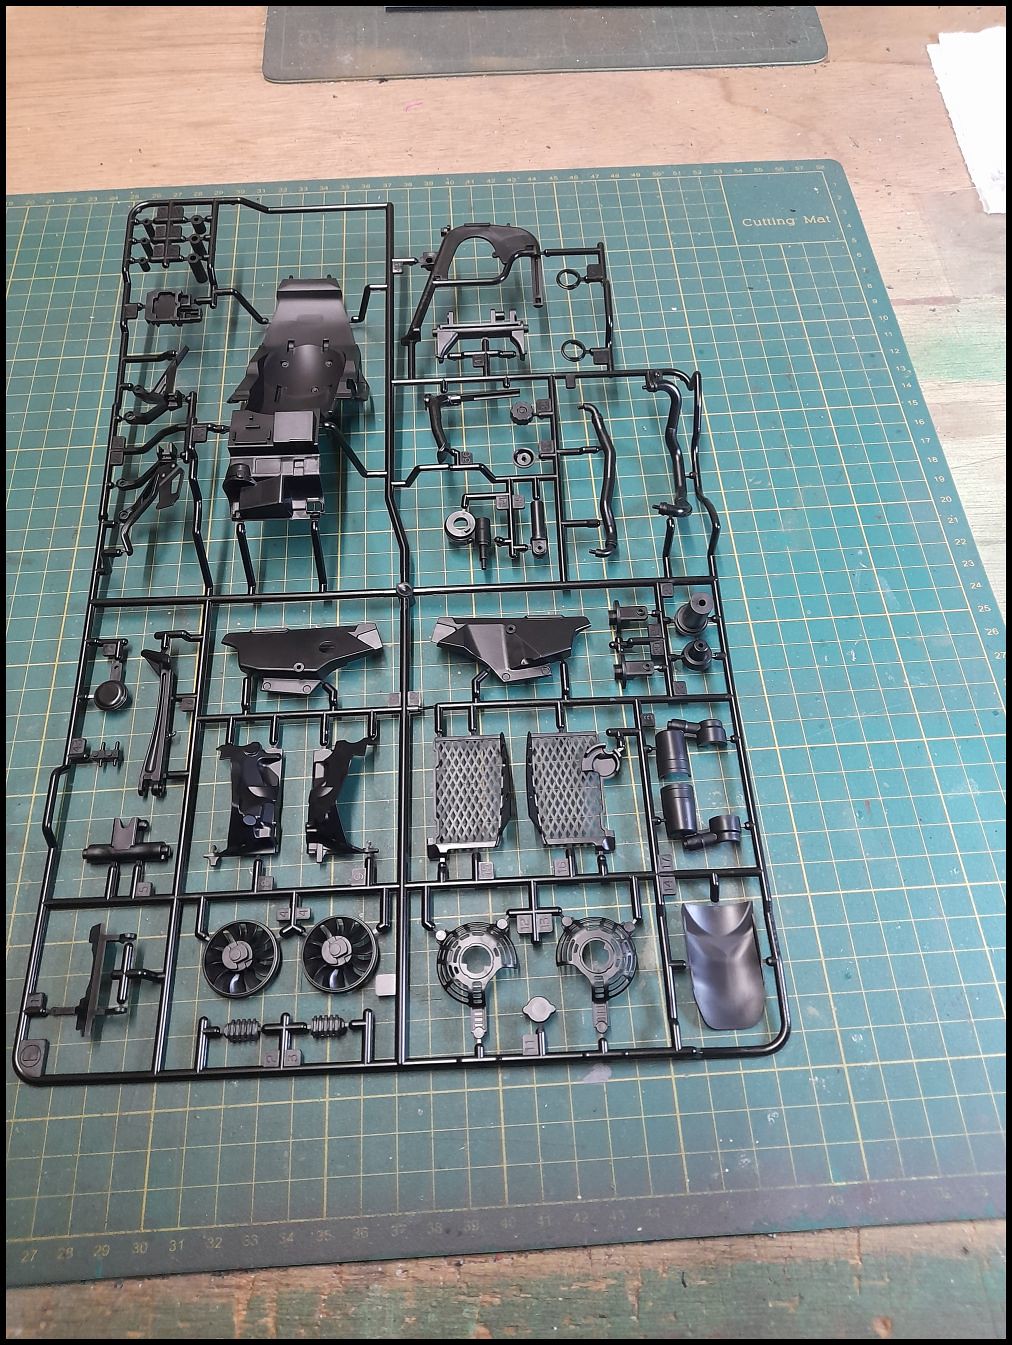
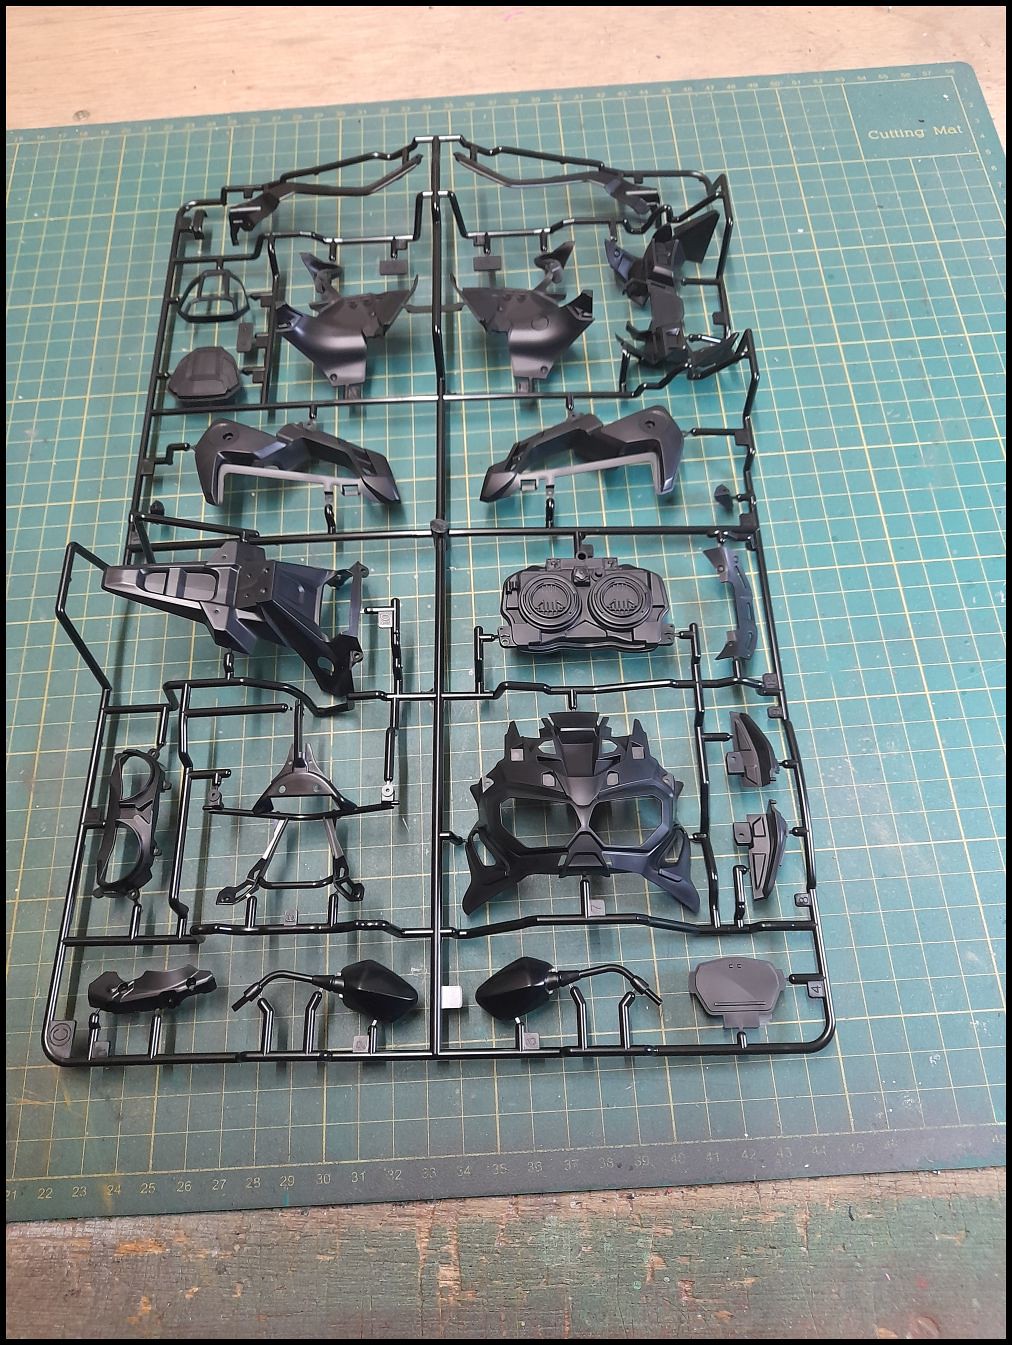
Very true John and there are a lot of sprues and I have only used most of 2 so lots and lots of building to do with quite a lot of it needing a large amount of care. The great thing is, no flash and everything fits together with no dramas.Some nice detail on the rear shocks there Andy, certainly the kit looks impressive from the sprues.
Andy.
simontie
SMF Supporter
Sorry missed the start of this one, ill pull up a seat i have thought about purchasing the kit a few times, it looks like she is worth the money judging by your build so far, details look great.
simon
simon
simontie
SMF Supporter

Jim R
SMF Supporter
Looking very nice. Very nicely detailed and the painting really brings it to life.
Steve Brodie
SMF Supporter
Mark1
SMF Supporter
Coming along nicely.
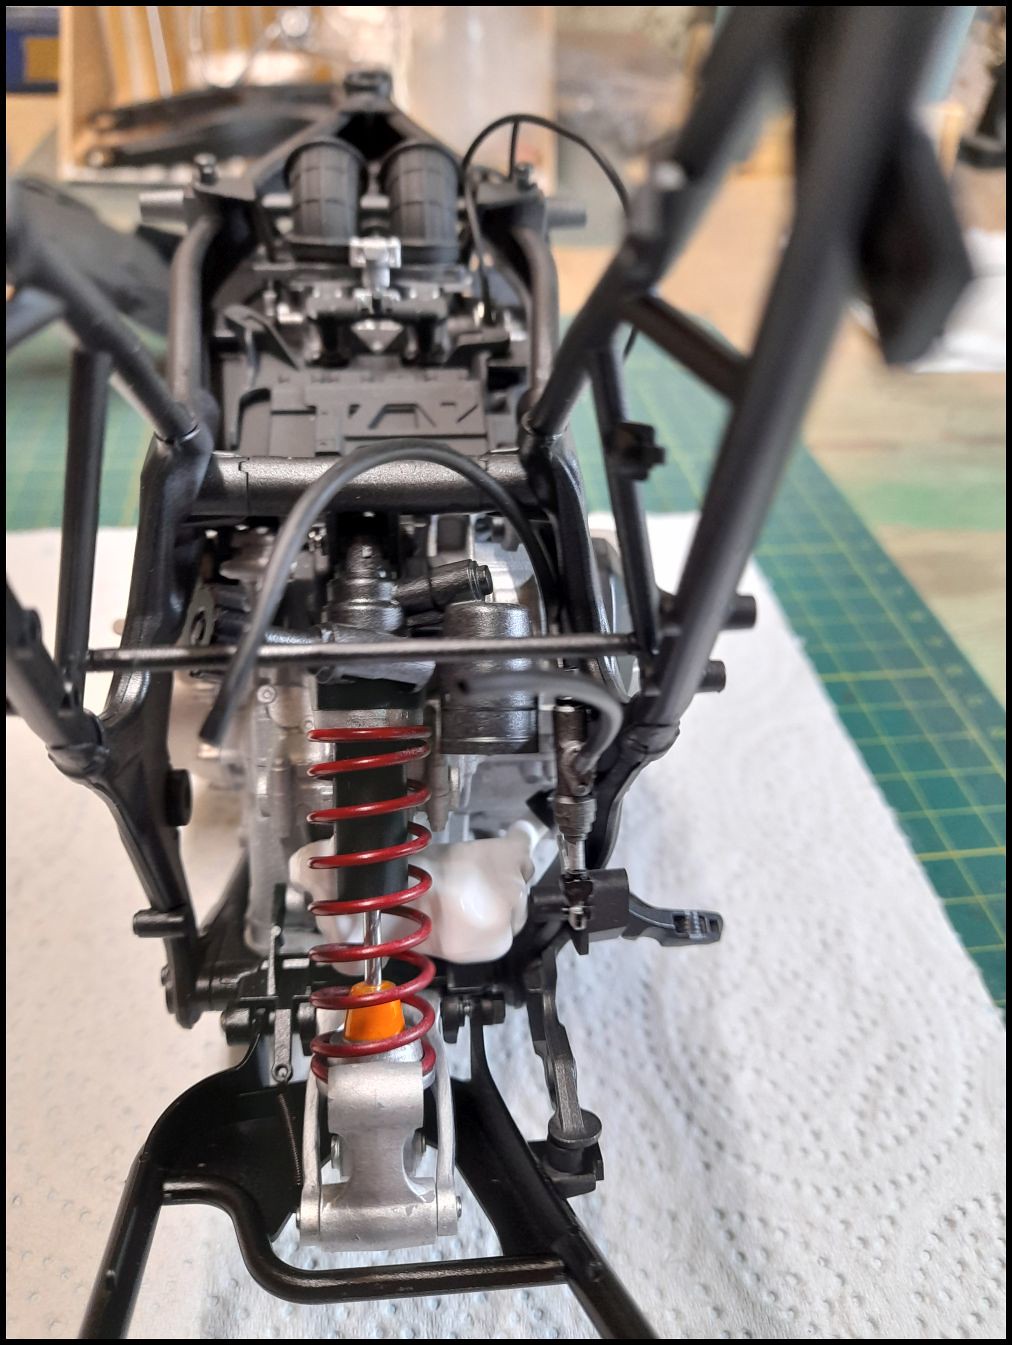
Slowly getting there, fuel injection system and battery box built and fitted.
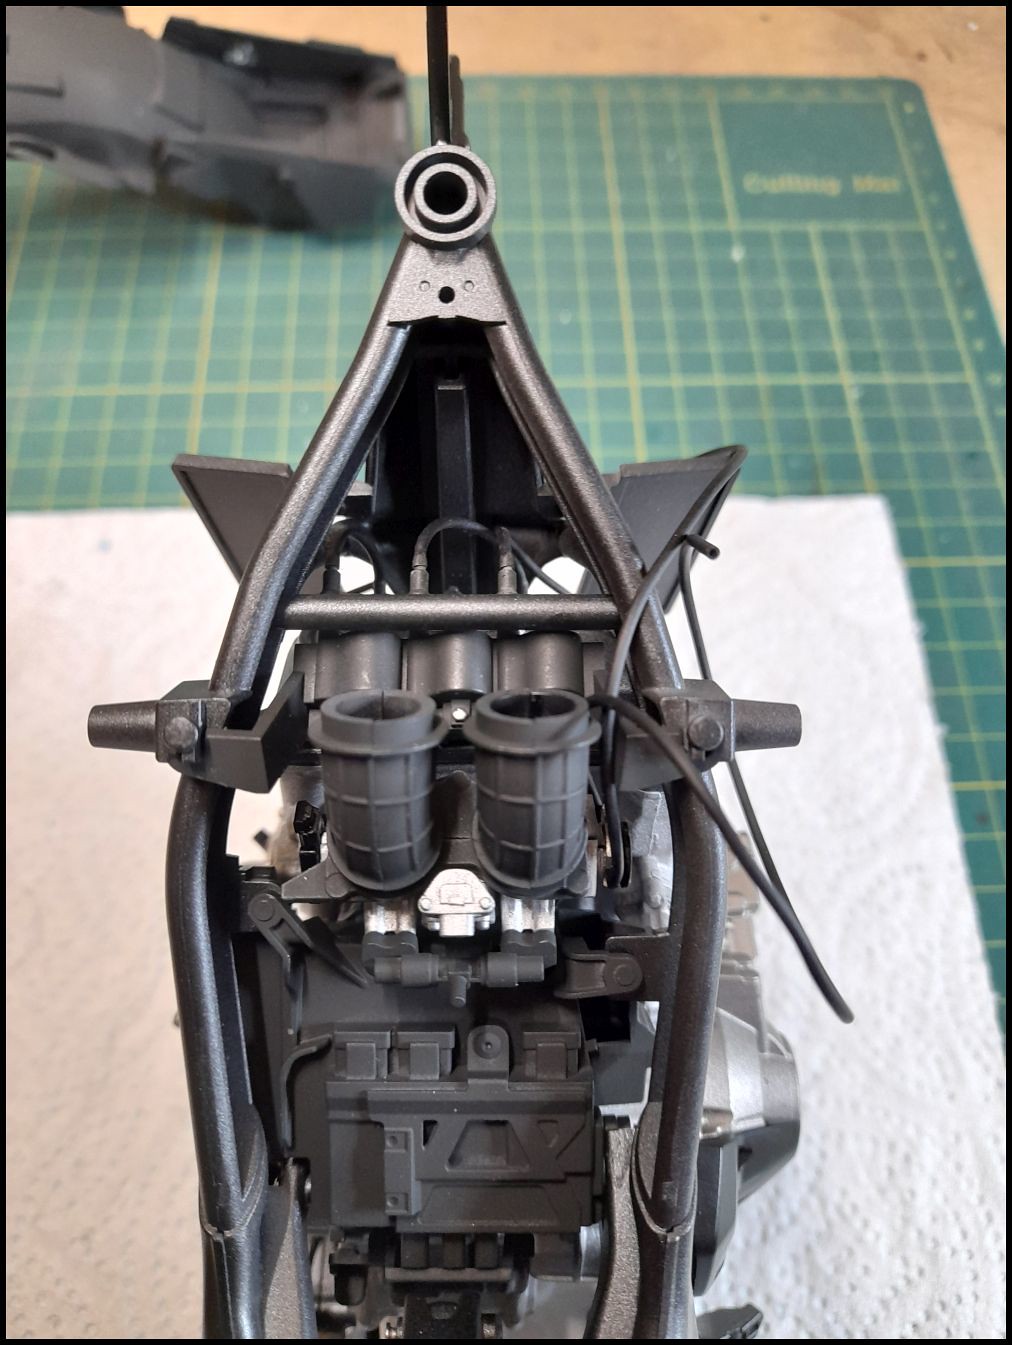
Rear shock in place along with the centre stand.
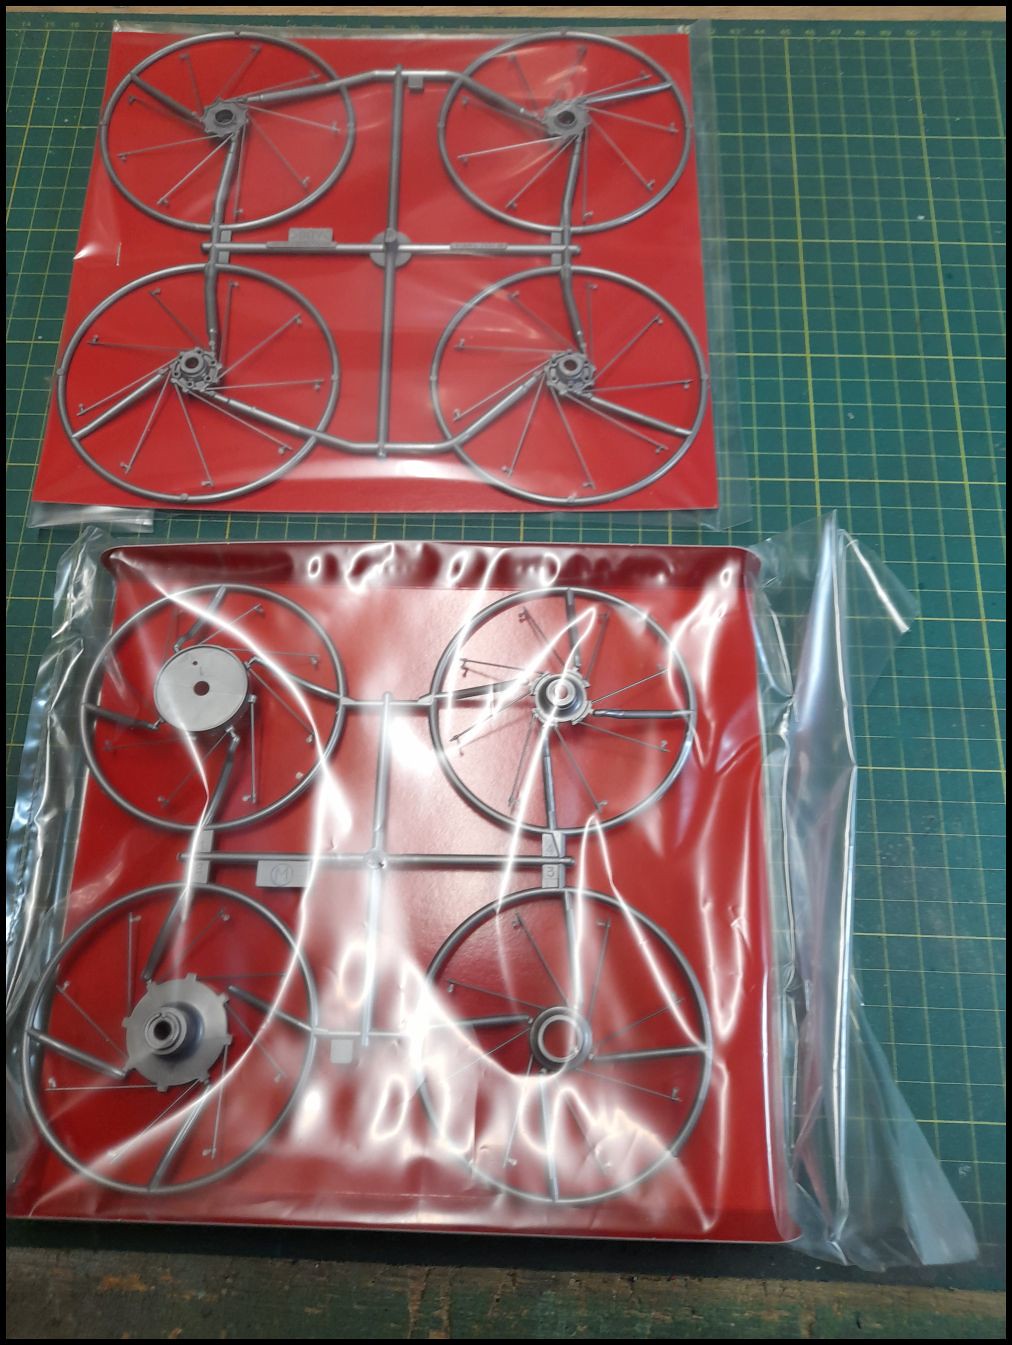
I cut out 2 of the front wheel center/spokes to try and figure out the best way to paint them as the hubs are black and the spokes silver. The spokes are very fragile so I think it best to spray the hubs and hand paint the spokes as getting masking tape back off the spokes would be a bit dodgy.
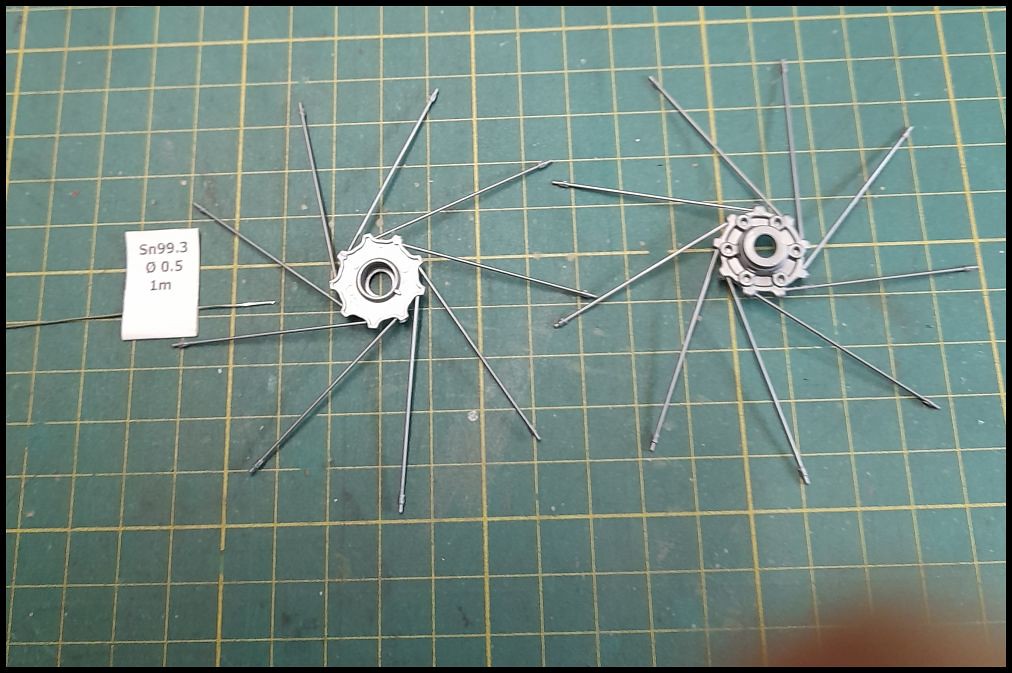
As you can see from the bit of 0.5mm solder wire in the picture for scale the spokes are delicate things.
Andy.
Rear shock in place along with the centre stand.
I cut out 2 of the front wheel center/spokes to try and figure out the best way to paint them as the hubs are black and the spokes silver. The spokes are very fragile so I think it best to spray the hubs and hand paint the spokes as getting masking tape back off the spokes would be a bit dodgy.
As you can see from the bit of 0.5mm solder wire in the picture for scale the spokes are delicate things.
Andy.
Slow progress as I have been out on the bike a lot the last few days and also test riding something else, but that's another story.
Rear mudguard assembly fitted along with rear brake reservoir and lots of brake tubing.
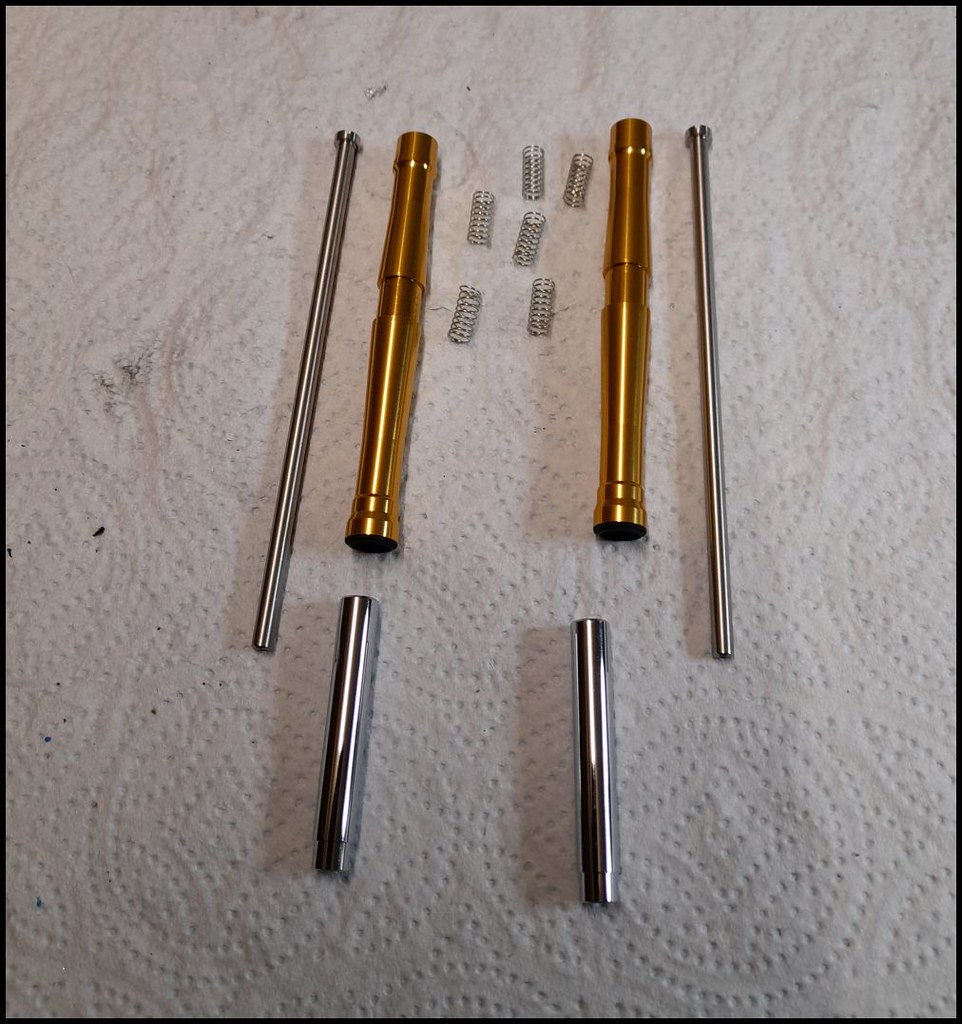
Nice working metal front fork parts ready to go together.
Still a lot to do but it will get there.
Andy.
Rear mudguard assembly fitted along with rear brake reservoir and lots of brake tubing.
Nice working metal front fork parts ready to go together.
Still a lot to do but it will get there.
Andy.
Wow that's some detail Andy , the build is progressing well by the look of things . Those spokes do look fragile compared to everything else so good idea to paint by hand .