Swagman 070
SMF Supporter
- Joined
- May 24, 2011
- Messages
- 99
- Points
- 33
- First Name
- Steve

Thanks Vaughan ill take a look.Hi Steve it's a great kit to build here's a link to my build back in 2018 if it's any help to you. I think the only real issue I had was getting the cockpit tub to fit snugly against the fuselage walls I had to use some clamps so the canopy fits correctly. https://www.scale-models.co.uk/threads/revell-1-32-p51-5na-mustang.29740/
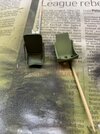
Yep, another vote for the left hand one from me too,(although I prefer the colour of the right hand oneBuild Update
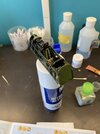
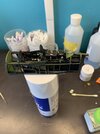
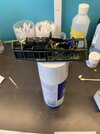
Got most of the cockpit parts painted and ready to assemble. Decals on and just a coat of gloss before a dark wash.
A dry fit of some of the parts before fixing and photoetch seatbelts.
The kit comes with two seat options. Have built and painted both. Which one do you think would be best?
View attachment 478435
View attachment 478436
View attachment 478437
View attachment 478438
View attachment 478439

 .
.
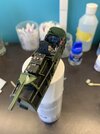
Yep,all looking very nice to me tooBuild update
Cockpit completed and all glued. went with the bucket style seat in the end. no reason just liked that one better. Added the photetch seatbelts. View attachment 478578
View attachment 478579
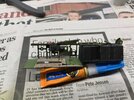
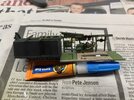
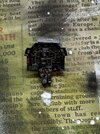
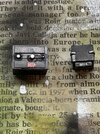
As you can see one of the little greeblies has come off near the radio. its on the floor somewhere the empty dustbuster will be out later as that's my usual finder to the carpet monster.
View attachment 478580
View attachment 478581
Really nice cockpit to build. Looking forward to the rest of it

Hi Vaughan, I have to ask how did you fit the engine exhausts? I can see from your build updates that they were not fixed when you did the painting. Did you affix the back plate in the fuselage halves and then fix them to that at the end?Hi Steve it's a great kit to build here's a link to my build back in 2018 if it's any help to you. I think the only real issue I had was getting the cockpit tub to fit snugly against the fuselage walls I had to use some clamps so the canopy fits correctly. https://www.scale-models.co.uk/threads/revell-1-32-p51-5na-mustang.29740/
Thanks VaughanSteve all looking good great cockpit detail pe belts makes a great difference. As for the exhaust stacks I think your right, I've looked at the photos and that's how I must have done it( it was 5 years ago). When I sprayed the nose yellow you can see the back plate more clearly. It saves masking them which I always find a fiddle. Keep the good work up.
Looking very, very good indeed!Build update
Cockpit completed and all glued. went with the bucket style seat in the end. no reason just liked that one better. Added the photetch seatbelts. View attachment 478578
View attachment 478579
As you can see one of the little greeblies has come off near the radio. its on the floor somewhere the empty dustbuster will be out later as that's my usual finder to the carpet monster.
View attachment 478580
View attachment 478581
Really nice cockpit to build. Looking forward to the rest of it
For FULL Forum access you can upgrade your account here UPGRADE
