Neil Merryweather
SMF Supporter
Hi Simon, good work with the 3D printer. You'll soon be using it more and more once you get used to it. In industry they are used for making assembly jigs as well, not just finished articles or prototypes, so I can see potential there in our hobby.
Which model do you have? As a full time Ultimaker user I can recommend Cura as a slicing software, and the best advice I can give is to print something everyday,no matter what, so you get used to the foibles of the machine, tweaking the settings etc.
By the way, I would have printed the drum of that sprocket as well, separately. oh you did, you just filled the build lines, sorry
Once you have the CAD data ,having a 3D printer is a bit like designing your own Airfix kit, as you have to figure out the best way to break the part down into bits that will print easily, avoiding the need for support structure wherever possible.
Feel free to message me if you have any questions.
Also, you will find PLA works very well with dichloromethane or other liquid solvent cements.
Here's an example of the type of thing I print at work. It's a bit of London at 1-1000 scale, a jigsaw piece of a larger model as context for one of our designs. This is the future,folks.......
N
Which model do you have? As a full time Ultimaker user I can recommend Cura as a slicing software, and the best advice I can give is to print something everyday,no matter what, so you get used to the foibles of the machine, tweaking the settings etc.
Once you have the CAD data ,having a 3D printer is a bit like designing your own Airfix kit, as you have to figure out the best way to break the part down into bits that will print easily, avoiding the need for support structure wherever possible.
Feel free to message me if you have any questions.
Also, you will find PLA works very well with dichloromethane or other liquid solvent cements.
Here's an example of the type of thing I print at work. It's a bit of London at 1-1000 scale, a jigsaw piece of a larger model as context for one of our designs. This is the future,folks.......
N
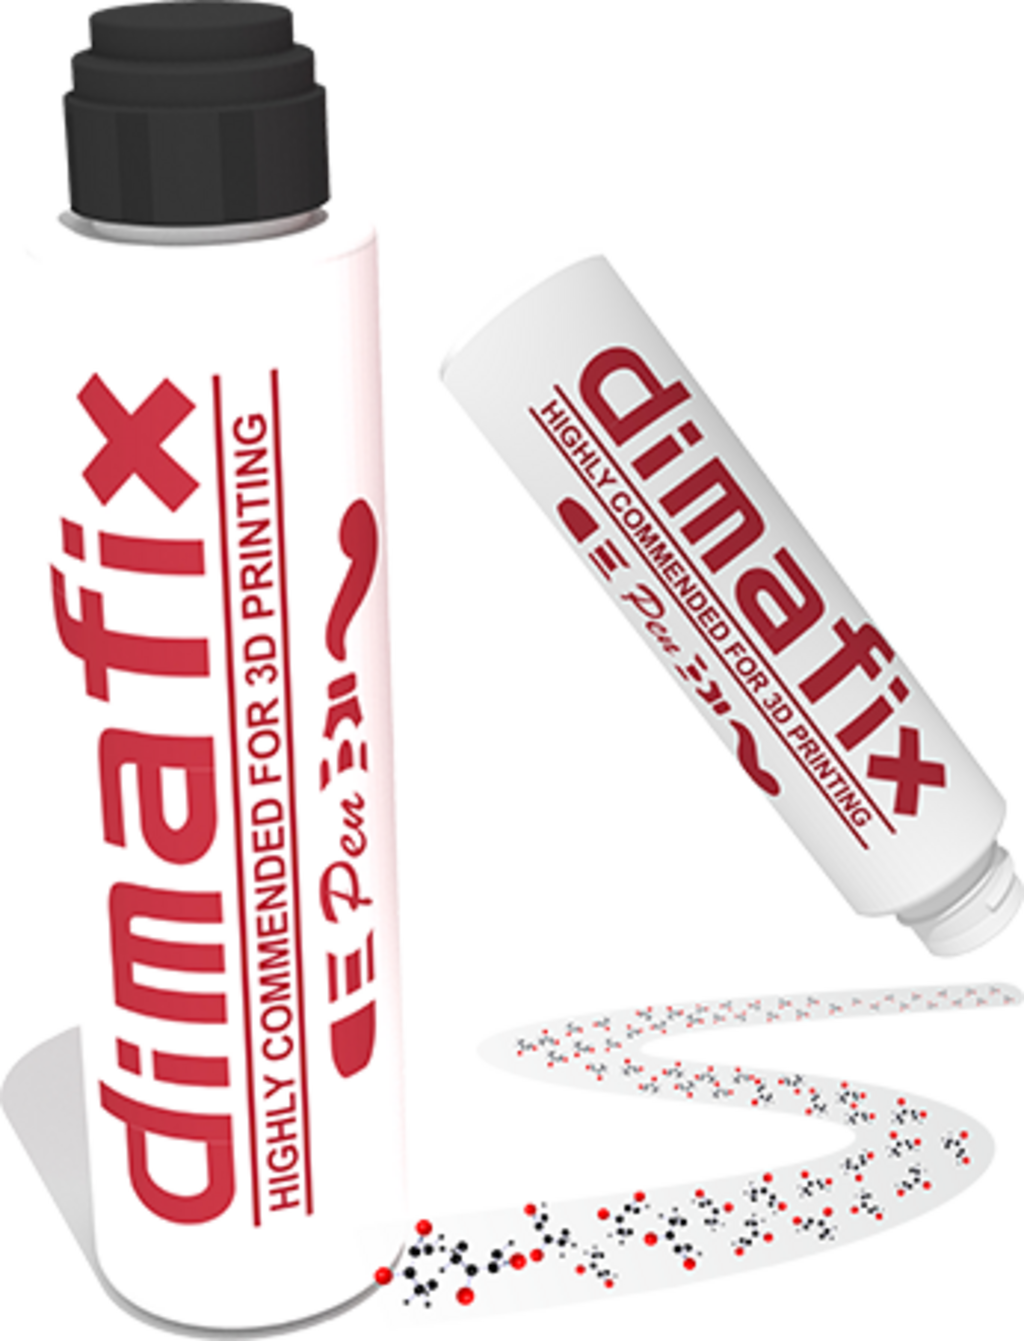


 Check this out -->


