J
John Rixon
Guest
Pretty close is good enough for me!
Oh, don't get me wrong, I'm definitely in the "good enough for me" camp. The point I was making was, that we kid ourselves that anyone actually has the
magical "right" colour for anything we build that comes from 60 odd years ago. Firstly, any photographic reference is flaky at best, secondly, no single
manufacturer would have been capable of producing all the olive drab needed to paint every US military vehicle, which means that the likelihood of there actually being a "standard", as we understand the term these days, is very doubtful! So, if we accept that we can mix a good olive drab from black and yellow, the next question would be "which yellow?" The debate will go on!
This site - http://olive-drab.com has some useful points, all of which point to the credence of the "good enough for me" camp, and can I say how delighted and amused that there is a web site of this name!
Of course, this theory extends to pretty much all of the paint schemes on everything WW2.

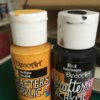
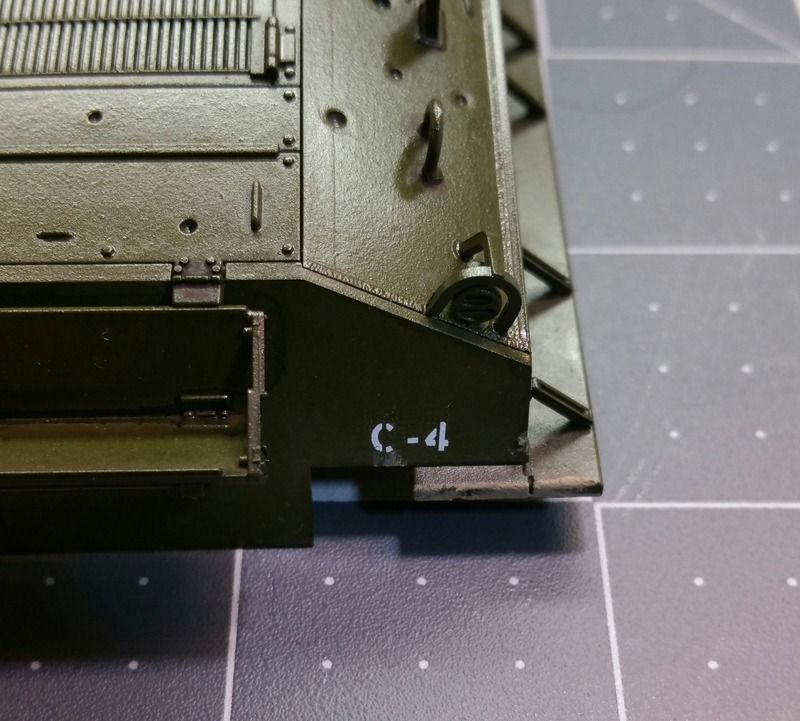
I brush painted this Tamiya T62 (an abandoned Winter camo tryout) as an experiment, to see if I could emulate the painting process that Grumpa uses - i.e. these craft paints used in many very thin layers:

using just these colours, I was able to make many subtly different tints of olive drab, which I layered over each other. The yellow is a very warm one, and I now have
a lemon yellow (cool colour temperature) which would give even more diversity. Being a russian tank, I did err on the yellow side of olive drab, but I've just mixed the same two colours and made an OD very similar to Tamiya's XF62.
Bottom line is, if it looks right, it'll do just dandy!


