- Joined
- Oct 16, 2011
- Messages
- 2,149
- Points
- 113
- First Name
- Gregg
A long drawn out build as not the best of kits regards fit issues, and my frustrations with fat fingers and poor eyesight.
I originally saw this kit going for a reasonable price on E-Bay so bought on a whim.
Researching other peoples builds it came to light that to make it into a decent model, many aftermarket parts and patience would be needed.
I probably spent more on after market (PE, Vehicles, Airwings, Crew Figures, Decals) than I paid for the kit. (why do we do this to ourselves)
Presently she is on the shelf of doom as I started her over 3 years ago, frequently moving onto other projects when I got frustrated.
Hope this is of some interest to you all.
If your sitting comfortably, I will begin")
I originally saw this kit going for a reasonable price on E-Bay so bought on a whim.
Researching other peoples builds it came to light that to make it into a decent model, many aftermarket parts and patience would be needed.
I probably spent more on after market (PE, Vehicles, Airwings, Crew Figures, Decals) than I paid for the kit. (why do we do this to ourselves)
Presently she is on the shelf of doom as I started her over 3 years ago, frequently moving onto other projects when I got frustrated.
Hope this is of some interest to you all.
If your sitting comfortably, I will begin
Attachments
-
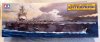 Box Art.JPG60.9 KB · Views: 36
 -
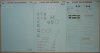
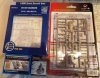
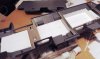
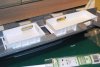
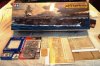 Box Contents.JPG74.9 KB · Views: 37
 -
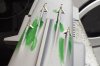
 Crew.JPG75.9 KB · Views: 33
 -
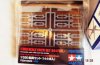
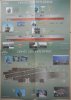
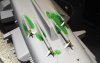
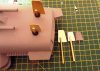
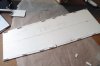
 Detail Up Parts.JPG80.4 KB · Views: 32
 -
 Enterprise Decals 2.jpg76.8 KB · Views: 30
 -
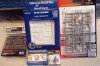
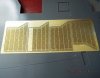
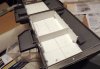
 Enterprise Decals.jpg119 KB · Views: 30
 -
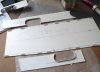
 PE Elevators.JPG62.7 KB · Views: 29
 -
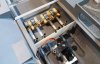
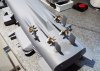
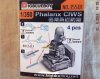 Phalanx.JPG81.8 KB · Views: 28
 -
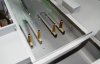
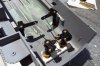
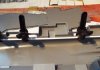
 Sea Sparrow Launcher.JPG74.2 KB · Views: 29
 -
 Sea hawk.JPG79.5 KB · Views: 29
 -
 Sea Hawk & Deck Equipment.JPG82 KB · Views: 28


.JPG")
.JPG")
.JPG")
.JPG")


.JPG")


