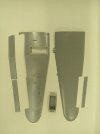
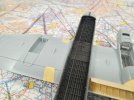
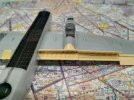
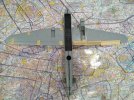
1/72 Hasegawa Lancaster

Ancientmariner

SMF Supporter
Joined
Feb 11, 2018
Messages
662
Points
93
Location
United Kingdom
First Name
James
This looks a rather nice kit James. Plenty of aftermarket stuff to keep you extra busy.
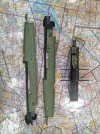
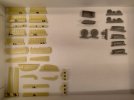
I have not done resin before, only PE. I am not sure I'm enjoying the resin experience so far. Never before having employed my bench sander when it comes to modelling!!!
 

Mini Me

SMF Supporter
Joined
Jun 1, 2018
Messages
10,161
Points
113
First Name
Rick
Looks interesting....and almost the perfect scale too! ;) I'm not a big fan of resin either James. In fact, I try to avoid it as much as possible.
 

Ancientmariner

SMF Supporter
Joined
Feb 11, 2018
Messages
662
Points
93
Location
United Kingdom
First Name
James
Looks interesting....and almost the perfect scale too! ;) I'm not a big fan of resin either James. In fact, I try to avoid it as much as possible.

Yes this is my feeling now. Unfortunately there's a lot to fit and I particularly want the flaps etc put in as I think these make a massive difference.

I have just done part of the bomb bay but instead of replacing original floor of the aircraft I have amalgamated the two to tmuse the original as a guide.
 

Ancientmariner

SMF Supporter
Joined
Feb 11, 2018
Messages
662
Points
93
Location
United Kingdom
First Name
James
Well bomb bay in and interior all sprayed black (just undercoat currently).
Plenty of cutting but generally the dry fit all seems good without any real force or modification required.

Unfortunately the resin bomb racks are so fine they seem to just snap as soon as I try any form of removal even with a fine scalpel so looks like any bombs will be fixed using the original kit parts.

IMG_20231109_141035.jpgIMG_20231109_140525.jpgIMG_20231109_140515.jpg
 

Ancientmariner

SMF Supporter
Joined
Feb 11, 2018
Messages
662
Points
93
Location
United Kingdom
First Name
James
F14 finally done, continue with Lancaster now!

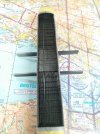
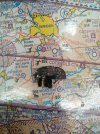
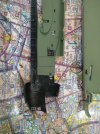
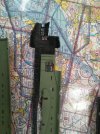
Eduard detail set is great and very appropriate as only detailed areas are ones that can actually be seen through the canopy.
The bit hanging down on the left bottom side of the main pilots control panel is godly as this is a folded (three folds) platform and would be extremely difficult without a folding jig. It measures about 2mm square when complete.

Inside black and green done, need to weather green and give it some depth/contrast.

IMG_20231223_155454.jpgIMG_20231223_155228.jpgIMG_20231223_155225.jpgIMG_20231223_155222.jpg
 

adt70hk

I know its a bit sad but I like quickbuild kits!!!
SMF Supporter
Joined
Sep 4, 2019
Messages
9,507
Points
113
First Name
Andrew
Coming on very nicely! Although I'm sorry to hear about the bomb racks too.

Yours

Andrew
 

Ancientmariner

SMF Supporter
Joined
Feb 11, 2018
Messages
662
Points
93
Location
United Kingdom
First Name
James
Fuselage together, not yet sanded joins.

Decided today to tackle a wing and to do wheel bay and flaps/ailerons at the same time to simplify.
Wheel bays the resin additions add a bit but not masses. The flap parts do look good though. One wing took about 3 hours.

Resin extras for wings/tail and wheel wells.
IMG_20231227_144452.jpg
IMG_20231227_143746.jpg
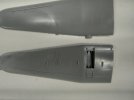
Wing pre cutting and post cutting.
IMG_20231227_144646.jpg
IMG_20231227_144737.jpg
Finally detailed wing compared to factory wing.
IMG_20231227_163442.jpg
IMG_20231227_163438.jpg
IMG_20231227_163107.jpg
 
Top