DaveCov's "Starsky & Hutch Striped Tomato" - Revell 1/25 1976 Ford Torino (07038)

davecov

SMF Supporter
Joined
Jul 3, 2014
Messages
518
Points
93
Location
Stow, Scottish Borders
First Name
Dave
I realise that "iconic" is sometimes over-used but having just binge-watched all four series of Starsky and Hutch, I just had to build the "iconic" Ford Torino, also known as the "striped tomato".


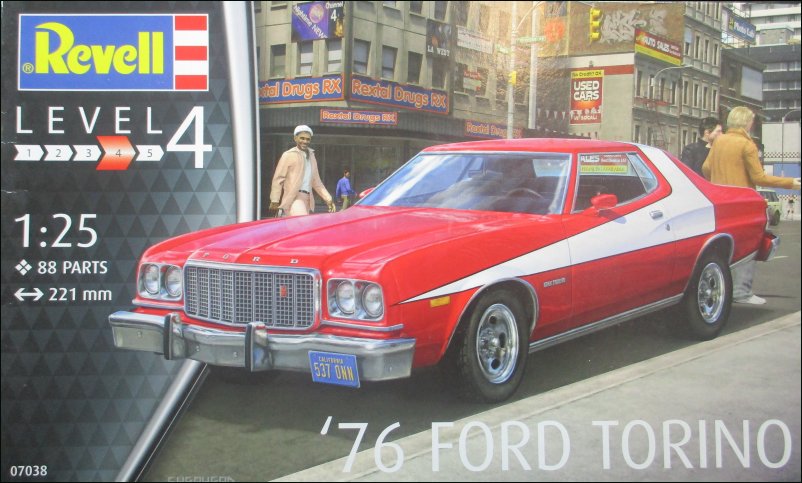
The Revell 1/25 1976 Ford Torino (07038):
Revell_76_Ford_Torino_25_2023_SM_GB_001.JPG


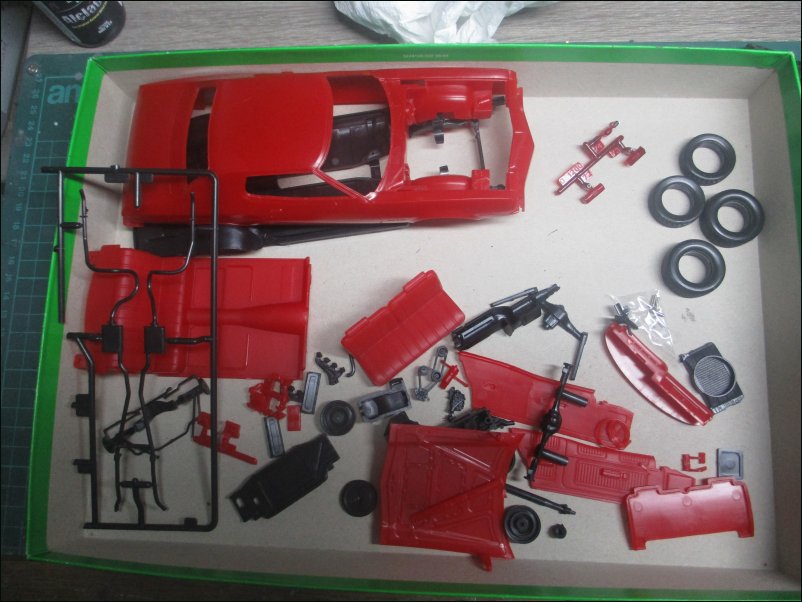
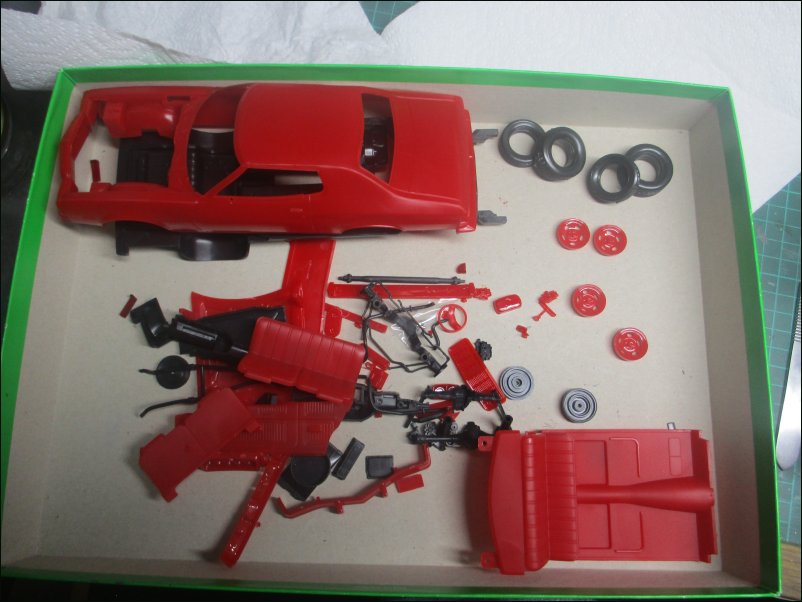
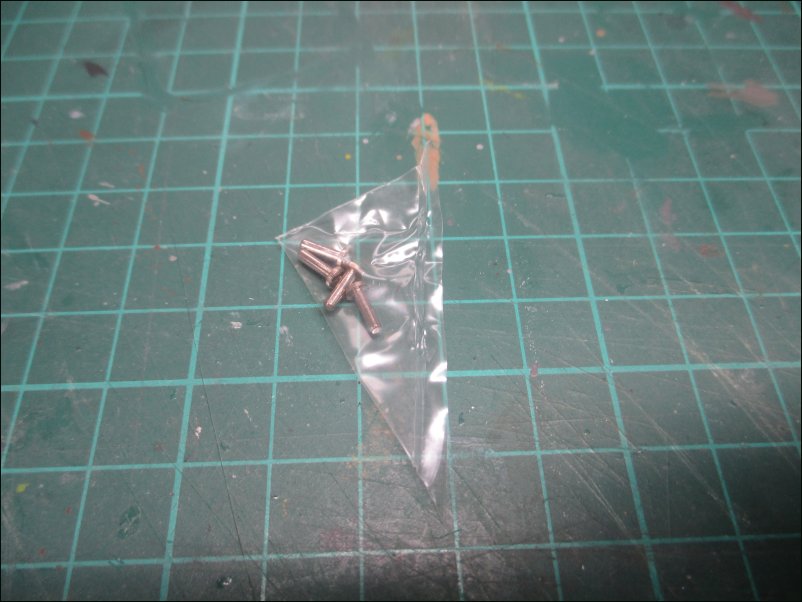
The parts are moulded in a rather brittle plastic of various colours. There are also four metal pins for attaching the wheels to the axles. These could easily be thrown away during the unpacking of the runners because they were sealed into the corner of one of the larger bags.

The bodyshell and chassis which came joined together. They were really difficult to get apart for the photo so I won't be rejoining them until the build is finished:
Revell_76_Ford_Torino_25_2023_SM_GB_002.JPG


Floor pan and interior:
Revell_76_Ford_Torino_25_2023_SM_GB_003.JPG


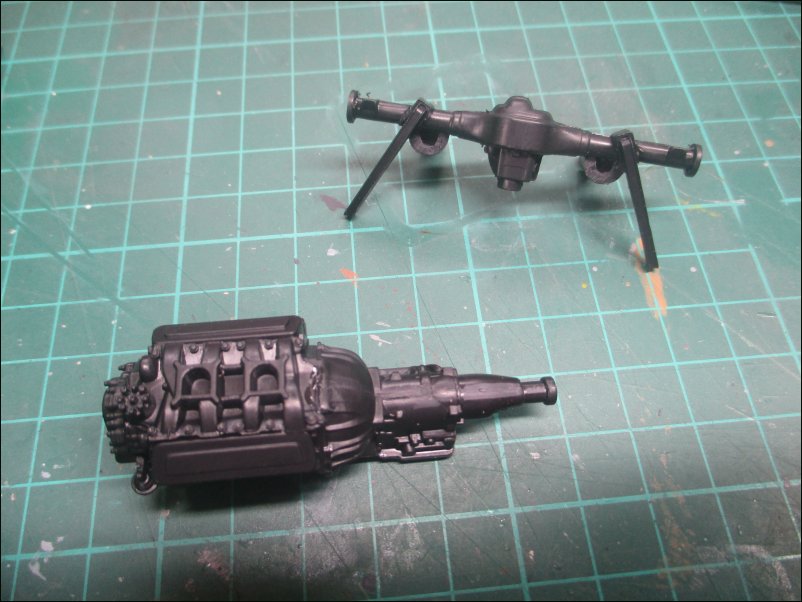
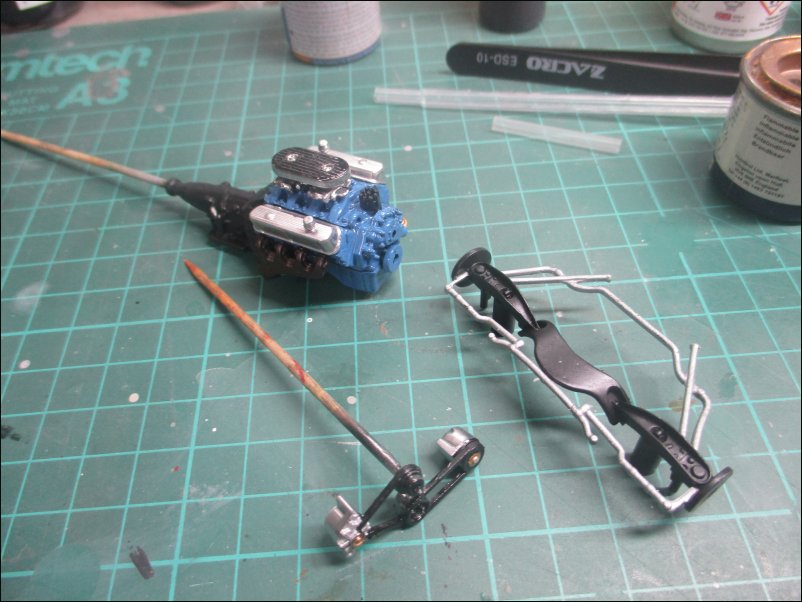
Engine, exhaust and axles:
Revell_76_Ford_Torino_25_2023_SM_GB_004.JPG


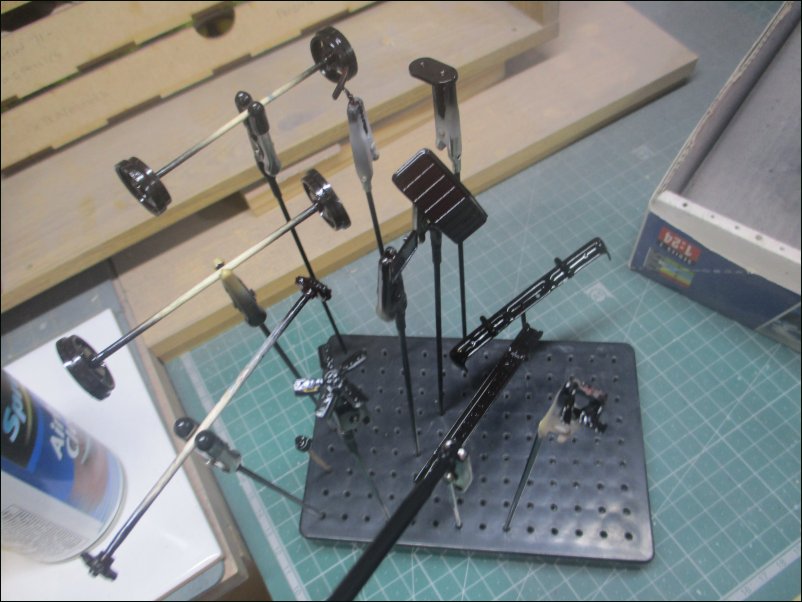
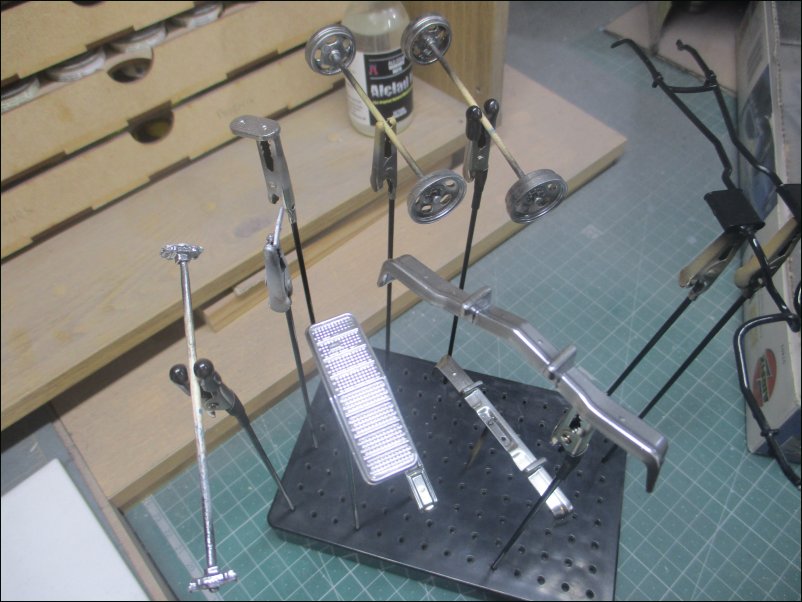
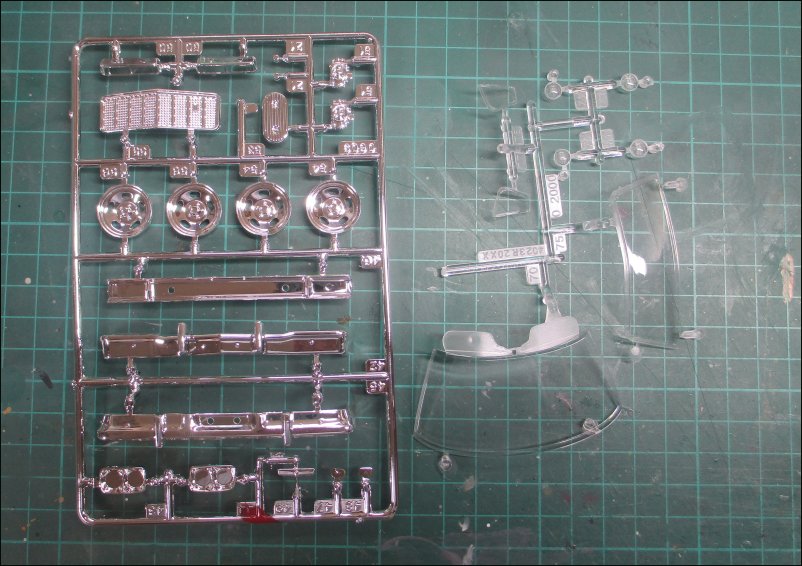
Clear parts are indeed very clear! The "chrome" parts are a bit too "chromey" for my liking and I may well remove all of the "chrome" and respray with Alcad 2 Chrome:
Revell_76_Ford_Torino_25_2023_SM_GB_005.JPG


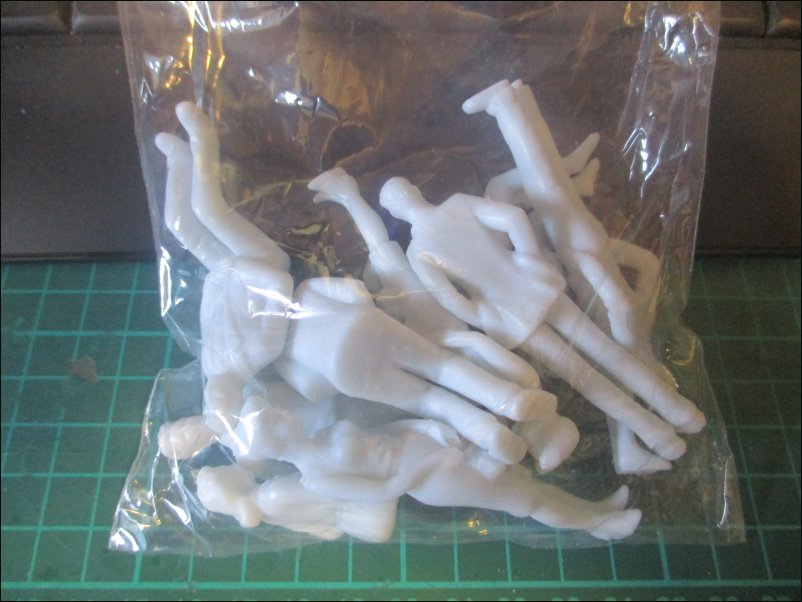
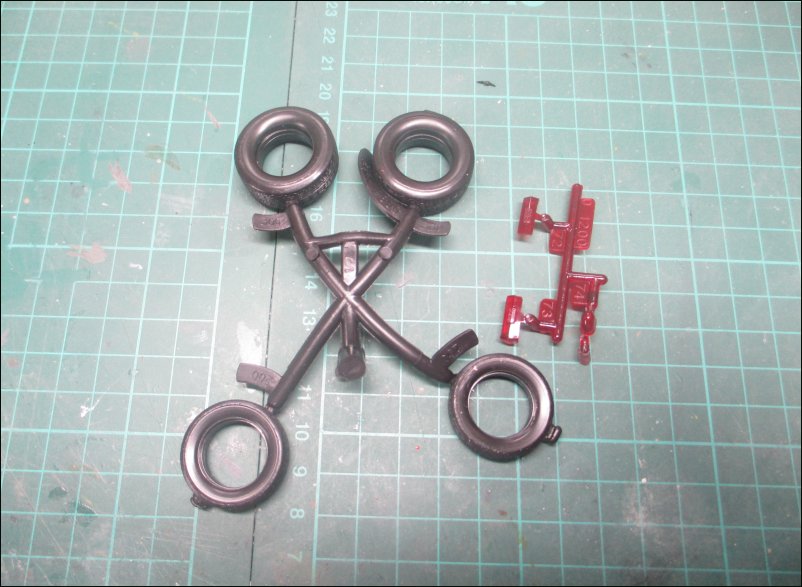
Rear light clusters are moulded in a dark ruby red and the tyres are moulded rubber ones. They were a bit out of shape having been packed inside the bodyshell:
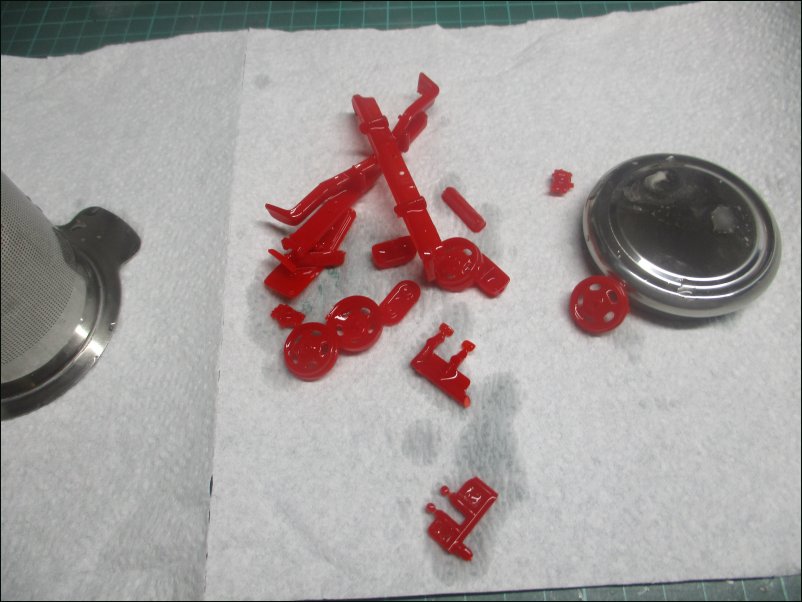
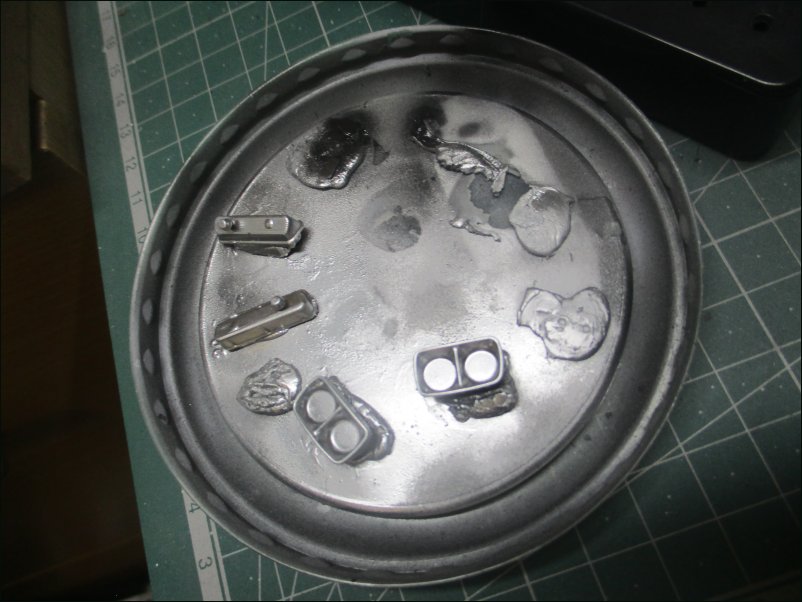
Revell_76_Ford_Torino_25_2023_SM_GB_006.JPG


Metal axle pins:
Revell_76_Ford_Torino_25_2023_SM_GB_016.JPG


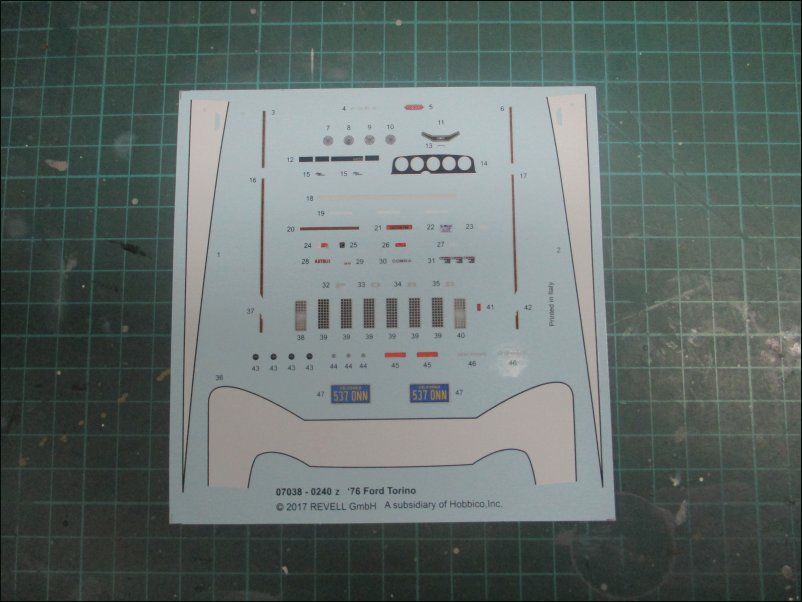
Decals are sharply printed and in register but I fear that the white striping may not be opaque enough so I may well paint some stripes and then apply the decals on top:
Revell_76_Ford_Torino_25_2023_SM_GB_007.JPG


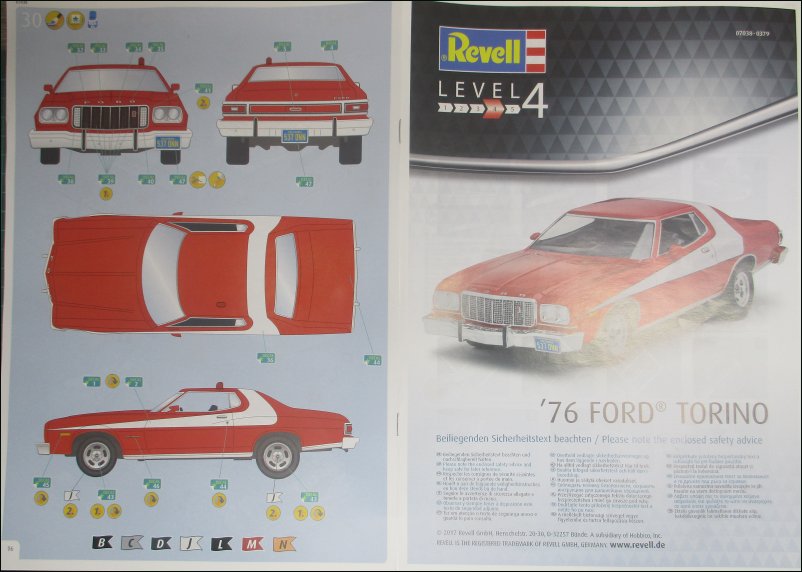
The instructions are spread over sixteen pages:

Pages 1 & 16 - Front Cover, Painting Profile:
Revell_76_Ford_Torino_25_2023_SM_GB_008.JPG


Pages 2 & 3 - Additional Tips & Tricks:
Revell_76_Ford_Torino_25_2023_SM_GB_009.JPG


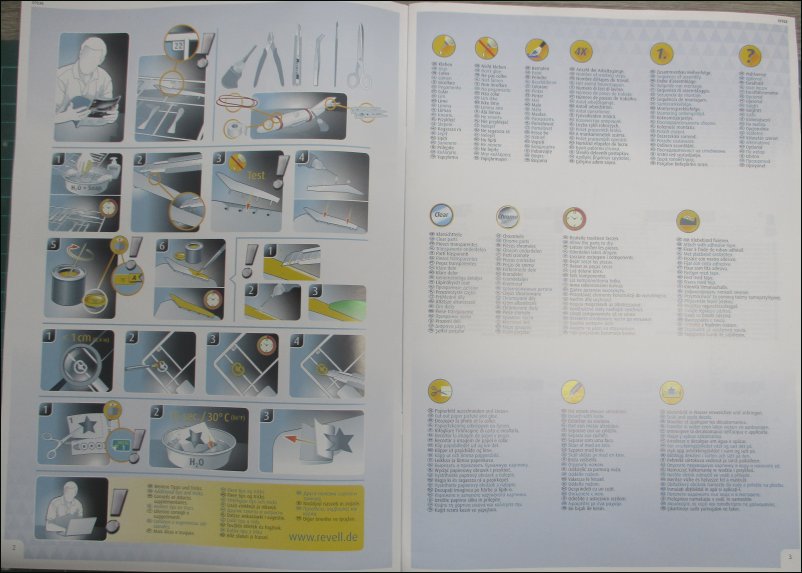
Pages 4 & 5 - Additional Tips & Tricks, Required Paint Colours:
Revell_76_Ford_Torino_25_2023_SM_GB_010.JPG


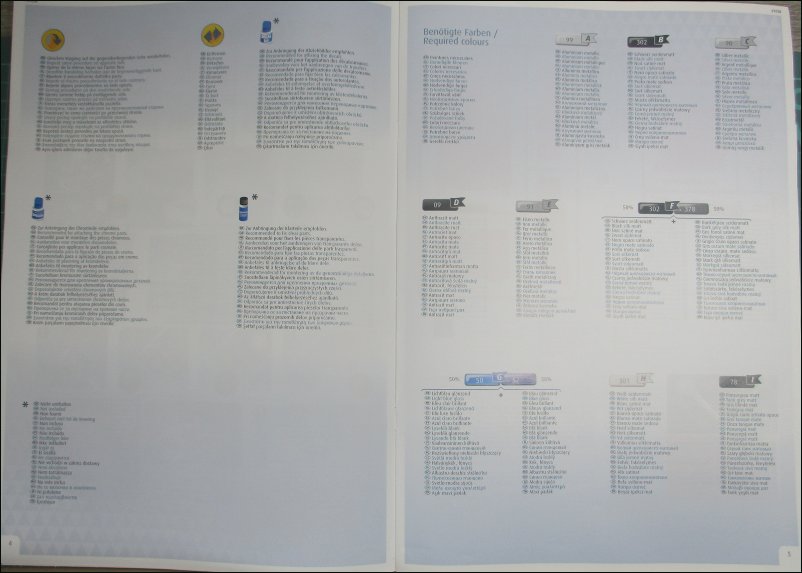
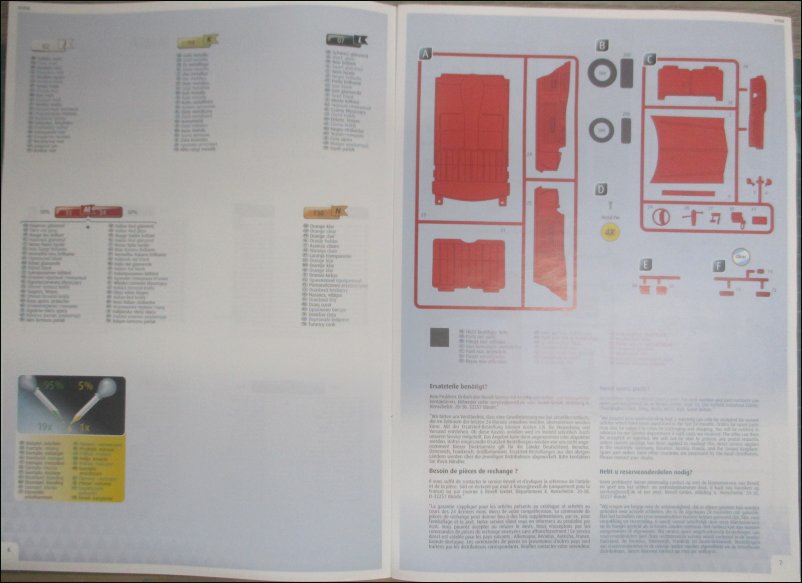
Pages 6 & 7 - Required Paint Colours, Layout of Runners A to F:
Revell_76_Ford_Torino_25_2023_SM_GB_011.JPG


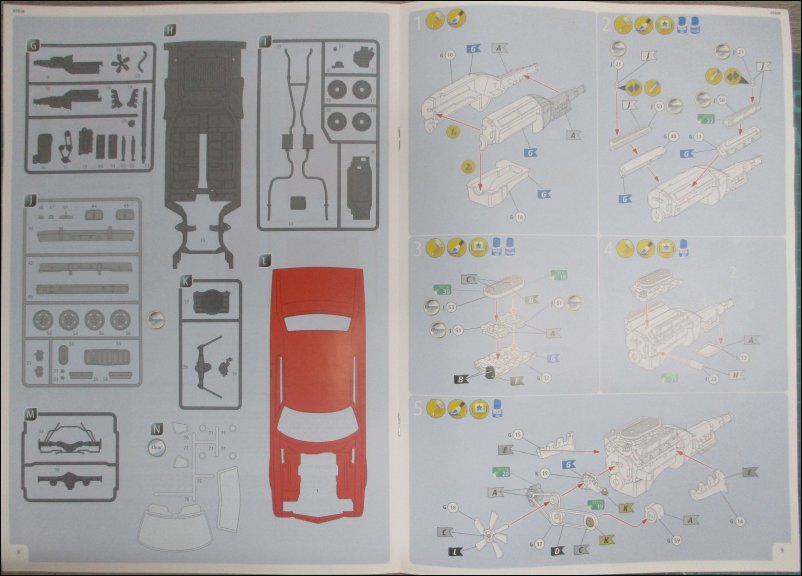
Pages 8 & 9 - Layout of Runners G to N, Assembly Instructions - Sections 1 to 5:
Revell_76_Ford_Torino_25_2023_SM_GB_012.JPG


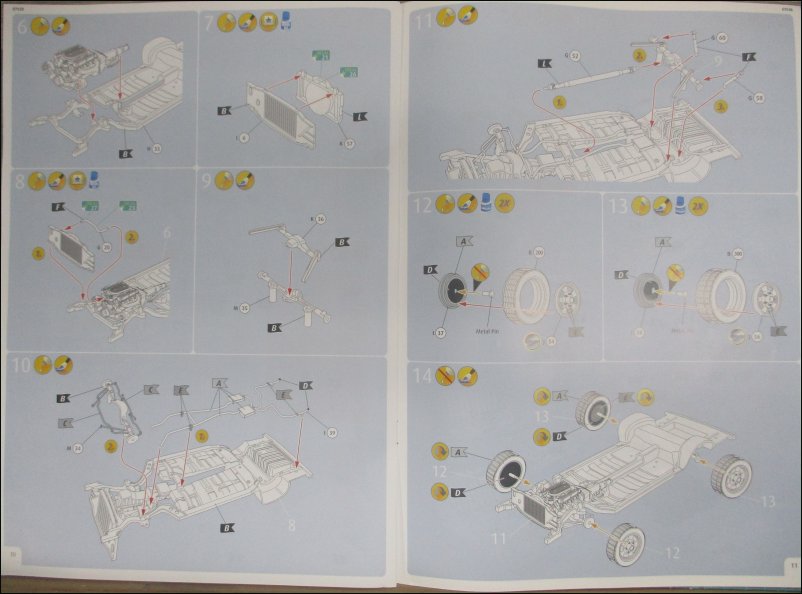
Pages 10 & 11 - Assembly Instructions - Sections 6 to 14:
Revell_76_Ford_Torino_25_2023_SM_GB_013.JPG


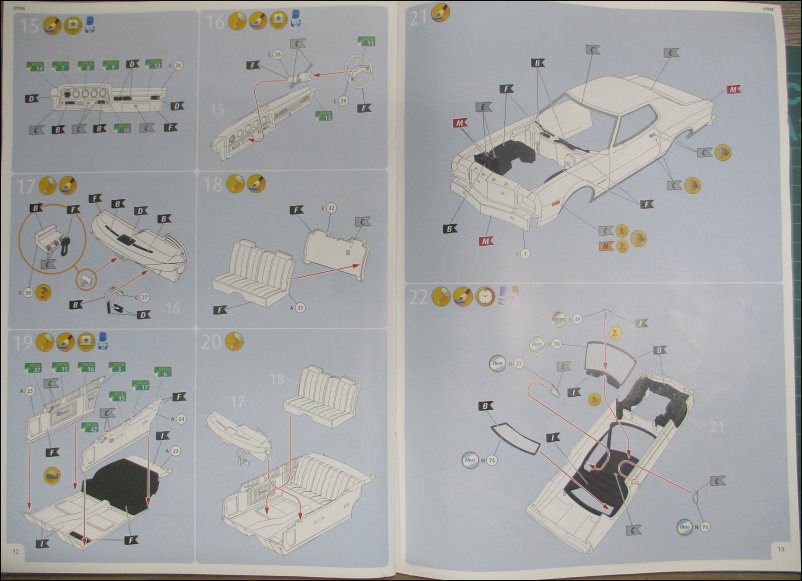
Pages 12 & 13 - Assembly Instructions - Sections 15 to 22:
Revell_76_Ford_Torino_25_2023_SM_GB_014.JPG


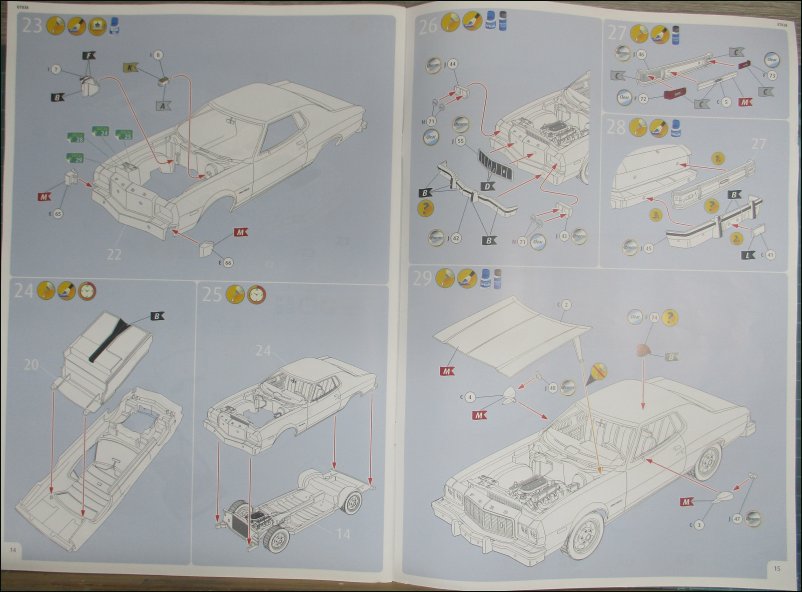
Pages 14 & 15 - Assembly Instructions - Sections 23 to 29:
Revell_76_Ford_Torino_25_2023_SM_GB_015.JPG


That's all for now.

Dave
 
Last edited:

Jakko

Way past the mad part
SMF Supporter
Joined
Apr 28, 2018
Messages
10,846
Points
113
First Name
Jakko
I’m too young to have watched this originally, but I think I have caught some bits of episodes when it was shown on some “oldies” channel in the Netherlands a few years ago. Oh, and I think I also saw the 2000s movie with Ben Stiller once upon a time.

For the white stripes, I think I would consider masking them instead of trusting in white decals to be opaque …
 

Tim Marlow

Little blokes aficionado
SMF Supporter
Joined
Apr 27, 2018
Messages
16,801
Points
113
Location
Somerset
First Name
Tim
I’m too young to have watched this originally, but I think I have caught some bits of episodes when it was shown on some “oldies” channel in the Netherlands a few years ago. Oh, and I think I also saw the 2000s movie with Ben Stiller once upon a time.

For the white stripes, I think I would consider masking them instead of trusting in white decals to be opaque …
Those won’t be fun to mask….they have a black pinstripe around them.
 

tr1ckey66

SMF Supporter
Joined
Mar 6, 2009
Messages
3,686
Points
113
First Name
Paul
I’ll be clambering all over my car bonnet in my long cardi having seen this! Then looking for the nearest pile of cardboard boxes to drive through.
This has been a Spelling Goldberg Production!

Have fun Dave, this brings back a lot of memories :thumb2:
Cheers, Paul
 

minitnkr

Rabble & escape committee member
SMF Supporter
Joined
Apr 27, 2018
Messages
6,725
Points
113
Location
Dayton, OH
First Name
Paul
Never understood why undercover policemen would drive such a distinctive barge of an automobile. I distinctly remember a detective, who frequented a garage I used to work at, that had a hot chip installed in his unmarked Chevy Caprice to up its' game. This was before they could use confiscated vehicles, which sometimes were pretty outrageous.
 

davecov

SMF Supporter
Joined
Jul 3, 2014
Messages
518
Points
93
Location
Stow, Scottish Borders
First Name
Dave
Thanks all for your comments about the subject of my build.

A bit of progress tonight.

I have removed most of the parts from the runners. I have left the exhausts on their runners so that I can clean up the seams without breaking the exhausts:
Revell_76_Ford_Torino_25_2023_SM_GB_019.JPG


I tried to remove some "chrome" from a piece of runner using Domestos. It didn't work - although it does work on some manufacturer's "chrome" parts. I put the "chrome" parts into a freezer bag, sprayed some Mr Muscle on them and closed the bag. NOTE: MR MUSCLE IS NASTY STUFF AND YOU SHOULD FOLLOW THE INSTRUCTIONS VERY CAREFULLY WITH REGARDS TO VENTILATION, AVOIDING FUMES AND PROTECTION OF SKIN:
Revell_76_Ford_Torino_25_2023_SM_GB_017.JPG


Within seconds of spraying, the "chrome" was dissolving but I am going to leave the bag overnight to ensure all of it is removed:
Revell_76_Ford_Torino_25_2023_SM_GB_018.JPG


I also scanned the decal sheet and will be printing off a few copies of the stripes to apply under the original kit decals or to use as templates for paint masks. Only time will tell what I will do because I haven't decided yet.

That is all for now.

Dave
 

davecov

SMF Supporter
Joined
Jul 3, 2014
Messages
518
Points
93
Location
Stow, Scottish Borders
First Name
Dave
Latest update.

The "chrome" parts after their bath in Mr Muscle and a good rinse in clean water. As it turned out, they were only in the polybag for a few minutes. In contrast, the scrap runner placed in Domestos took 18 hours to remove all of the "chrome":
Revell_76_Ford_Torino_25_2023_SM_GB_020.JPG


All parts have now been cleaned up with all seams and flash dealt with:
Revell_76_Ford_Torino_25_2023_SM_GB_021.JPG


I started to assemble the engine and rear suspension unit:
Revell_76_Ford_Torino_25_2023_SM_GB_022.JPG


Out came some Alcad 2 Gloss Black Base to prime the parts that will be sprayed with Alclad 2 Chrome or Aluminium:
Revell_76_Ford_Torino_25_2023_SM_GB_023.JPG


It was also used for the floorpan:
Revell_76_Ford_Torino_25_2023_SM_GB_024.JPG


That is all for now.

Dave
 

davecov

SMF Supporter
Joined
Jul 3, 2014
Messages
518
Points
93
Location
Stow, Scottish Borders
First Name
Dave
Another painting session to report.

I got out the Alclad 2 Chrome (ALC-107) and sprayed the "chrome" parts. The Alclad gives a superior, thinner coat than that originally on the parts:
Revell_76_Ford_Torino_25_2023_SM_GB_025.JPG


More lovely chrome:
Revell_76_Ford_Torino_25_2023_SM_GB_026.JPG


I sprayed the exhaust system with Alclad 2 Dull Aluminium (ALC-117):
Revell_76_Ford_Torino_25_2023_SM_GB_027.JPG


Exhaust manifolds were sprayed with Alclad 2 Exhaust Manifold (ALC-123):
Revell_76_Ford_Torino_25_2023_SM_GB_028.JPG


That is all for now.

Dave
 

minitnkr

Rabble & escape committee member
SMF Supporter
Joined
Apr 27, 2018
Messages
6,725
Points
113
Location
Dayton, OH
First Name
Paul
My refs suggest two cars were used, the stunt car had the original engine replaced with a 360 cubic inch Windsor tuned up to 435 HP. The model engine looks to have the stunt engine w/two four barrel carbs.
 

davecov

SMF Supporter
Joined
Jul 3, 2014
Messages
518
Points
93
Location
Stow, Scottish Borders
First Name
Dave
More progress to report.

I sprayed some parts with H130 Satin Gloss White and brush-painted the engine block with H48 Gloss Mediterranean Blue:
Revell_76_Ford_Torino_25_2023_SM_GB_029.JPG


Once the blue was dry, I added some of the chrome parts previously painted plus the exhaust manifolds. Parts of the front suspension were brush-painted with H11 Silver. Drive belts were painted H33 Matt Black:
Revell_76_Ford_Torino_25_2023_SM_GB_030.JPG


Mr Postie delivered these 1/25 figures today and I may use some of them in this build:
Revell_76_Ford_Torino_25_2023_SM_GB_031.JPG


That is all for now.

Dave
 
Top