DaveCov's "Starsky & Hutch Striped Tomato" - Revell 1/25 1976 Ford Torino (07038)

davecov

SMF Supporter
Joined
Jul 3, 2014
Messages
524
Points
93
Location
Stow, Scottish Borders
First Name
Dave
Thanks Tim. :thumb2:

Another quick update.

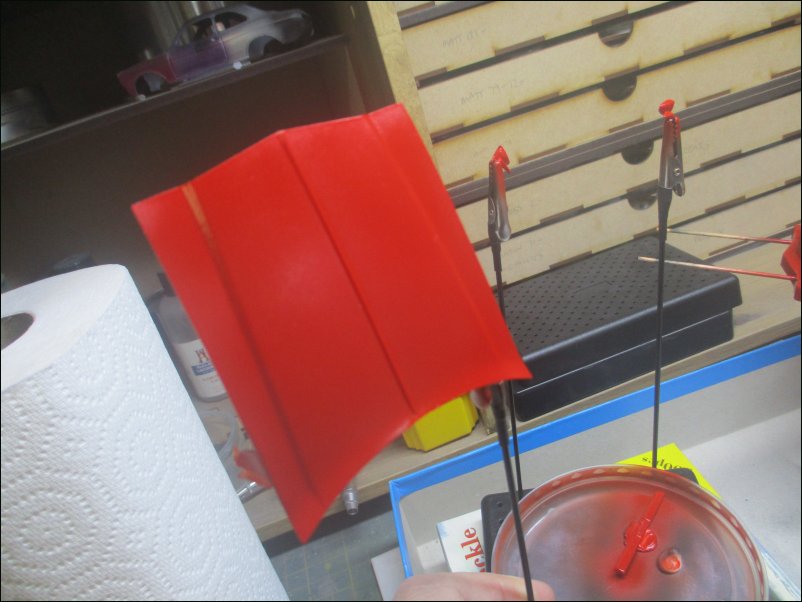
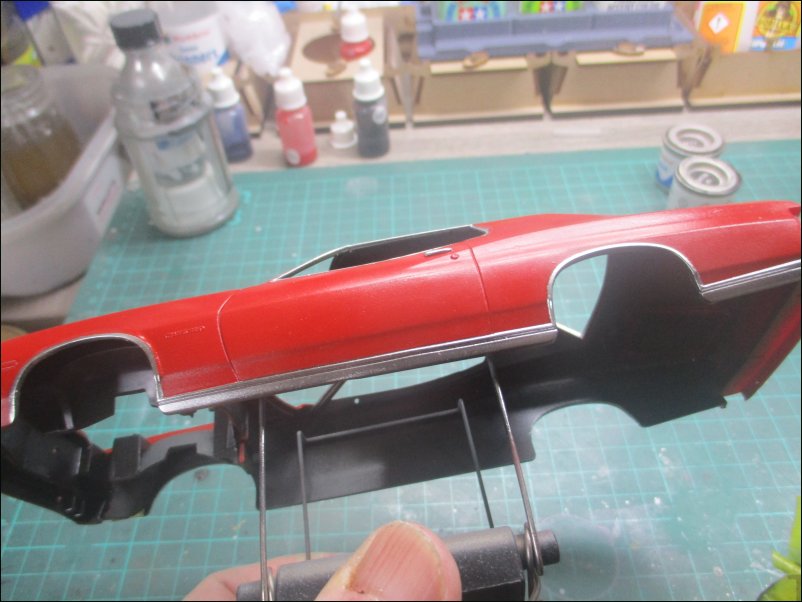
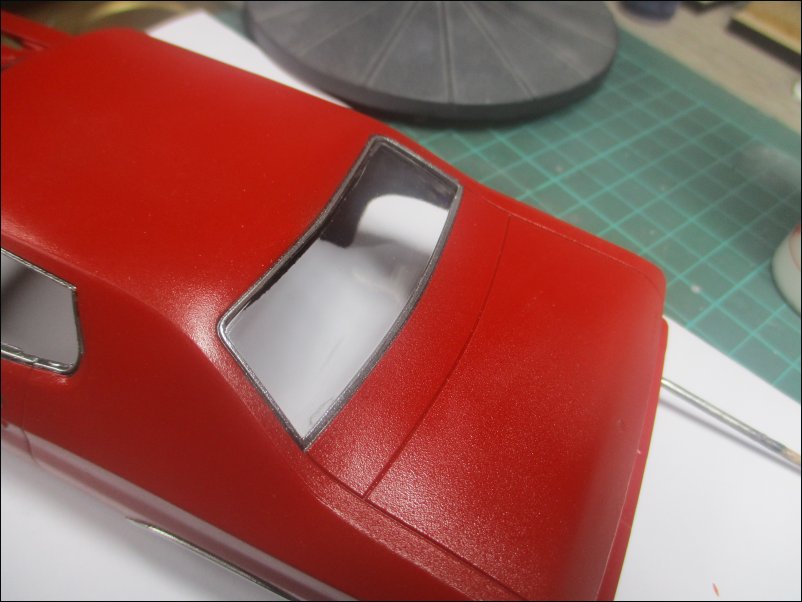
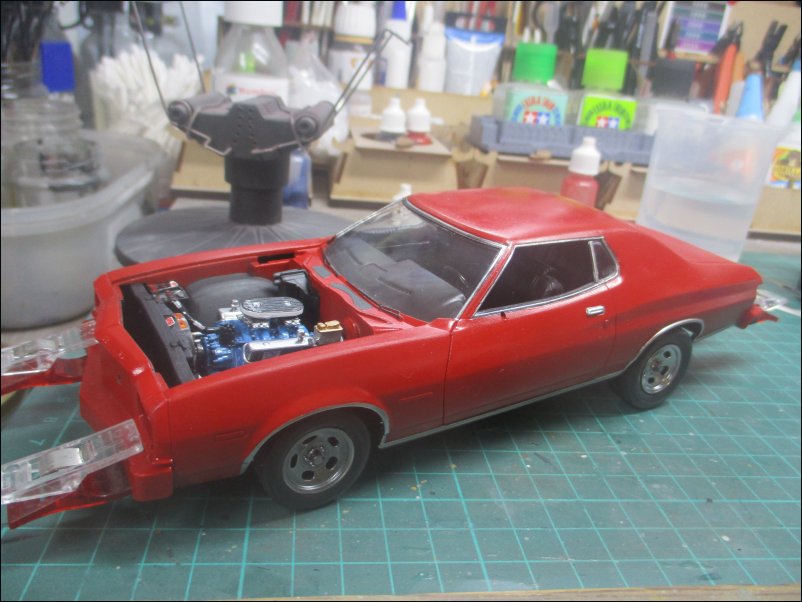
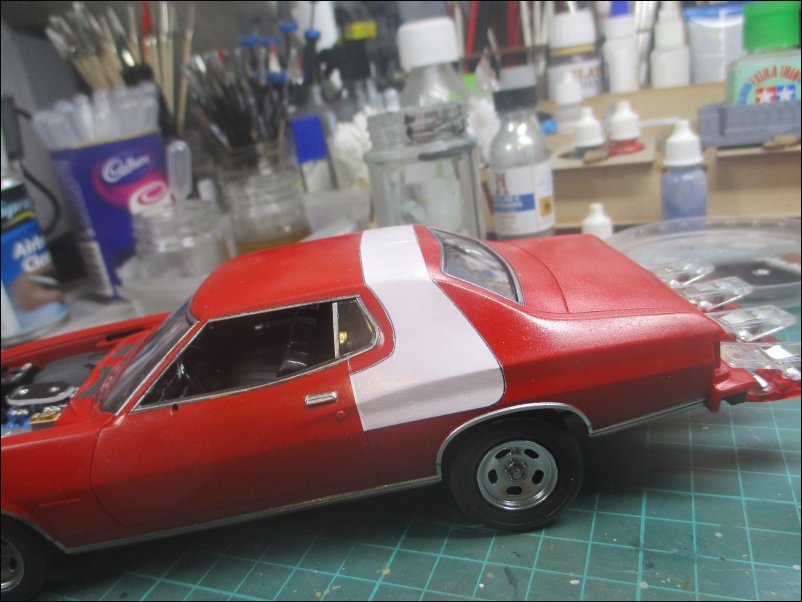
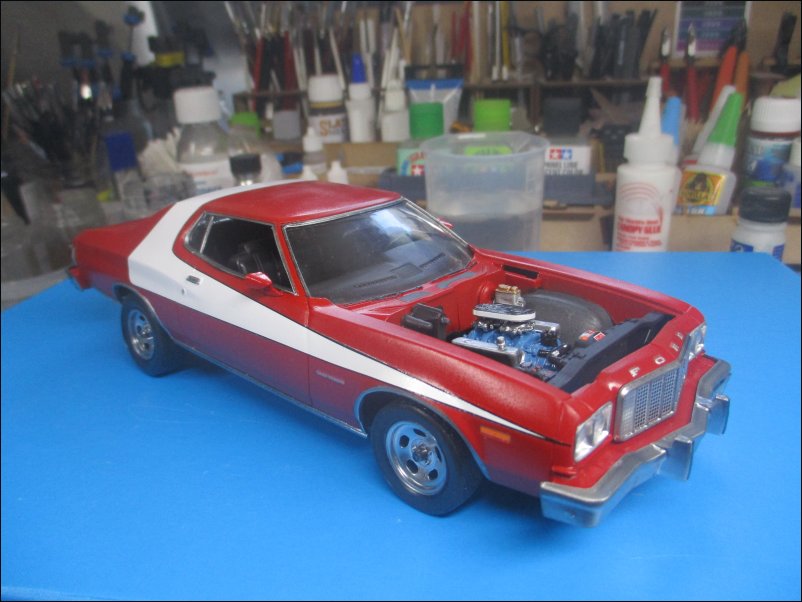
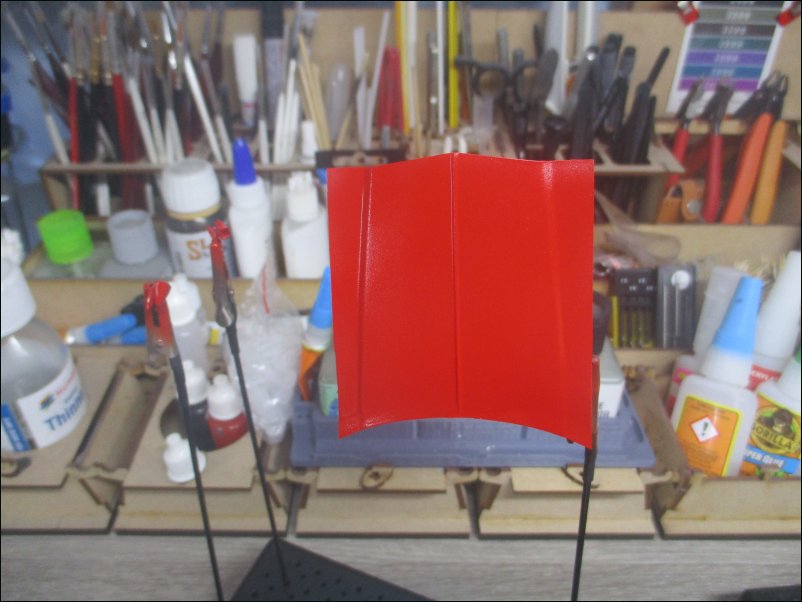
The bonnet got a second coat of H220 Gloss Ferrari Red:
Revell_76_Ford_Torino_25_2023_SM_GB_058.JPG


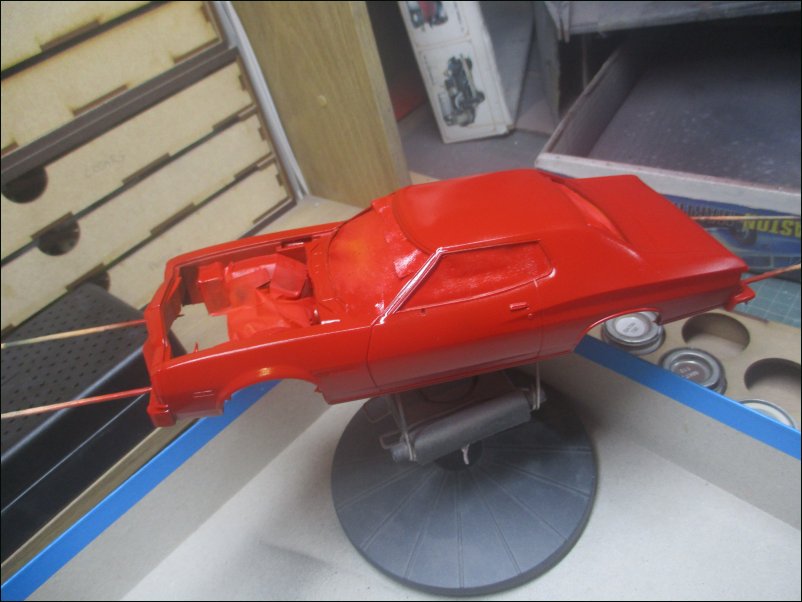
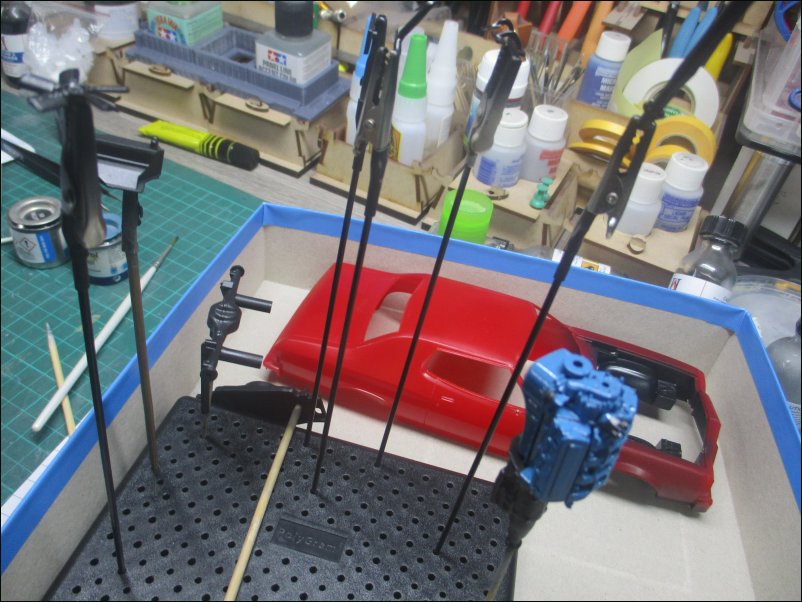
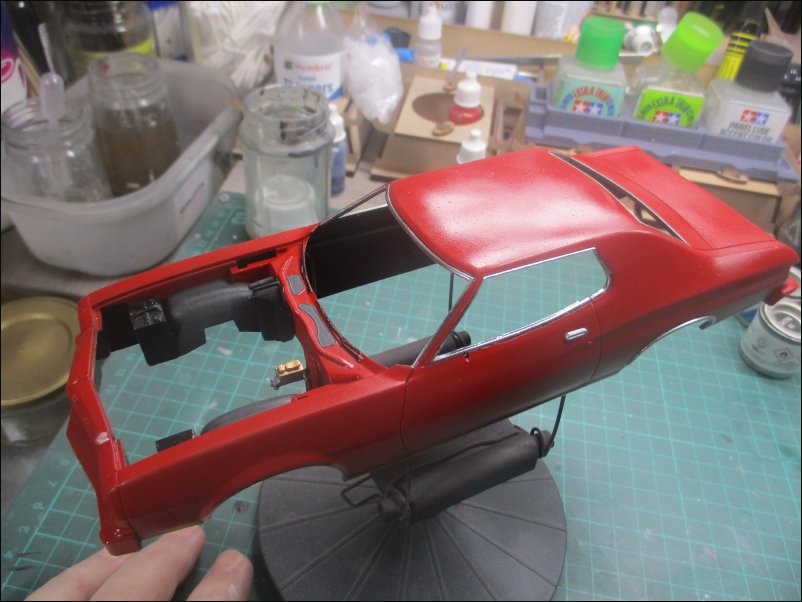
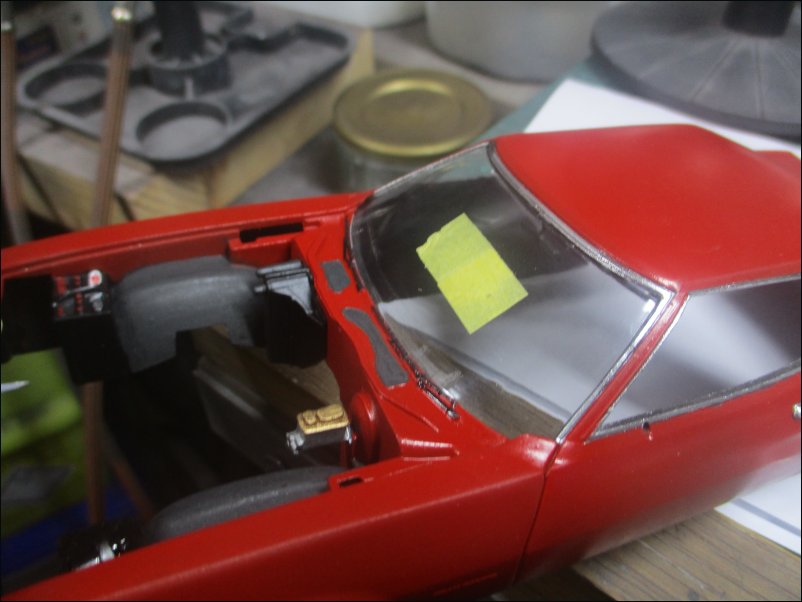
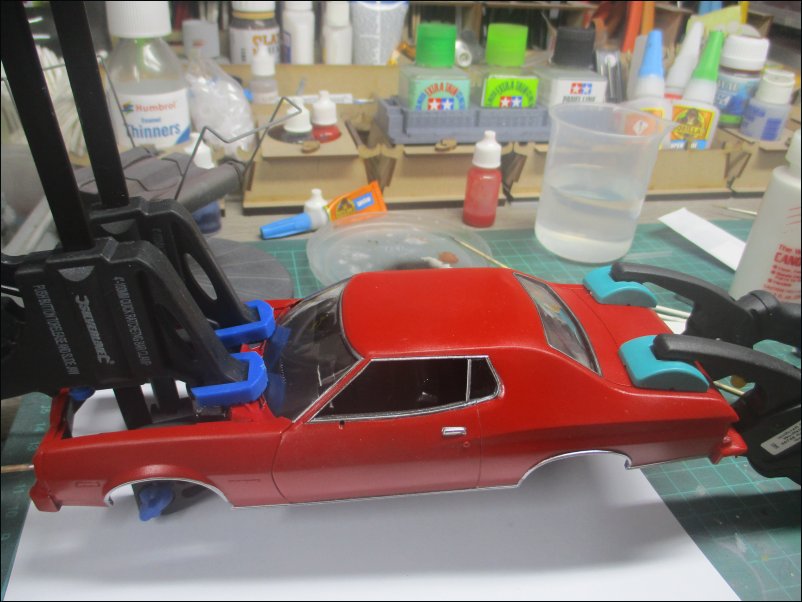
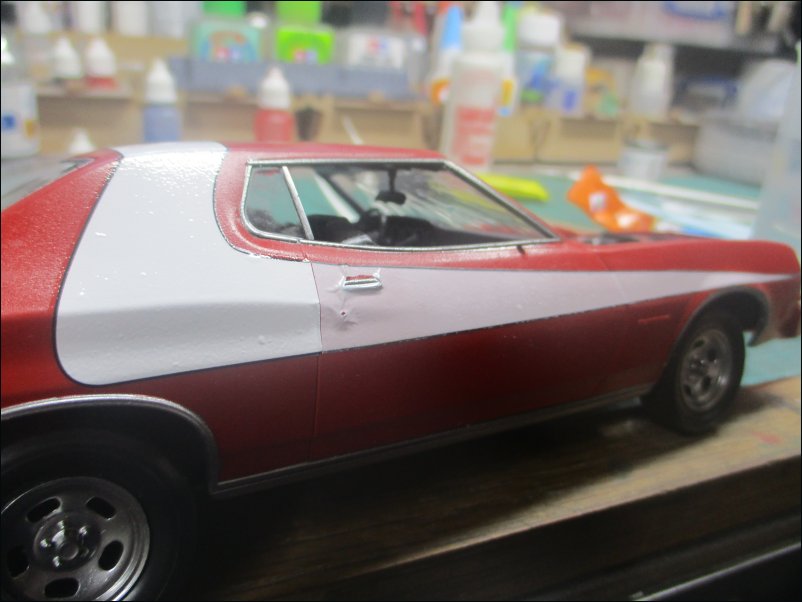
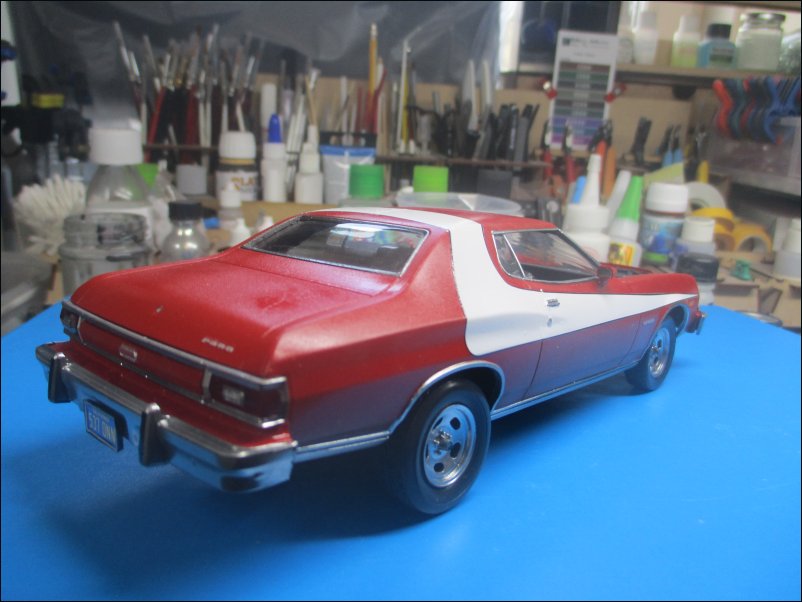
The bodyshell was also painted and I won't be applying a third coat:
Revell_76_Ford_Torino_25_2023_SM_GB_059.JPG


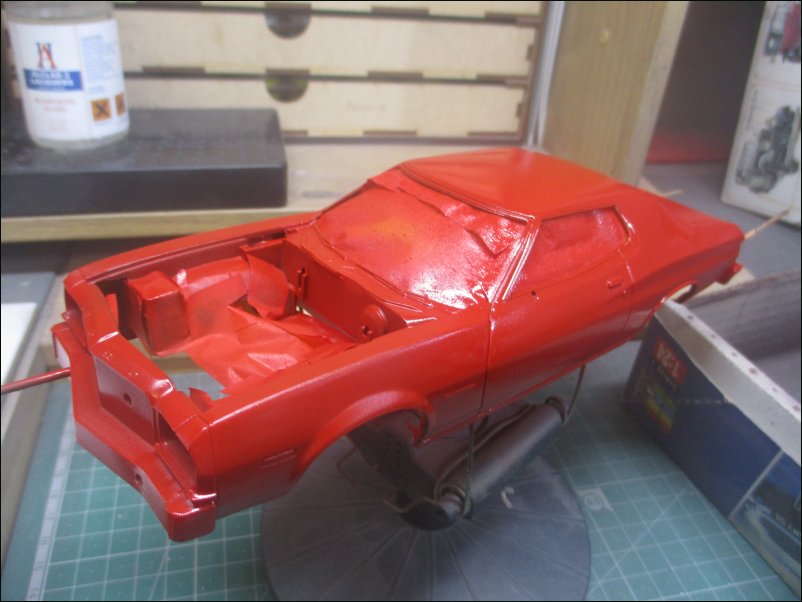
The red paint will be left to cure for a day or two.

That is all for now.

Dave
 
Last edited:

The Smythe Meister

Born to be WILD....... until about 9pm
SMF Supporter
Joined
Jan 30, 2019
Messages
5,778
Points
113
Location
Devon
First Name
Andy
More progress to report.

I sprayed some parts with H130 Satin Gloss White and brush-painted the engine block with H48 Gloss Mediterranean Blue:
Revell_76_Ford_Torino_25_2023_SM_GB_029.JPG


Once the blue was dry, I added some of the chrome parts previously painted plus the exhaust manifolds. Parts of the front suspension were brush-painted with H11 Silver. Drive belts were painted H33 Matt Black:
Revell_76_Ford_Torino_25_2023_SM_GB_030.JPG


Mr Postie delivered these 1/25 figures today and I may use some of them in this build:
Revell_76_Ford_Torino_25_2023_SM_GB_031.JPG


That is all for now.

Dave
Loving watching this coming together Dave,used to love the series when I was little :smiling3:
 

davecov

SMF Supporter
Joined
Jul 3, 2014
Messages
524
Points
93
Location
Stow, Scottish Borders
First Name
Dave
Time to cover all that lovely red:
Revell_76_Ford_Torino_25_2023_SM_GB_062.JPG


Alclad 2 Gloss Black Base was sprayed on all exposed surfaces:
Revell_76_Ford_Torino_25_2023_SM_GB_063.JPG


I then applied Alclad 2 Chrome (ALC-107) and removed the masking. Note that I didn't paint the door locks as there are decals for those:
Revell_76_Ford_Torino_25_2023_SM_GB_064.JPG


I will let the chrome paint cure before giving the bodyshell a coat of gloss varnish:
Revell_76_Ford_Torino_25_2023_SM_GB_065.JPG


That's all for now.

Dave
 

davecov

SMF Supporter
Joined
Jul 3, 2014
Messages
524
Points
93
Location
Stow, Scottish Borders
First Name
Dave
@Jakko Even now, I may well mask off and paint the white stripe areas. It all depends on how the decalling goes. I am concerned that the kit decals alone will look a bit pink so I will be printing off some extra white stripe decals to go under the kit decals. If that works, then no more masking and painted will be needed. Only time will tell.

Dave
 

davecov

SMF Supporter
Joined
Jul 3, 2014
Messages
524
Points
93
Location
Stow, Scottish Borders
First Name
Dave
More progress to report.

The rear window was glued in place:
Revell_76_Ford_Torino_25_2023_SM_GB_066.JPG


Followed by the windscreen. The yellow masking tape is on the inside and shaped to form a handle which makes holding the windscreen much easier when fitting:
Revell_76_Ford_Torino_25_2023_SM_GB_067.JPG


Once the windows had dried, I glued the interior to the bodyshell:
Revell_76_Ford_Torino_25_2023_SM_GB_068.JPG


Using some nickel silver rod, I fabricated a curly lead for the red light. It still needs painting but it won't be fitted until the end of the build:
Revell_76_Ford_Torino_25_2023_SM_GB_069.JPG


I printed off three copies of the white stripe decals onto white decal paper:
Revell_76_Ford_Torino_25_2023_SM_GB_070.JPG


I carried out a test of the white decal paper to see if it would look white or have a pink tint. As it turned out, it looked white:
Revell_76_Ford_Torino_25_2023_SM_GB_071.JPG


I can't do a test with the kit decals so to be safe, I have decided to apply a set of my own stripes as a base for the kit decals. It will also give me good practice aligning the decals:
Revell_76_Ford_Torino_25_2023_SM_GB_072.JPG


That's all for now.

Dave
 

davecov

SMF Supporter
Joined
Jul 3, 2014
Messages
524
Points
93
Location
Stow, Scottish Borders
First Name
Dave
Getting near the end now.

The bodyshell was glued to the chassis:
Revell_76_Ford_Torino_25_2023_SM_GB_073.JPG


I applied one of my home-made decal stripes to the roof:
Revell_76_Ford_Torino_25_2023_SM_GB_074.JPG


I then put the kit roof decal over the top and put home-made stripes along the sides:
Revell_76_Ford_Torino_25_2023_SM_GB_075.JPG


I put the kit stripes along the sides and applied the rest of the decals. The door mirrors, front and rear bumpers, grille and lights were glued too:
Revell_76_Ford_Torino_25_2023_SM_GB_076.JPG


View from the rear:
Revell_76_Ford_Torino_25_2023_SM_GB_077.JPG


I still have to apply a coat of varnish and put the light on the roof and then it will be completed.

That's all for now.

Dave
 
Top