Dogfight double pt. 2: Gladiator

Allen Dewire

Proud Rabble Member
SMF Supporter
Joined
Apr 27, 2018
Messages
4,105
Points
113
Location
Bamberg
First Name
Allen
"Chestnuts Roasting On An Open Fire, Jack Frost nipping.......". Sorry Peter, the brand name of your CA caused me a momentary lapse of reality there.....

I hope the Ca works and holds the EZline in place for you. I have a WNW Halberstadt CL II in the stash I would like to build before I go tits up and it's the only wing thingy I own with rigging. They recommend using EZline too, but don't mention how to attach it......So, I'm watching intensely at this.......

Prost
Allen

PS, hope you have a good time at the Shuttlework Collection............
 

stillp

SMF Supporter
Joined
Nov 17, 2016
Messages
7,225
Points
113
Location
Rugby
First Name
Pete
Allen, Chestnut is a useful brand over here for all sorts of stuff, mainly aimed at woodworkers.
Tim's technique of poking the EZLine in the hole then adding the CA seems to work, trying it out on some holes in a piece of sprue. Whether I can hold the EZLine in the right place is another matter!
This is what I need to achieve: P1070091.JPG
I'm not sure how I can replicate the rigid struts that separate the forward and aft X-shapes that run between the cabane struts and the outer interplane struts. That'll need to be something light yet rigid. I've got plenty of pics showing how the bracing is attached to the wings, and I also took a lot of pics of the engine.
Oh, and for those people who've never been to the Shuttleworth Collection, here's a pic of a Hurricane, Spitfire and Lysander parked up together:
P1070120.JPG
Not all aircraft, there are some lovely cars too, this Railton being my favourite:

P1070101.JPG
The Collection is surrounded by beautiful gardens, with some interesting 'wildlife':
P1070057.JPG
Now how often do you see a white peacock?
Visitors coming tomorrow, so I won't get much modelling done until Monday.
Cheers
Pete
 

Allen Dewire

Proud Rabble Member
SMF Supporter
Joined
Apr 27, 2018
Messages
4,105
Points
113
Location
Bamberg
First Name
Allen
Thanks for the pics Peter. I hope your test works for you. It looks like it's not going to be easy to do the rigging. At least now you have some good reference shots to do your best with it though. The collection looks really nice and well kept. I wish we had something like this closer to home than the Stammheim museum here. They are more into armor stuff with a few wing thingy's on display too.....

Prost
Allen
 

stillp

SMF Supporter
Joined
Nov 17, 2016
Messages
7,225
Points
113
Location
Rugby
First Name
Pete
Time for an update. I did a bit of practising with gluing bits of EZLine into sprue, with mixed results. I can get the first end stuck, but the second isn't so easy. AlsoI was really struggling to break down that 'forest' of rigging on the 1:1 Gladiator into a series of mini-tasks: "length Xmm between A and B" sort of thing. I couldn't get a picture in my mind of how to go about it. I decided that the top wing needed to be attached first, which was a bit of a struggle but it came out alright. I thought I'd taken some photos but can't find them, so here's one of my great-granddaughter instead!
IMG_20220613_131029145.jpg
Anyway, I found another forum where someone mentioned the 'Airfix rigging diagram' - I checked on Scalemates for the instructions for the stand-alone kit - mine's a Dogfight Double - and sure enough there's a rigging diagram:
P1170214.JPG Unfortunately, it's wrong, or at least different from the one I photographed. It also doesn't give any clues about the length required, and seems to be referring to parts supplied in the kit - perhaps PE? So, I was about to give up on rigging, but then I remembered the motto "If at first you don't succeed - cheat!" and bought an aftermarket PE set from Hannants.
P1170213.JPG
I'm not very experienced with PE, but can usually manage without too much trouble. Most PE is just extra detail, and if it doesn't cooperate you can just leave it off. This rigging is different though, it's all or nothing. It came with its own set of problems: for one thing it's steel, and my favourite tweezers, unknown to me, are magnetic. Also there seems to be a mistake in the PE instructions, if I'm reading them right then they've got two part numbers swapped round, and there's a reference to a part that doesn't exist, or if it does then it's called something else on the PE fret. These are minor problems though, compared to manoeuvring bits of PE into the right place at both ends while trying not to spread CA all over the paint job.
This took me a full day:
P1170212.JPG
That's one side mostly completed. I still have to add some reinforcing plates where the rigging wires join the wings, but they'll be relatively easy as they're just small rectangular flat plates. I'll start the other side when my nerves have recovered!
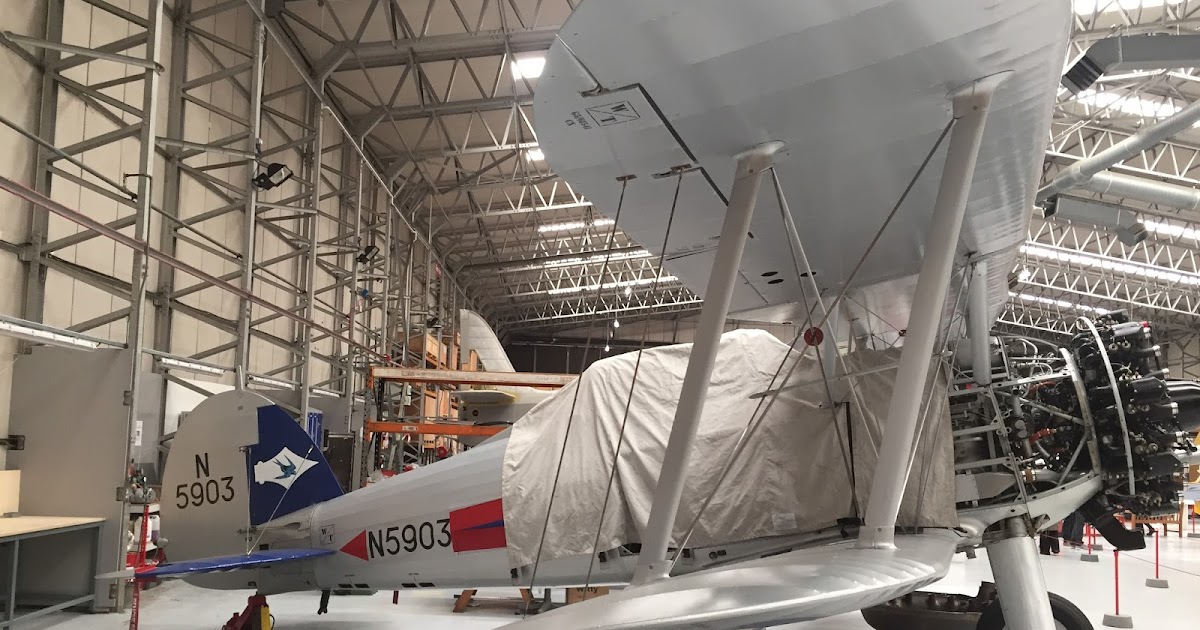
While waiting for the PE to be delivered I started to build up the engine, which I'd left until late in the build to avoid having to mask it. The exhaust collector ring is always a bit of a dilemma - what colour to paint it? In the past I've used various metallic colours, but none seemed quite right. This is what I'm after:
P1070001.JPG
After a coat of Vallejo Steel, I built up a series of coats of Tamiya Smoke - I lost count of the number of coats, my Smoke has been thinned too much, and I'm rather pleased with the result:
P1170211.JPG
The colour seems a pretty good match although the gloss needs dulling down a bit. I'll give it a coat of Galeria satin later on. The lower part of the cowl includes the exhaust pipes, which have had the same treatment - the Dark Earth will be added, probably by brush while I'm doing some touch-ups.
That's all for now, thanks for looking in.
Pete
 

Tim Marlow

Little blokes aficionado
SMF Supporter
Joined
Apr 27, 2018
Messages
16,782
Points
113
Location
Somerset
First Name
Tim
Looking very good Peter, as is the granddaughter :thumb2: .
That PE rigging will be better than ezline in this application. British rigging of the period was flat stainless wires iirc. The exhaust collectors were bronze I think. Darkstar blackened bronze is pretty close for a heat discoloured bronze, but it would probably still need the smoke overlay to break up the uniformity. Yours looks very close, by the way. Kill the gloss a little and you will nail it.
 

stillp

SMF Supporter
Joined
Nov 17, 2016
Messages
7,225
Points
113
Location
Rugby
First Name
Pete
Thanks Tim, I believe the exhaust collector ring is stainless steel, it doesn't look like bronze close up.
P1070004.JPG
You can see that there's no join between the silvery (natural) coloured bit and the dark (heat-stained/oxidised) area, it's one piece of metal. You can also see that there's a rivet missing - there are two missing on the other side! I wonder if they know... I should offer them the services of the great-granddaughter, her name is Rosie so she might grow up to be a riveter!
Pete
 

Tim Marlow

Little blokes aficionado
SMF Supporter
Joined
Apr 27, 2018
Messages
16,782
Points
113
Location
Somerset
First Name
Tim
I think we might both be wrong here Pete…
There is an inside shot of one on this web site…
I think it may well be a bronze inner, but it looks like it’s covered in airframe alloy for wind smoothing.
 

stillp

SMF Supporter
Joined
Nov 17, 2016
Messages
7,225
Points
113
Location
Rugby
First Name
Pete
Some nice photos there Tim, thanks, but I still don't think there's any bronze involved, that coppery colour on two of the flanges that connect to the cylinder ports is just the light reflecting off oxidised stainless steel. I don't think it could be covered with airframe alloy either, that would surely melt, these collector rings glow red-hot in service. I also can't think of any reason why a designer would use bronze there, stainless steel is stronger at high temperatures, lighter and cheaper.
I'll have to ask someone at Shuttleworth for confirmation.
That last photo does clear up one issue for me though - the 'missing rivets' I spotted in my photo are where the fasteners that hold the collector ring to the front canopy fit.
Pete
 

Tim Marlow

Little blokes aficionado
SMF Supporter
Joined
Apr 27, 2018
Messages
16,782
Points
113
Location
Somerset
First Name
Tim
You could well be right Pete. By the time these were designed and made stainless steel had come of age and was beginning to be widely used.
 

stillp

SMF Supporter
Joined
Nov 17, 2016
Messages
7,225
Points
113
Location
Rugby
First Name
Pete
Strange, my last post disappeared!
I'd posted that I've given up trying to use CA for the etch, and switched to Gator's Grip, which seems to grab the etch more easily, although it's messier as it's very hard to place a small blob. Have to work more slowly, place a piece then wait a few minutes for the PVA to set before trying the next piece. Oh, and to add to my woes the instructions for the PE are wrong - they've swapped round two of the pieces. Luckily there's a spare for each part.
Nearly finished the etch in this pic:
P1170216.JPG

Since then I've placed all the etch, or at least all that I'm going to use - leaving out the reinforcing plates for the rigging attachments, and done some touch-ups where necessary. Just the decals and matt coat to do now. Perfect timing for the start of the Mossie GB tomorrow.
You could well be right Pete. By the time these were designed and made stainless steel had come of age and was beginning to be widely used.
I've just had an email from the librarian at the Shuttleworth Collection, who told me that, as you suspected Tim, we were both wrong! The material is actually Inconel (https://en.wikipedia.org/wiki/Inconel) which was a fairly new material when the Gladiator was developed. I'm familiar with the use of Inconel in electronic devices but didn't know it was used in large fabrications like this exhaust ring. Inconel is difficult to weld, which explains why the exhaust ring seems to be riveted rather than welded. Incidentally the Lysander has a similar engine and exhaust ring - I wonder what else does?
Every day's a school day!
Pete
 

Tim Marlow

Little blokes aficionado
SMF Supporter
Joined
Apr 27, 2018
Messages
16,782
Points
113
Location
Somerset
First Name
Tim
Cheers Pete. Great info there. Never heard of Iconel myself. Used kit made from Hastelloy though, and it seems to come from the same stable. No problem being wrong, by the way. I’ve been married over thirty years so I’ve got used to it LOL…..
 

adt70hk

I know its a bit sad but I like quickbuild kits!!!
SMF Supporter
Joined
Sep 4, 2019
Messages
9,505
Points
113
First Name
Andrew
Coming on nicely Pete!! That's really looking very good indeed.

Well done so far.

Andrew
 

adt70hk

I know its a bit sad but I like quickbuild kits!!!
SMF Supporter
Joined
Sep 4, 2019
Messages
9,505
Points
113
First Name
Andrew
No complaints from me!
 

Tim Marlow

Little blokes aficionado
SMF Supporter
Joined
Apr 27, 2018
Messages
16,782
Points
113
Location
Somerset
First Name
Tim
Looks good from here. Big old prop on those lads wasn’t it.
 

Jim R

SMF Supporter
Joined
Apr 27, 2018
Messages
13,736
Points
113
Location
Shropshire
First Name
Jim
That looks good. There is something quite striking about these biplanes. Rigging looks fine in the photos.
 
Top