Lots of good suggestions there. For me the following is a specification I would suggest.
1/ A gravity fed
airbrush with a needle size of .3 or .35 that is good for general use. You could stretch to .4 but I would not go down to .2 as it can be more prone to clogging though that depends on what paints you use.
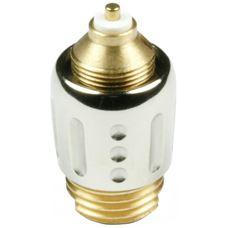
2/ Avoid the cheap Chinese ‘knock offs’ as a false economy. They work well for some but for many they don’t last long. I would suggest spending something in the region of £100 or so for a decent brand. Brands I have used and would recommend include Harder & Steenbeck (exceptionally easy to strip clean), Iwata (refined and reliable), Creos Procon Boy (reliable, refined) and Topnotch (decent all-rounder).
3/ Get a compressor with a tank. You can get these for between £60 and £100 and, in this respect, a cheap Chinese model can provide decent value. If a bundled
airbrush is included either throw away the
airbrush or just use it for primer.
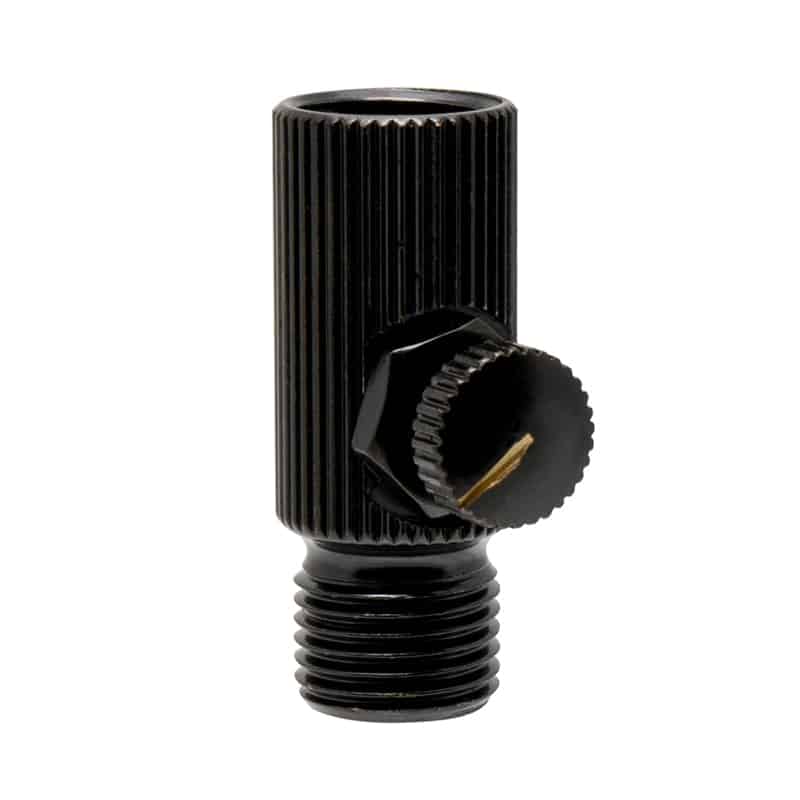
4/ If you still have some money left you might want to get an in-line ‘fine pressure control’ at the ‘business end’ as an easy way to adjust pressure. I set the compressor pressure at the highest level I might need and then adjust it up and down, as needed, at the
airbrush end.
Airbrushing can be really rewarding, providing a finish and effects that you would not manage with a brush. But it does need a lot of practise to master it. Indeed it is a very steep learning curve but well worth persevering with.
There are a lot of tutorial videos available and I strongly recommend watching them.
There are ways that you can shorten the learning curve and simplify your airbrushing, though and what I would recommend is to eliminate one of the varying factors that you need to contend with when learning. That is thinning ratios. Every paint has its own thinning needs and this can change depending on your set up. So the answer to this is:
1/ Use the same paint all the time through the
airbrush so you get used to it’s characteristics. That said, a lot of brands are not even consistent between their own colours so that is not necessarily that easy to do.
2/ There are different characterises between types of paint. Water based acrylics spray differently to alcohol based, lacquers are different again and enamels different again. In terms of ease of use I rank them in the following orders.
1/ Lacquers are the best through the
airbrush. They spray like silk, adhere well, dry in minutes. The downside being smell and they cannot be hand brushed very well.
2/ Alcohol based. These also spray well, perhaps not quite as well as lacquers but pretty good. Also have some fumes and are not ideal for hand brushing.
3/ Water based acrylics. These are commonly available and popular but need to have added retarder to stop ‘tip-dry’, they can take a long time to cure, as opposed to just being touch dry, an important consideration for masking as they don’t adhere well and can easily peel off with masking. They do hand brush well though. Their big benefit is a lack of smell so they are ‘friendly’ if you are spraying in a confined area but do wear a particle mask.
4/ Enamels. A lot of people love enamels and I rate them fourth only because they are not as widely available these days. They have no spraying advantages over lacquers but plenty of advantages over water based, other than fumes. Humbrol used to be the most easily available but I understand they are withdrawing enamels from the market and, besides, I was not impressed by them anyway.
To summarise - lacquers are best for the
airbrush and if you use a lacquer based paint that does not need thinning, even if spraying fine lines, you get a win win situation. I use a brand called MRP (also known as Mr Paint, that is not to be confused with the Gunze Mr Color range though). I have used their lacquers through the
airbrush exclusively for over 5 years and I have never had to thin them or mix them due to their huge range. They spray beautifully at a low psi of 10-15 or even lower when spraying fine lines. The pigments are so small they work even with small needle sizes. I use their primers and varnishes as well as ordinary paint. That said, you do need a paint booth to extract fumes (another expense to allow for) and for hand painting small details over the lacquers you will need a small selection of water based acrylics (I use Vallejo).
This is a lot longer post than I intended but I hope it’s helpful.


")
 ) and space available. If you can install a compressor outside your home, thus reducing the space and noise problems to almost zero (for you, not for your neighbours

 ). It sounds weird, and, in fact, he's a little on the weirdo side, but he's a very fine modeller!