Jim R
SMF Supporter
Good progress Richard. I'm liking what I see 


Great work mate.
Good progress Richard. I'm liking what I see
Thanks Scottie, Jim and Richard, glad you like it and I'm a great fan of using stuff around the house a habit I haven't lost since pre Catchpole days...was that his name?Great use of a non modelling product Wabble.Looks very convincing as mesh.Doing great work fella
Richard
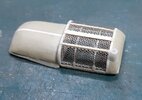
Thanks Mick, seriously if you take away the mesh it will look like a simple scratched framework and some putty.Really nice scratching mate
Thanks Doug, not a genius but a little tinkering here and there will hopefully make something of an old kit like the Belvedere.Pure genius! Excellent improvisation Richard.
Thanks for that Chris, I've heard it being called that. I've never been in a Longhouse before but I think it's not that different from a row of terrace houses with the front road as the communal gathering platform with a huge roof over and on stilts.So, visiting Hendon today, not far from their Belvedere, is this sign and caption:
View attachment 488695View attachment 488696
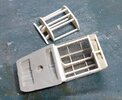
Thanks Scottie, my eyes need some shutdown time.Superb mate.

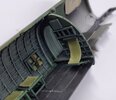
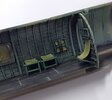
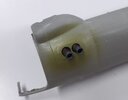
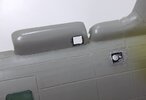
Enjoyable watching the Belvedere progress, keep up the excellent work Richard.
Wabble,
what he said.
I concur
Thanks Doug, Scottie, Chris and Andrew, I'll definitely keep up the good work when I can and what a catch up with 14 replies.Enjoyable watching the Belvedere progress, keep up the excellent work Richard.
Wabble,
what he said.
I concur
Ditto!!
Why use lots of words when one will do?!?!
In all seriousness Richard, having been away, I have just had a catch up. As always simply outstanding work. The razor mesh is brilliant!
Keep up the excellent work!!
Andrew
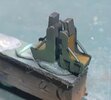
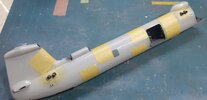
Thanks Doug, Scottie, Chris and Andrew, I'll definitely keep up the good work when I can and what a catch up with 14 replies.
After getting home I continued with the build and made this progress...
Painted the cockpit seats.
View attachment 488904
Glued the fuselage together.
View attachment 488905
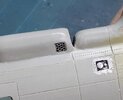
Plugged the vent.
View attachment 488906
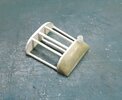
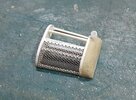
And continued with the rear extended engine bay frame with putty and the first half of the mesh.
View attachment 488907View attachment 488908
Cheers,
Wabble
For FULL Forum access you can upgrade your account here UPGRADE
