You are using an out of date browser. It may not display this or other websites correctly.
You should upgrade or use an alternative browser.
You should upgrade or use an alternative browser.
1/32 Me262A-1a/U4 (JV44 Hunters and Protectors Project)
- Thread starter AlanG
- Start date
Great scratchy Alan!!! Really liking this and what you are doing here....
Prost
Allen
Prost
Allen
Top work alan , love the twin and earth combustion chambers , im a great believer in using everyday materials if possible , its surprising what you can use if you just think outside the box a bit
- Joined
- Sep 4, 2019
- Messages
- 9,526
- Points
- 113
- First Name
- Andrew
Brilliant!So why the mathematics? Well i had to work out what size the six combustion chambers of the Jumo 004 would have to be to fit inside the Revell depiction of the engine so that you could 'see' two chambers in each hole i drilled out. Took a bit to work out and to try and find something that i had readily available to use. I could have bought something off evilbay but the prices i were given imho weren't justifiable. Any how. Here is my progress
View attachment 471083
View attachment 471082View attachment 471081
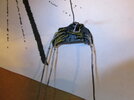
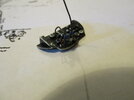
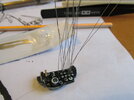
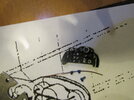
Little more scratch building tonight. Taken a night off from the engine whilst i figure something out. So back onto the rear of the instrument panel. The pneumatic pipes that will come from the accumulator that i built go into three different instruments at the back. So i have made three t-joints for pipework to connect to. These were made from wire flex. As you can see, one is still to be cut to size.

Now that is looking very, very good indeed!!
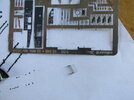
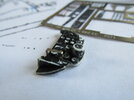
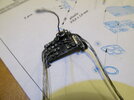
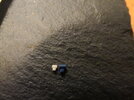
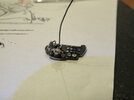
Actually i wasn't pleased with it. I think the t-joints look to big and fat. So after a hunt around in my old cable draw, i found some smaller flex to make them out of. And here are the results. First pic is of the two joints side by side. As you can see the white one is a lot smaller. Second is of the new t-joints fitted. Now that is a lot better imho

scottie3158
SMF Supporter
I know what you mean 

So do I, but I’ve managed to curb it over the last few years. Does lift them though doesn’t it…..this looks fabulous Alan 

Jim R
SMF Supporter
That is superb Alan. Great scratch work.
Looking very nice Alan...
... makes me wanna get my 1/48 one out
... makes me wanna get my 1/48 one out
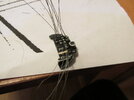
First coat of yellow painted onto the cables up to the electrical bracket. Will need another coat later. The rest of the cables will be painted once i add some cable ties in place. Pneumatic pipes are painted in dull aluminium and the connectors in magnesium. Just to give some sort of contrast to them.
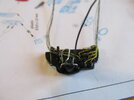
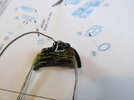


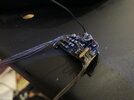
Doesn't look much but i've added a couple of wires i missed and also forgot to split them into their respective groups. Also added the first batch of cable ties. These are made out of 0.2mm lead wire rolled flat. Will have to repaint everything later but it's getting there now. Not much more to do before i can assemble the cockpit...... after the HGW seat belts are made, which are a model in themselves to make.
