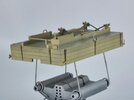
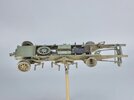
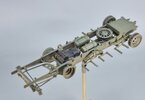
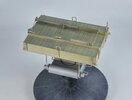
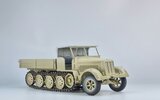
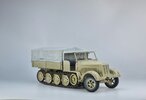
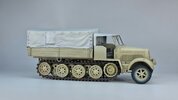
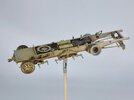
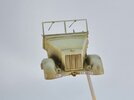
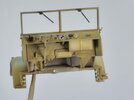
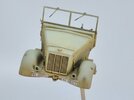
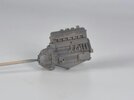
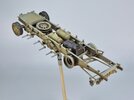
Los's 1/35 Trumpeter Sd.Kfz 7 KM m11

Panzerwrecker

SMF Supporter
Joined
Mar 2, 2022
Messages
362
Points
93
First Name
Los
Hope you're feeling better.
How do you make your canvas covers?
I'm on the mend now and managed a small session at the bench yesterday thanks Ian.

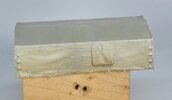
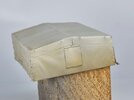
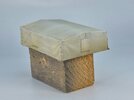
I've made a few now and all from different materials. This one was with VMS paper and their paper shaper liquid laid on top of the plastic canvas cover moulding.
 

Panzerwrecker

SMF Supporter
Joined
Mar 2, 2022
Messages
362
Points
93
First Name
Los
With the deadline date approaching fast I figured I best at least try to finish this.

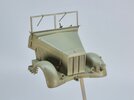
After all the sub-assemblies received a coat of primer earlier in the week some MRP lacquers were mixed to create some different shadow coats. Having done this a couple of time before, with a little patience laying down subsequent lighter base coats layers can yield some subtle colour modulation. There is no need to thin MRP paints so you can spray real close with the pressure turned down to 10-12PSI. Getting a decent opacity does take time in building up the layers but it sprays on lovely and smooth. In the case of the chassis, it allows you to get in all the nooks and crannies without covering all the detail in too much paint.

I started with a Dark Yellow and Red Brown mix. Then to save time by not cleaning the airbrush between colours, I played around with the mix ratios adding a little black and eventually some white, ending with a grey tone to paint the engine, gearbox, exhaust and add some additional shadows.

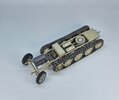
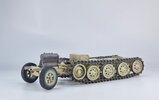
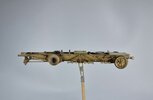
The chassis in a fetching caramel
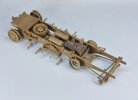
20221128_011211.jpg

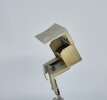
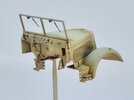
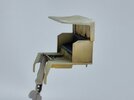
The cab assemblies in a weird sort of Mahogany hue
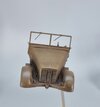
20221128_011301.jpg

20221128_011428.jpg

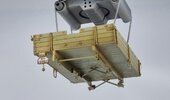
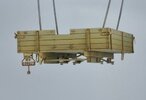
The wooden cargo bed in a delicious chocolate brown
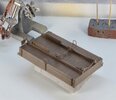
20221128_011115.jpg

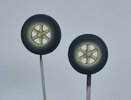
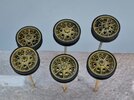
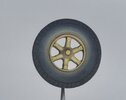
The wheels in a similar tone
20221128_011400.jpg

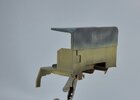
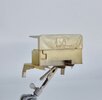
The tilt cover received a disrupted coat of dark grey
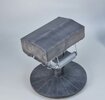
20221128_011448.jpg

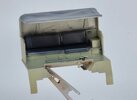
Only the sump of the engine will be visible so that received a coat of dark grey too
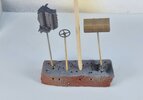
20221128_011235.jpg

The next step will be to mix up three different shades of the base colour and work my way from the darkest lower areas all the way up to the highlight coat. I'm undecided on a final colour for the canvas tilt so I will see how the base coat session turns out first.

The clock is ticking:worried:
 
Last edited:

Panzerwrecker

SMF Supporter
Joined
Mar 2, 2022
Messages
362
Points
93
First Name
Los
First Dunkelgelb base coat with MRP-037 lacquer followed by a lighter coat mix of MRP-037 and MRP-004.
A further lightened coat with a drop more MRP-004 will be misted over just the uppermost areas to finish the airbrushed coats in the next session.

20221129_010915.jpg20221129_010906.jpg20221129_010852.jpg20221129_010810.jpg20221129_010730.jpg20221129_010616.jpg20221129_010547.jpg20221129_010514.jpg20221129_010502.jpg20221129_010538.jpg20221129_010355.jpg20221129_010432.jpg
 
Last edited:

Panzerwrecker

SMF Supporter
Joined
Mar 2, 2022
Messages
362
Points
93
First Name
Los
Airbrush work on the Dunkelgelb base coat is complete.

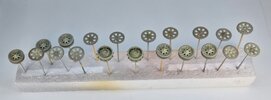
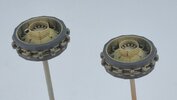
Steering wheel tyres and track link pads were airbrushed with Tamiya tyre black . Track link pads were then protected with a couple of coats of hairspray before the whole track runs received an airbrushed mix of Tamiya Dark Iron, German Grey and Flat Earth. The pads will be dampened with water, agitated with a brush and the tyre black colour exposed in a later step.
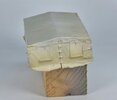
Next up is to brush paint all the tyres and cab seat and then on to adding the instrument and licence plate decals.
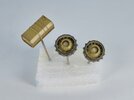
Not sure I'll get to the weathering stage before the GB deadline is up!
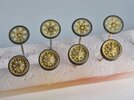
Dry fit for update pics and the first casualty is the Notek light. Another job to re-connect :rolling:

20221130_001254.jpg20221130_001248.jpg20221130_002230.jpg20221130_002321.jpg20221130_002450.jpg
 

Panzerwrecker

SMF Supporter
Joined
Mar 2, 2022
Messages
362
Points
93
First Name
Los
Managed a few little sessions over the last few days. Decals added, not that there are many! Just licence plates and instrument dials. Satin varnished before and after. All rubber tyres painted with Vallejo Dark Rubber acrylics.

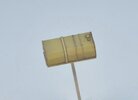
Then to test whether everything required a coat of satin varnish to aid a good pinwash application, a diluted mix of Wash Brown Abtielung oils and their own Odourless turps was added to the fuel tank. No need as the MRP paint had dried silky and smooth and the pin wash worked well.

All the sub-assemblies and various parts then received the same. A few more lighter and darker oils will be added over the initial pinwash and once dry will be blended into the paintwork.

The seat colour was blocked in first with Vallejo gloss black and then with a first application of black oils.

Next, everything will receive a matt varnish coat to seal everything for the upcoming weathering stages.

Oils still wet and some clean-up still required in all the below pics
20221208_163107.jpg20221208_163204.jpg20221208_163244.jpg20221208_163255.jpg20221208_163410.jpg20221208_163438 1.jpg20221208_163510.jpg20221208_163519.jpg20221208_163539.jpg20221208_163623.jpg20221208_163801.jpg20221208_163811.jpg20221208_163840.jpg20221208_163917.jpg20221208_164059.jpg
 
Last edited:

Panzerwrecker

SMF Supporter
Joined
Mar 2, 2022
Messages
362
Points
93
First Name
Los
Lovely paint job Los, I'll have to give these paints a tnow.cheers.
Thanks. Yes they are really good through an airbrush. Bit smelly but all the good stuff usually is unfortunately!

Fine work there Los. Really starting to look the part now.
Thanks Jim. Yep, it's coming together slowly
excellent work ,Los.
I have to say that tilt is a thing of beauty(the craftsmanship ,I mean ;) )
Thanks a bunch Neil. It's a bit scrawny in places but the VMS paper and shaper did work well over the kit tarp. Not sure it would work as well on It's own over a frame.
 

Mini Me

SMF Supporter
Joined
Jun 1, 2018
Messages
10,161
Points
113
First Name
Rick
Keep it coming there Los........the tarp is very effective and I tend to agree.....I have formed paper tarps over metal bows and they just don't seem to hang out like real canvas. Very fiddly and difficult to make them look realistic. Your method is the bomb! :thumb2:
 

Panzerwrecker

SMF Supporter
Joined
Mar 2, 2022
Messages
362
Points
93
First Name
Los
Keep it coming there Los........the tarp is very effective and I tend to agree.....I have formed paper tarps over metal bows and they just don't seem to hang out like real canvas. Very fiddly and difficult to make them look realistic. Your method is the bomb! :thumb2:
Cheers. The best ones I have seen homemade seem to be with very thin rolled out magic sculpt or of a similar two part epoxy. But then with this material you really have to work at the folds and creases to make it look natural....and that is a difficult effect to achieve.
 

adt70hk

I know its a bit sad but I like quickbuild kits!!!
SMF Supporter
Joined
Sep 4, 2019
Messages
9,507
Points
113
First Name
Andrew
That's coming on beautifully, very well done!

Andrew
 

Panzerwrecker

SMF Supporter
Joined
Mar 2, 2022
Messages
362
Points
93
First Name
Los
Wash steps complete and all sub-assemblies sealed with Vellejo matt varnish.

After the first oil pin wash had dried additional light applications of dust and dirt effect enamels were added to areas where they would naturally accumulate. A final mix of various coloured oils mixed with white spirit (for faster drying) were added to specific areas to add some variation and contrast. A case in point being the radiator housing where a darker wash was required.

The heaviest areas of wash was deliberately added to the wheels. These lower areas will receive an airbrushed coat of dust colours so adding more contrast now should still make the details stand out.

The track pads were agitated with water to remove any track coloured paint I had airbrushed earlier over the hairspray. Both track runs were then given a very light wash of dust and dirt effect enamels.

Connecting back all the finished sub-assemblies in the next step is one I really look forward to. First I will need to add the engine and fuel tank, then connect the steering wheel and windscreen so both cab assemblies can be connected before they are fitted to the chassis.

As I never followed the crazy Trumpy instruction step of adding the levers to the gearbox, they will be added after the cab has been connected to the chassis. I have managed this process successfully in a previous build and the only additional requirement is to snip off the locating nub on the lever that connects into the side of the gearbox. It will then just slot through the cab floor apertures as the other two levers will. Hopefully these two will locate in the two holes in the top of the gearbox but it is not a big issue if they don't as the connection point is not visible. As long as the correct height of all the levers is maintained all will be well.

20221215_005040.jpg
20221215_005203.jpg
20221215_004734.jpg
20221215_005409.jpg
20221215_005739.jpg
20221215_005959.jpg
20221215_010044.jpg
20221215_010121.jpg20221215_010516.jpg20221215_010423.jpg20221215_004901.jpg
 
Last edited:
Top